
it’s Night Photography this week.
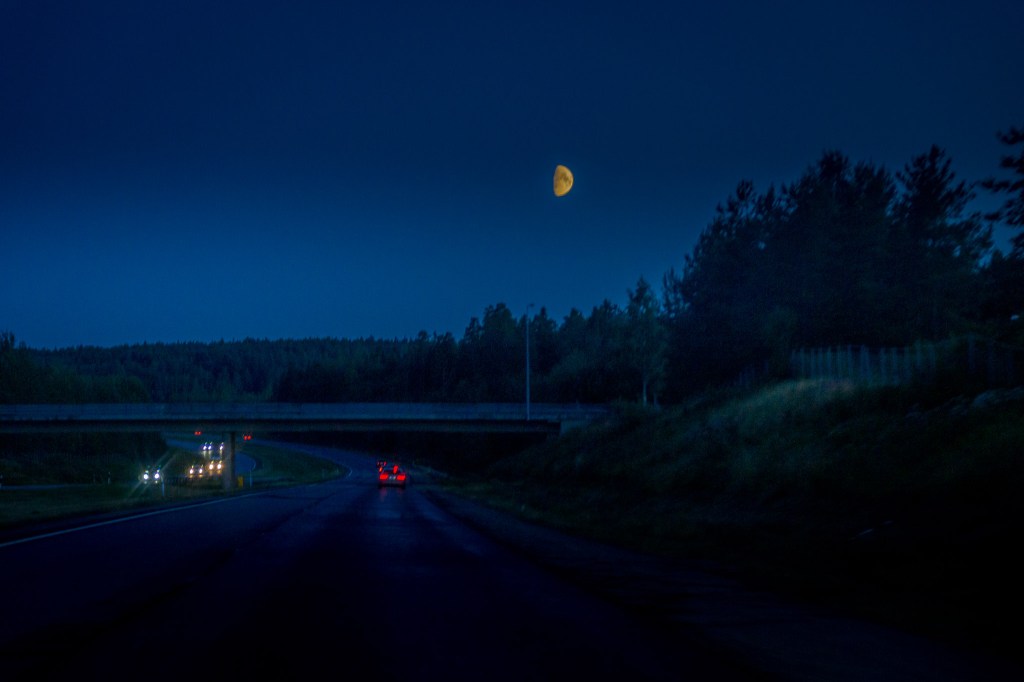
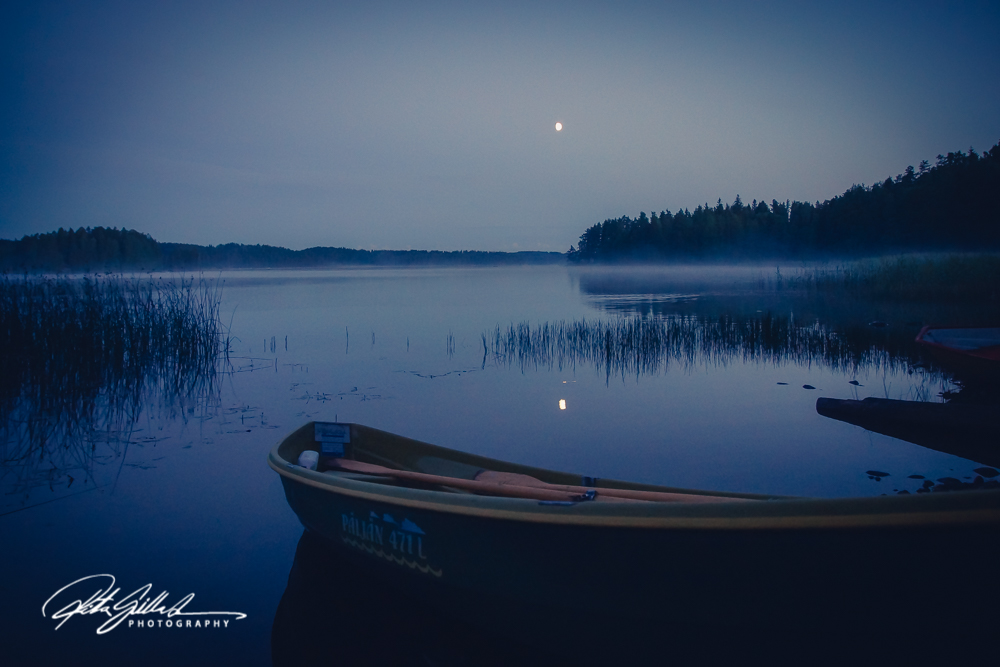
This was last weeks challenge, but here I am posting about it now. I have several night shots that I like, but not being able to use them. And as I was visiting relatives at this time I was not able to go and take photos during night time. On our drive home I took this shot of the moon, think about it from a moving car, not too bad, slightly painternly look it has, but all and all, I am rather happy with it.
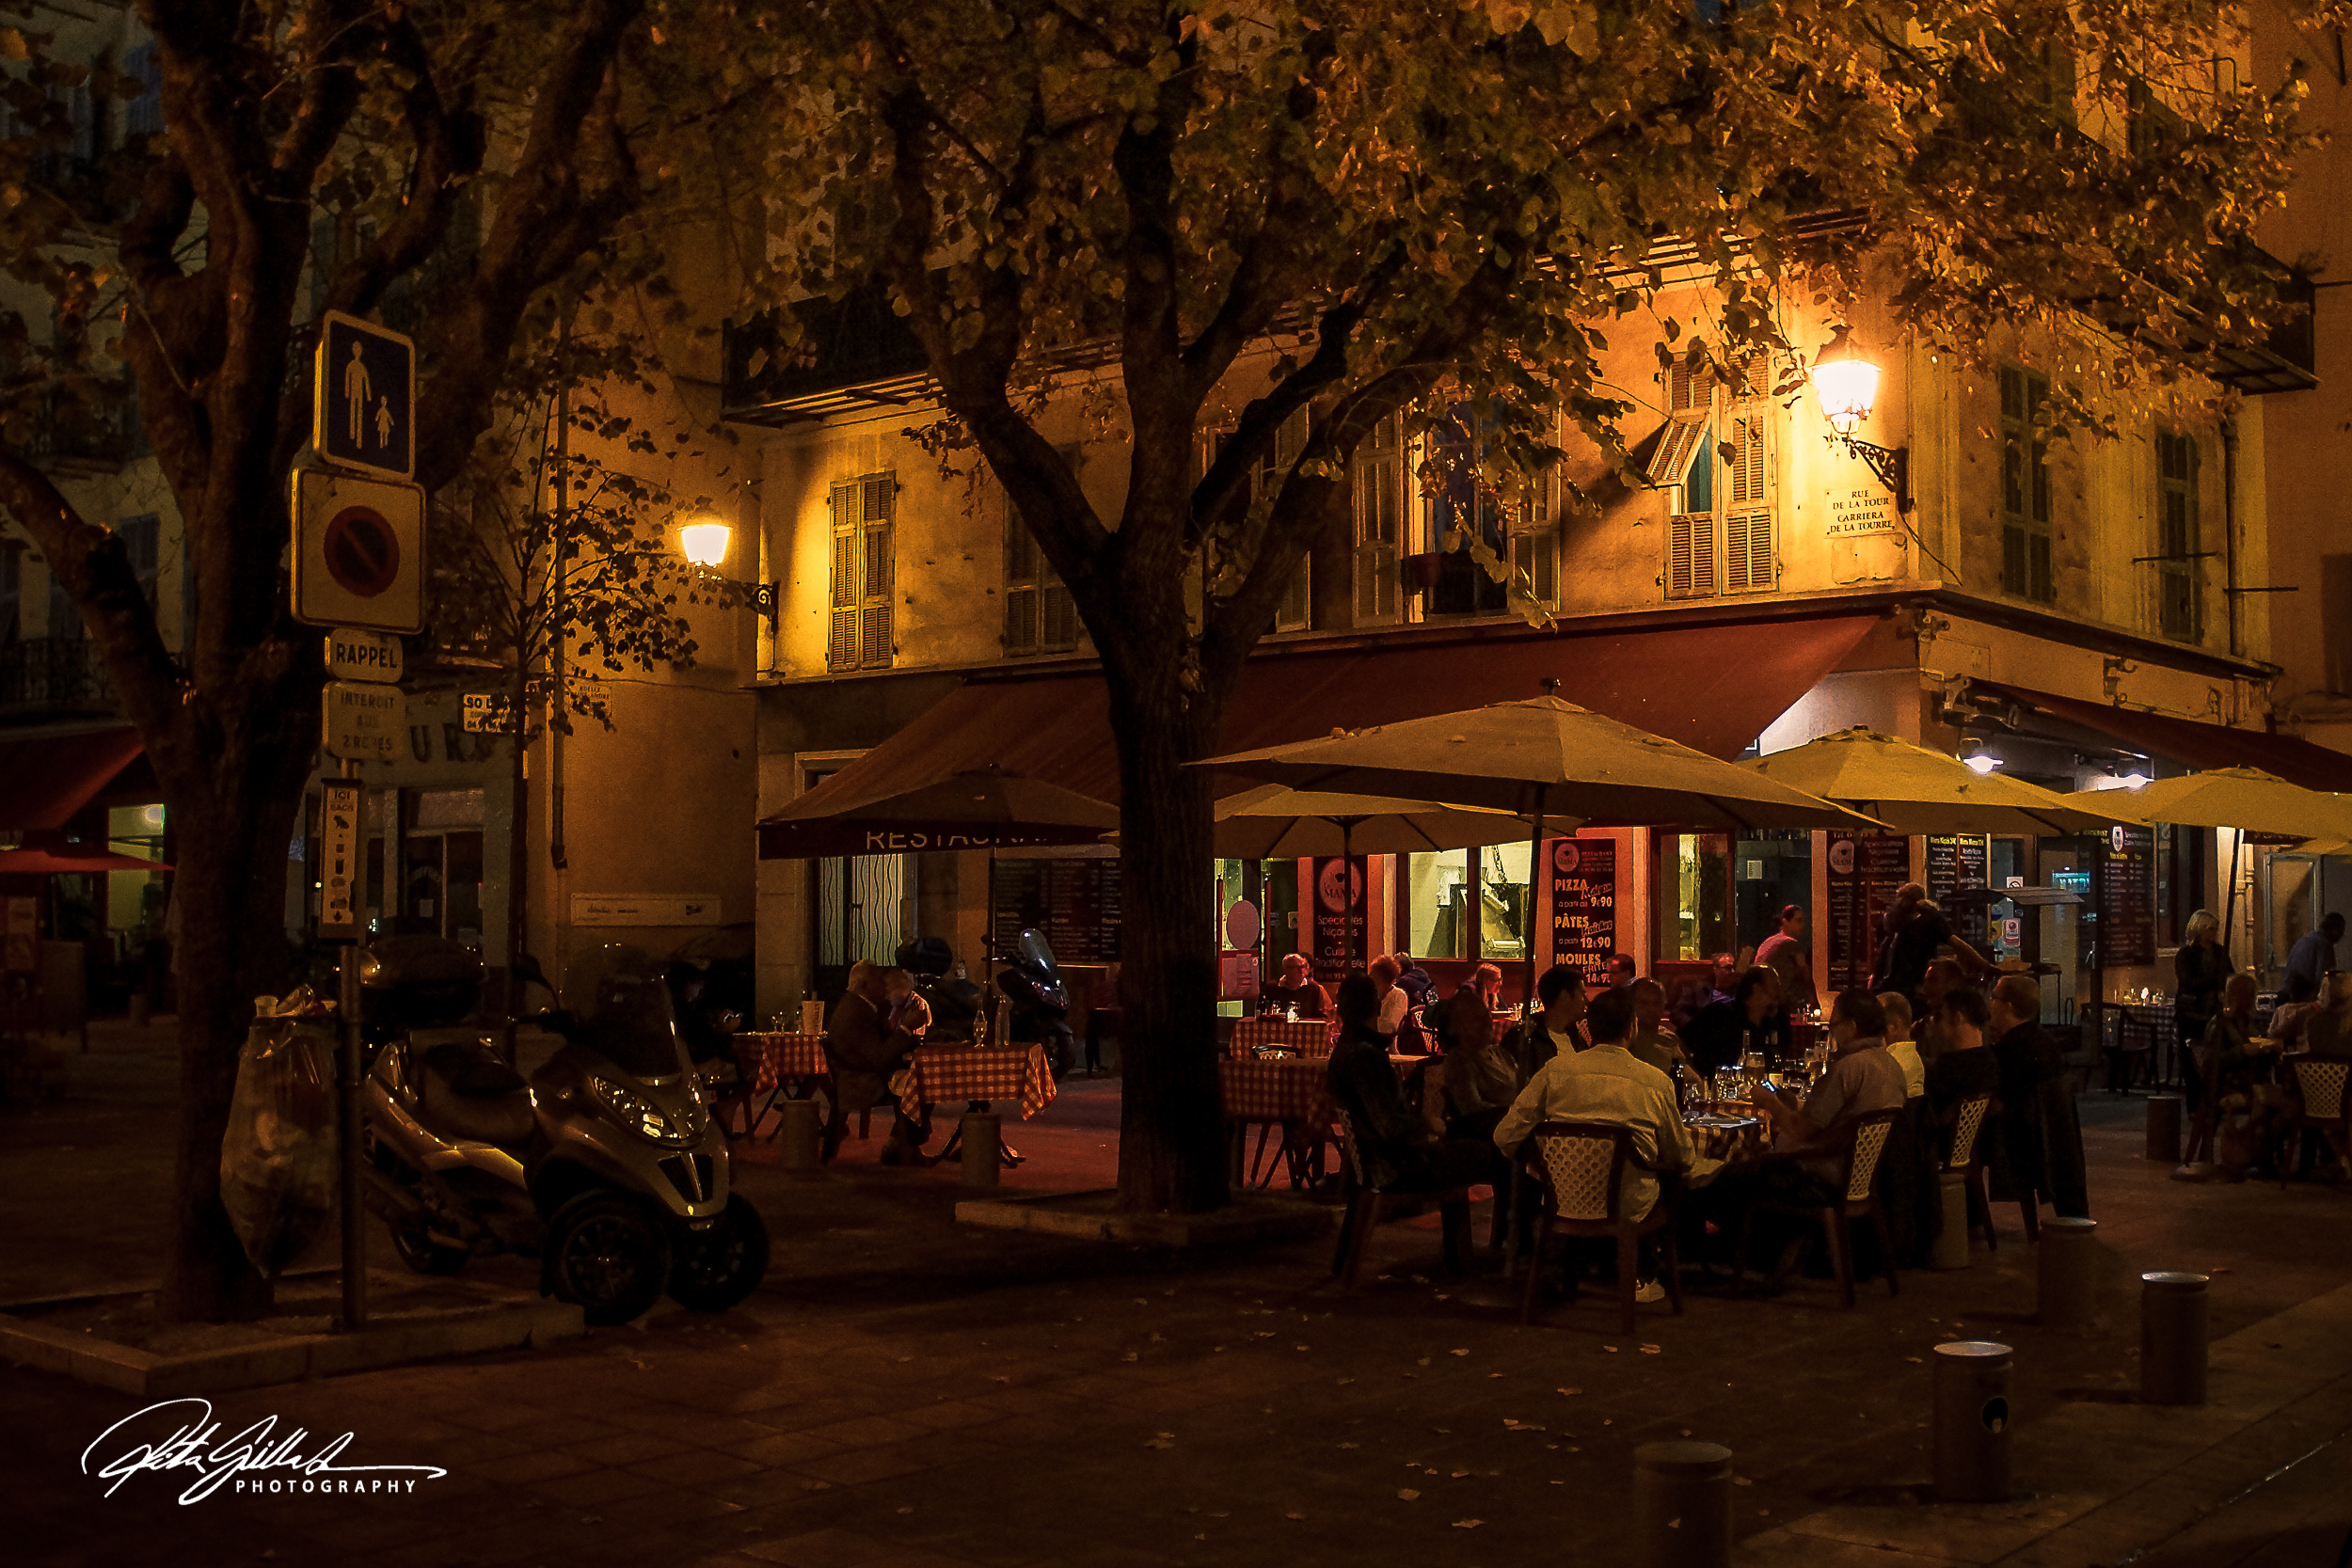
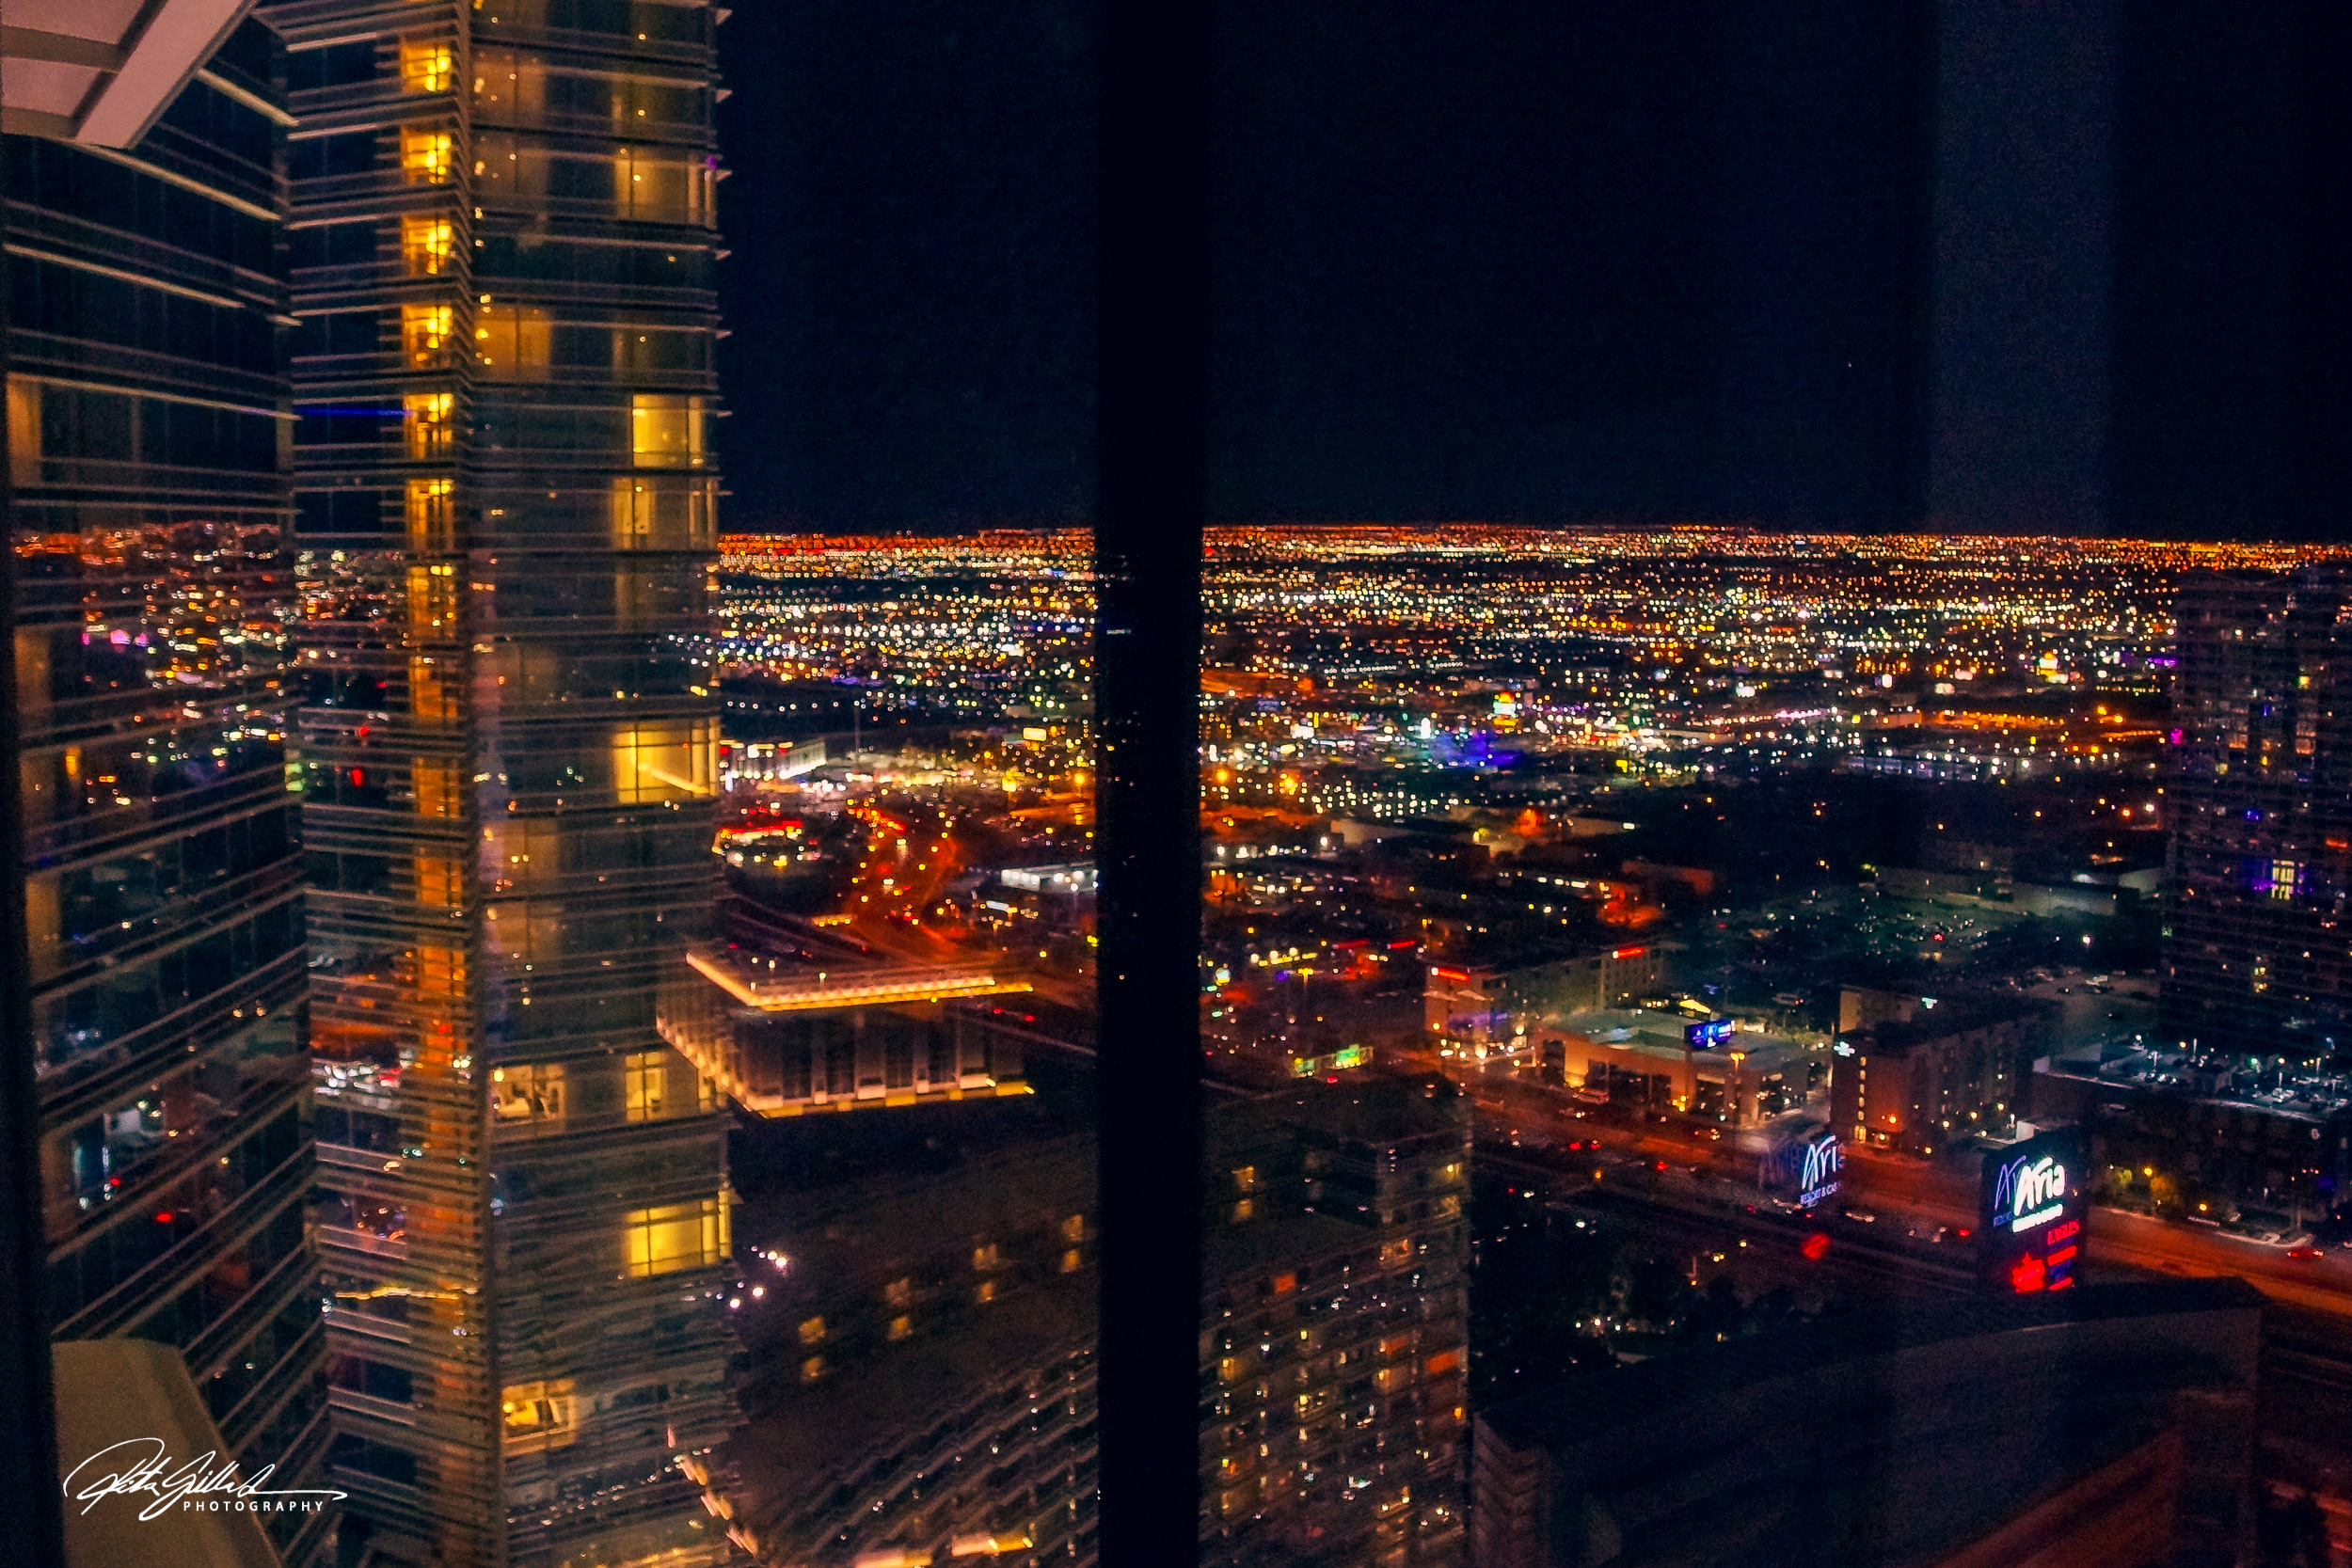
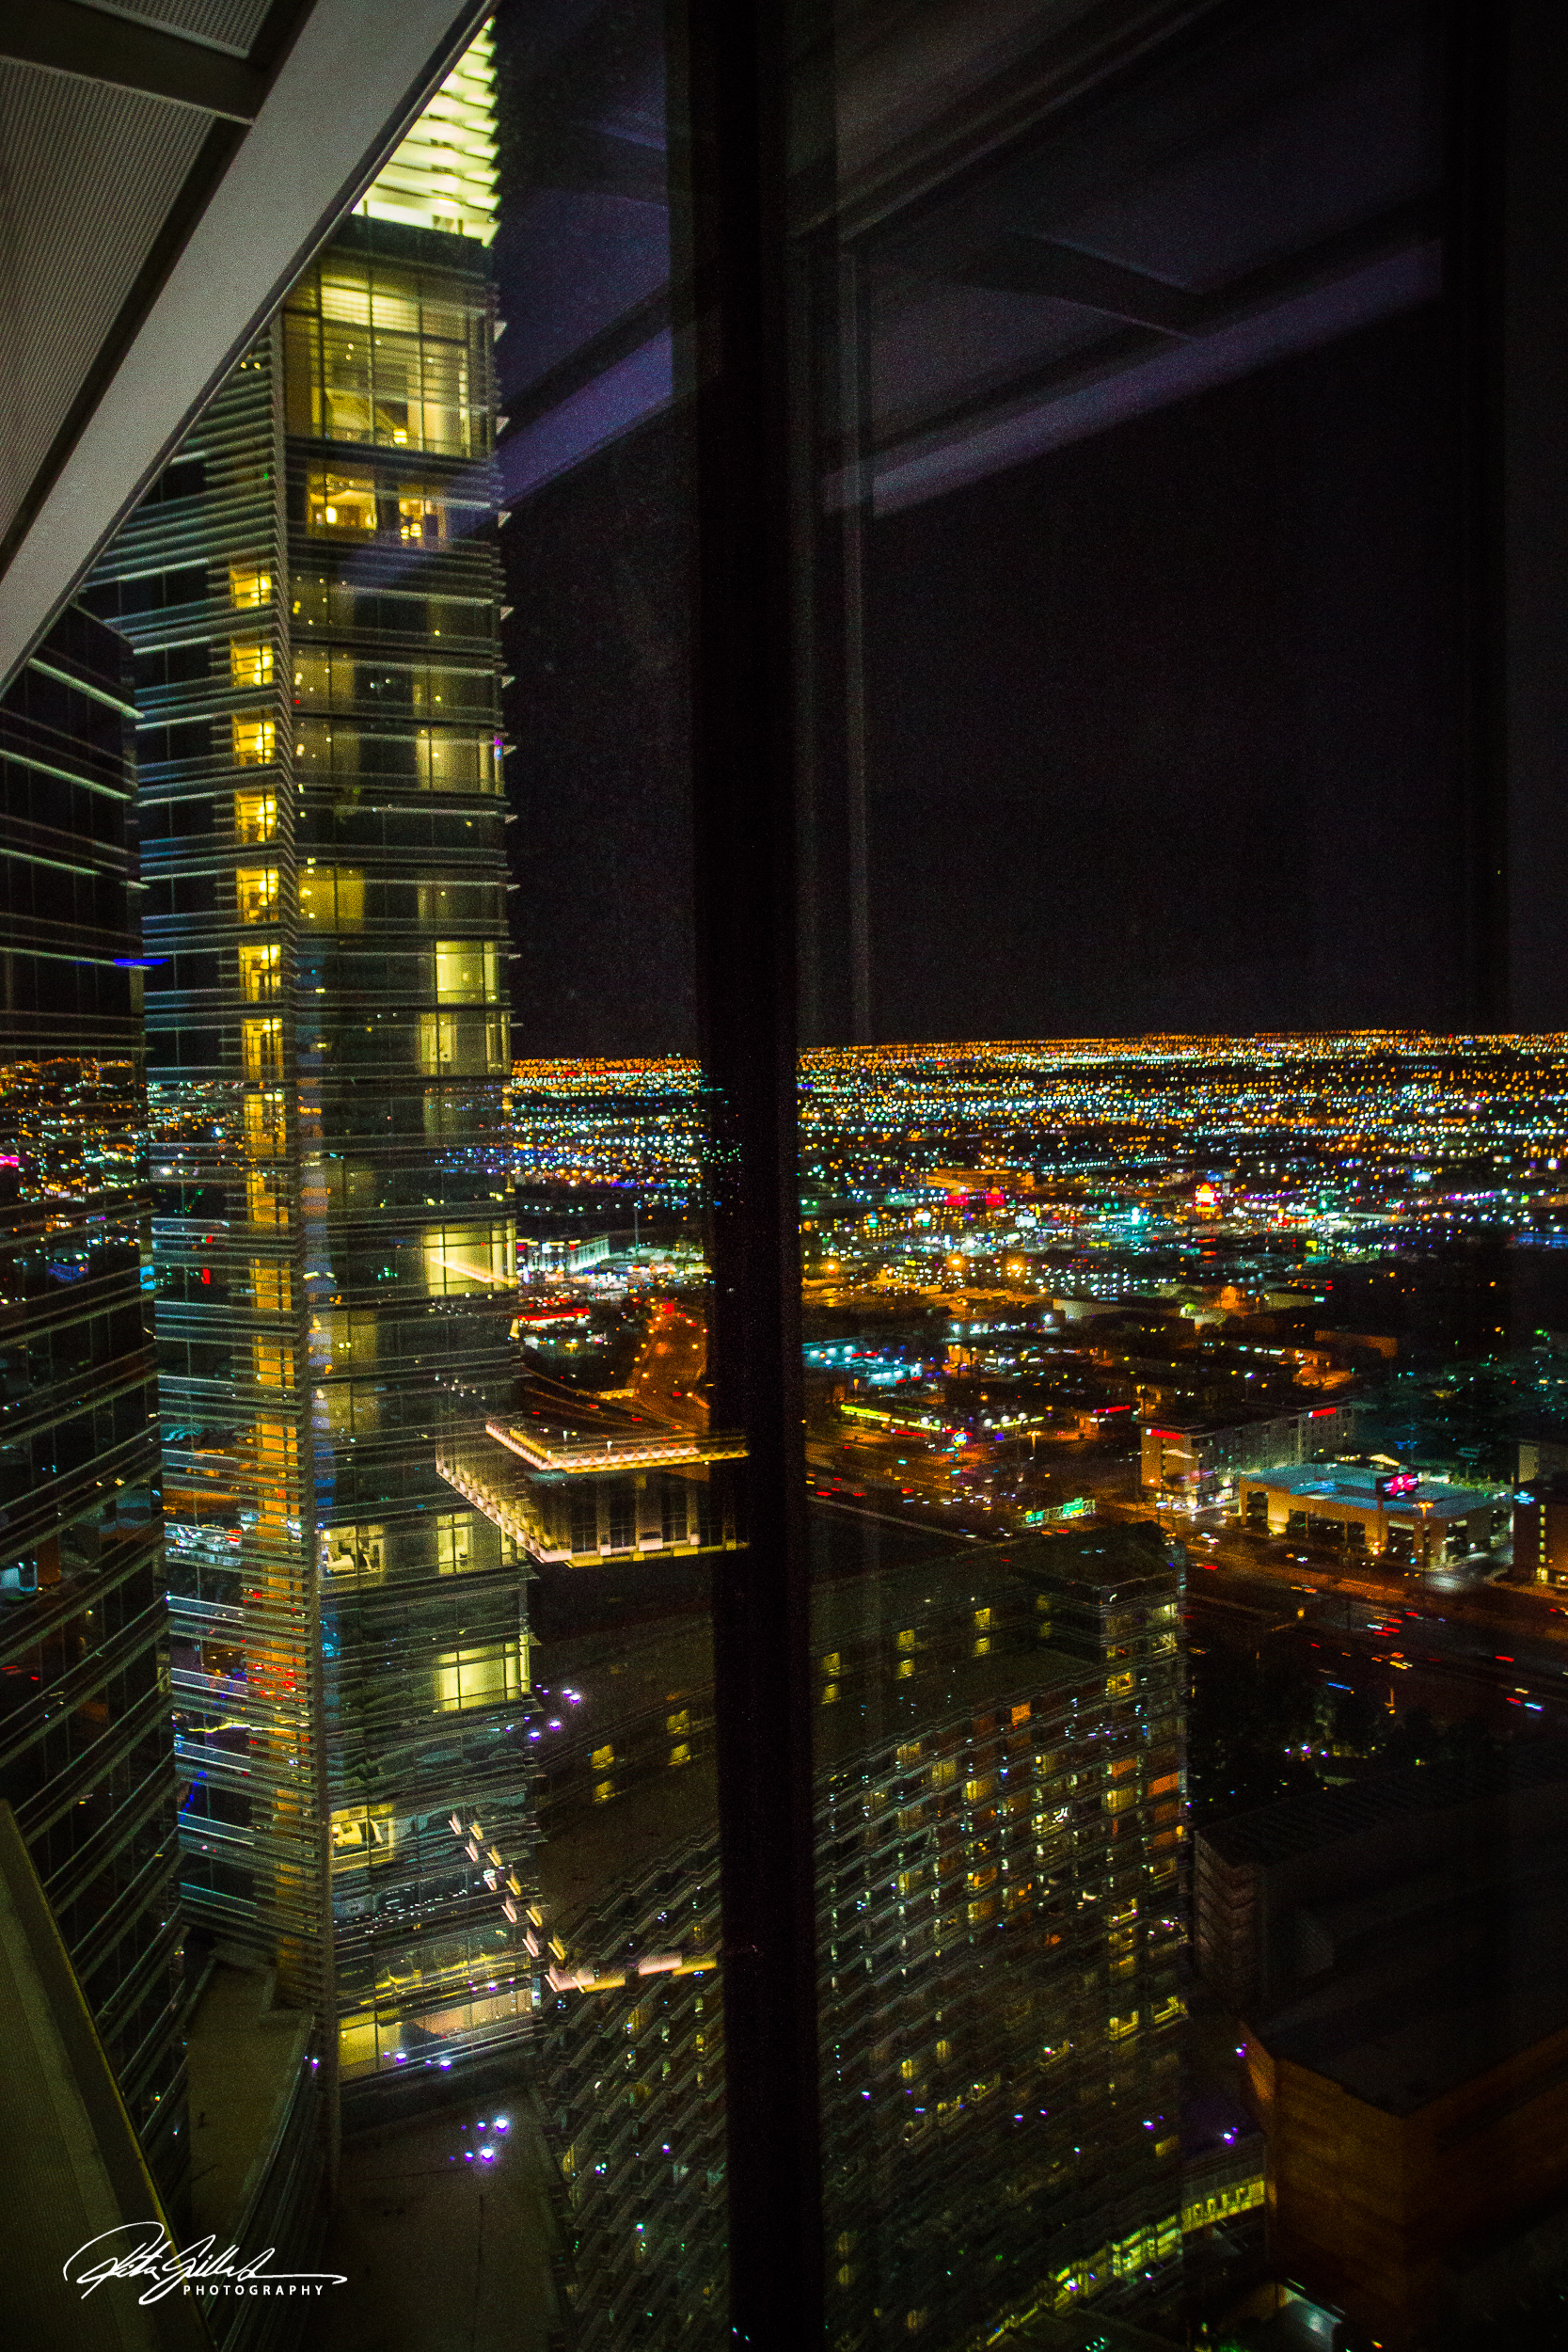
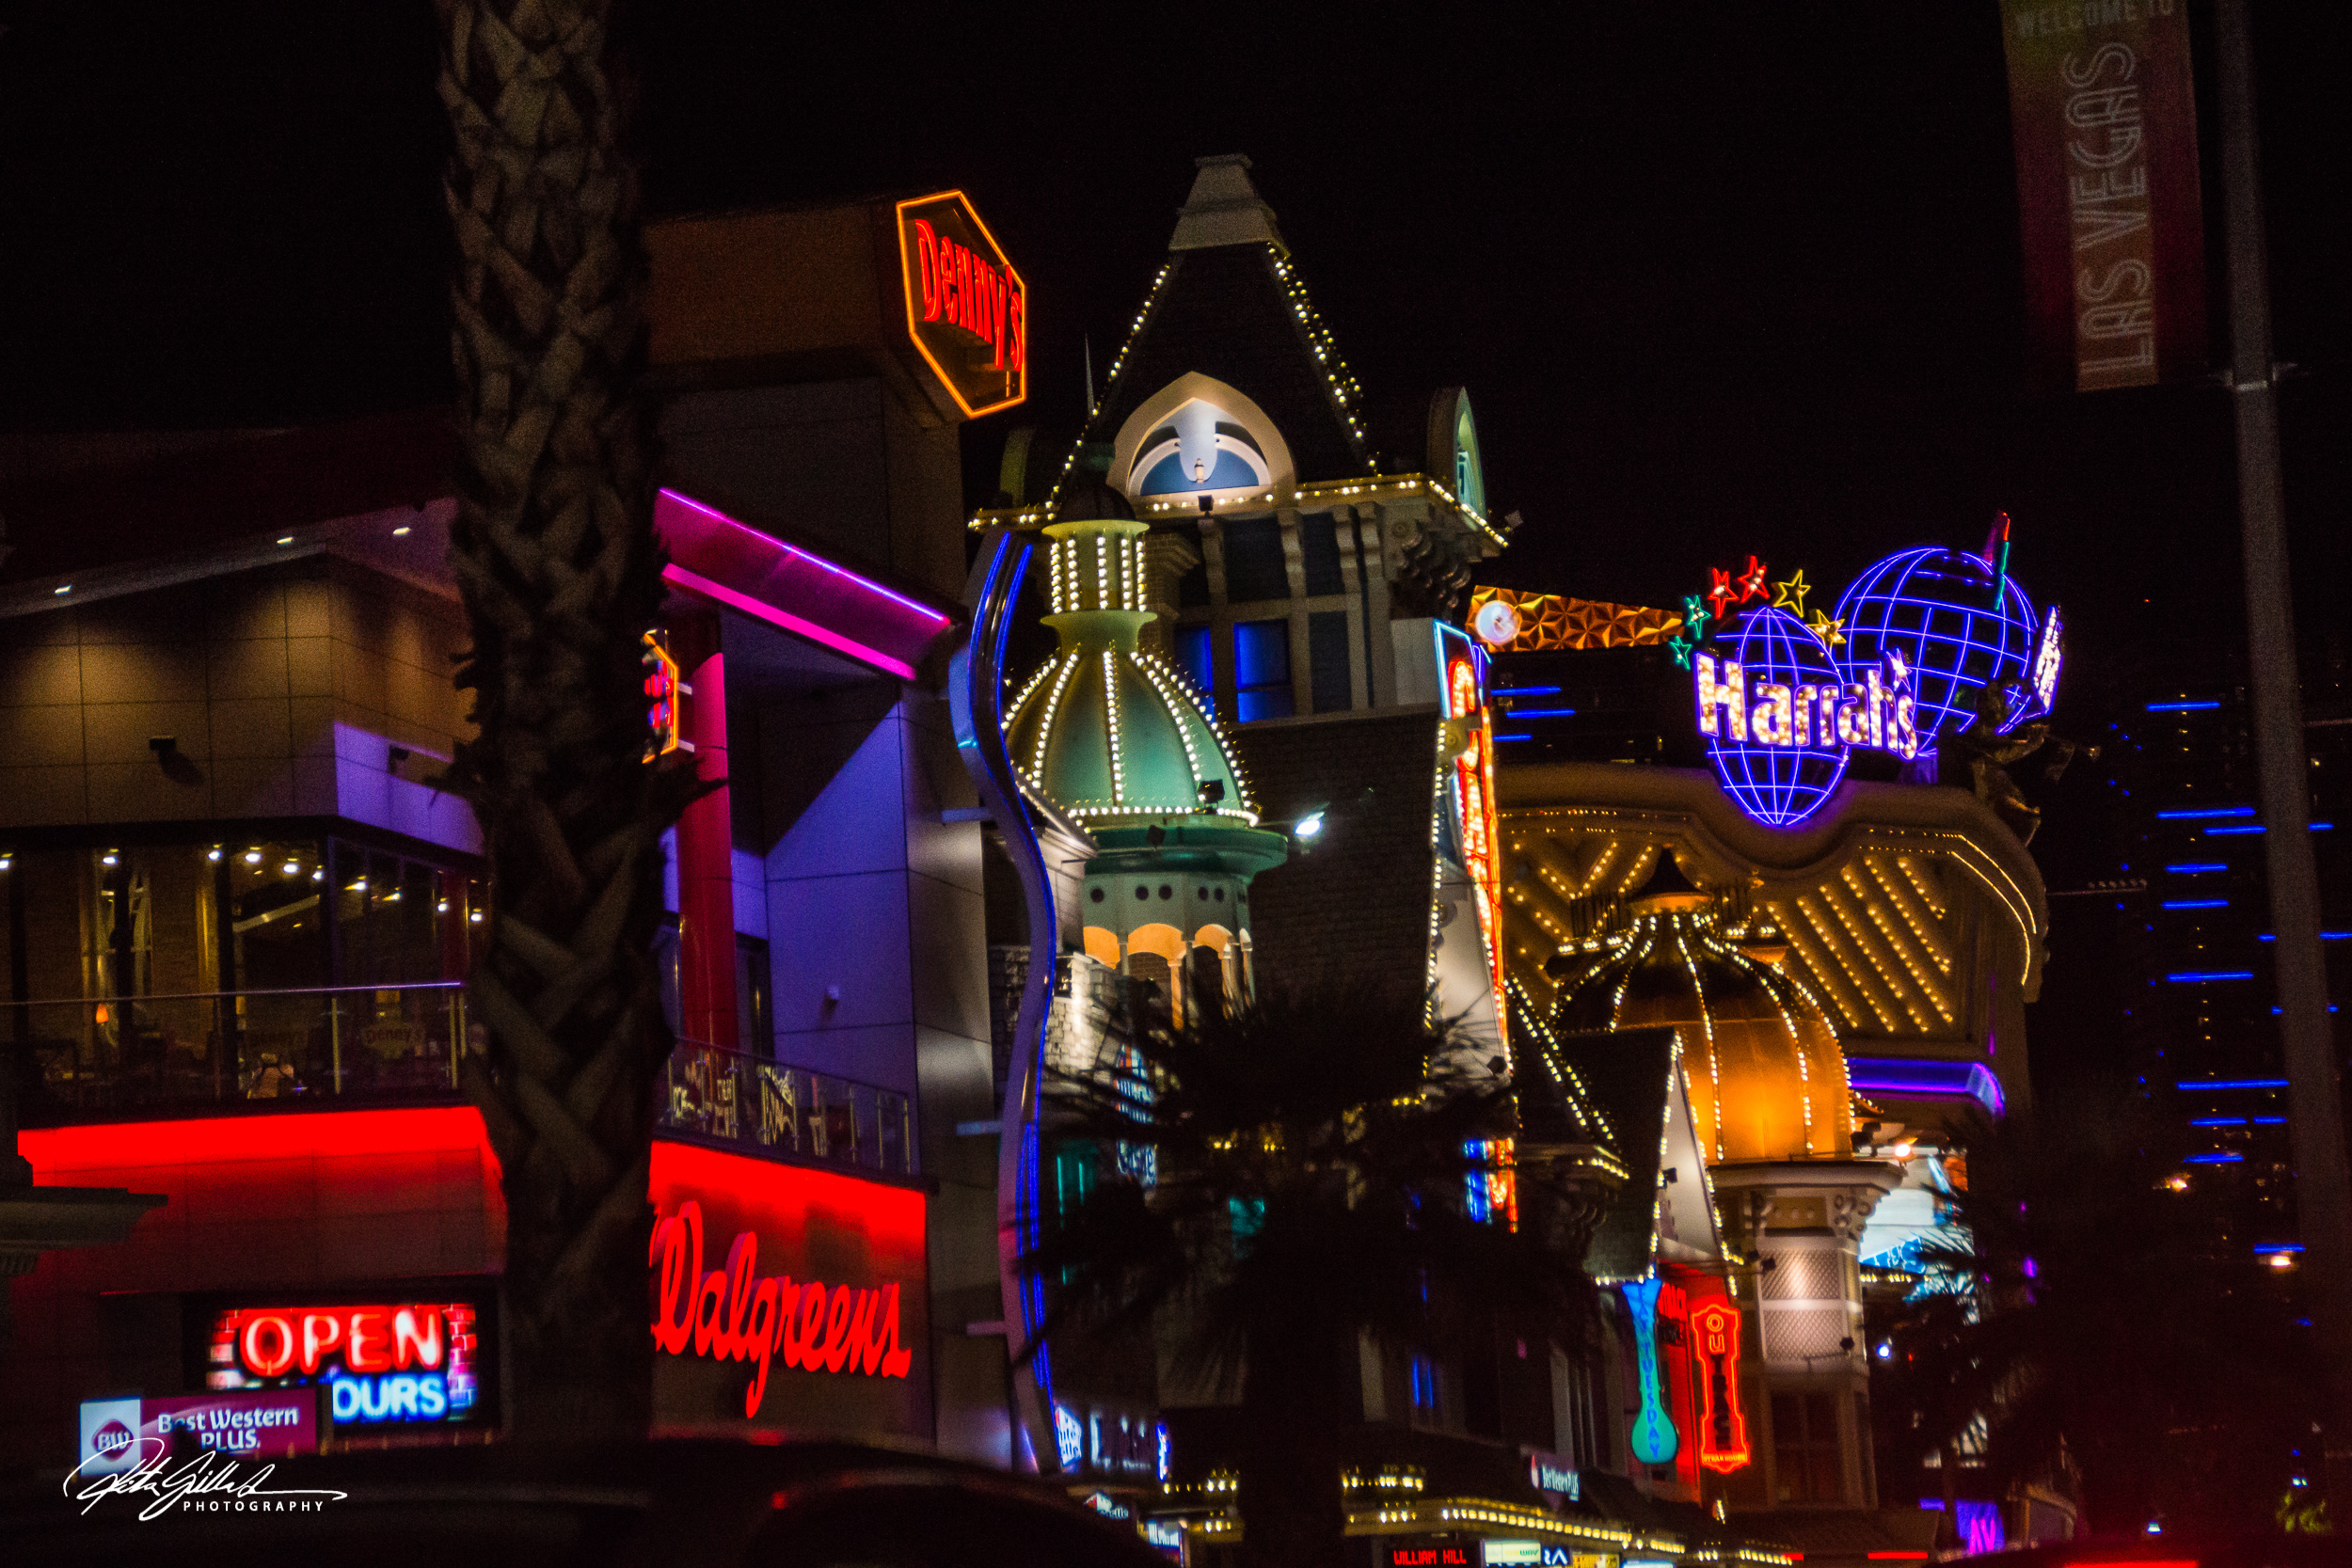
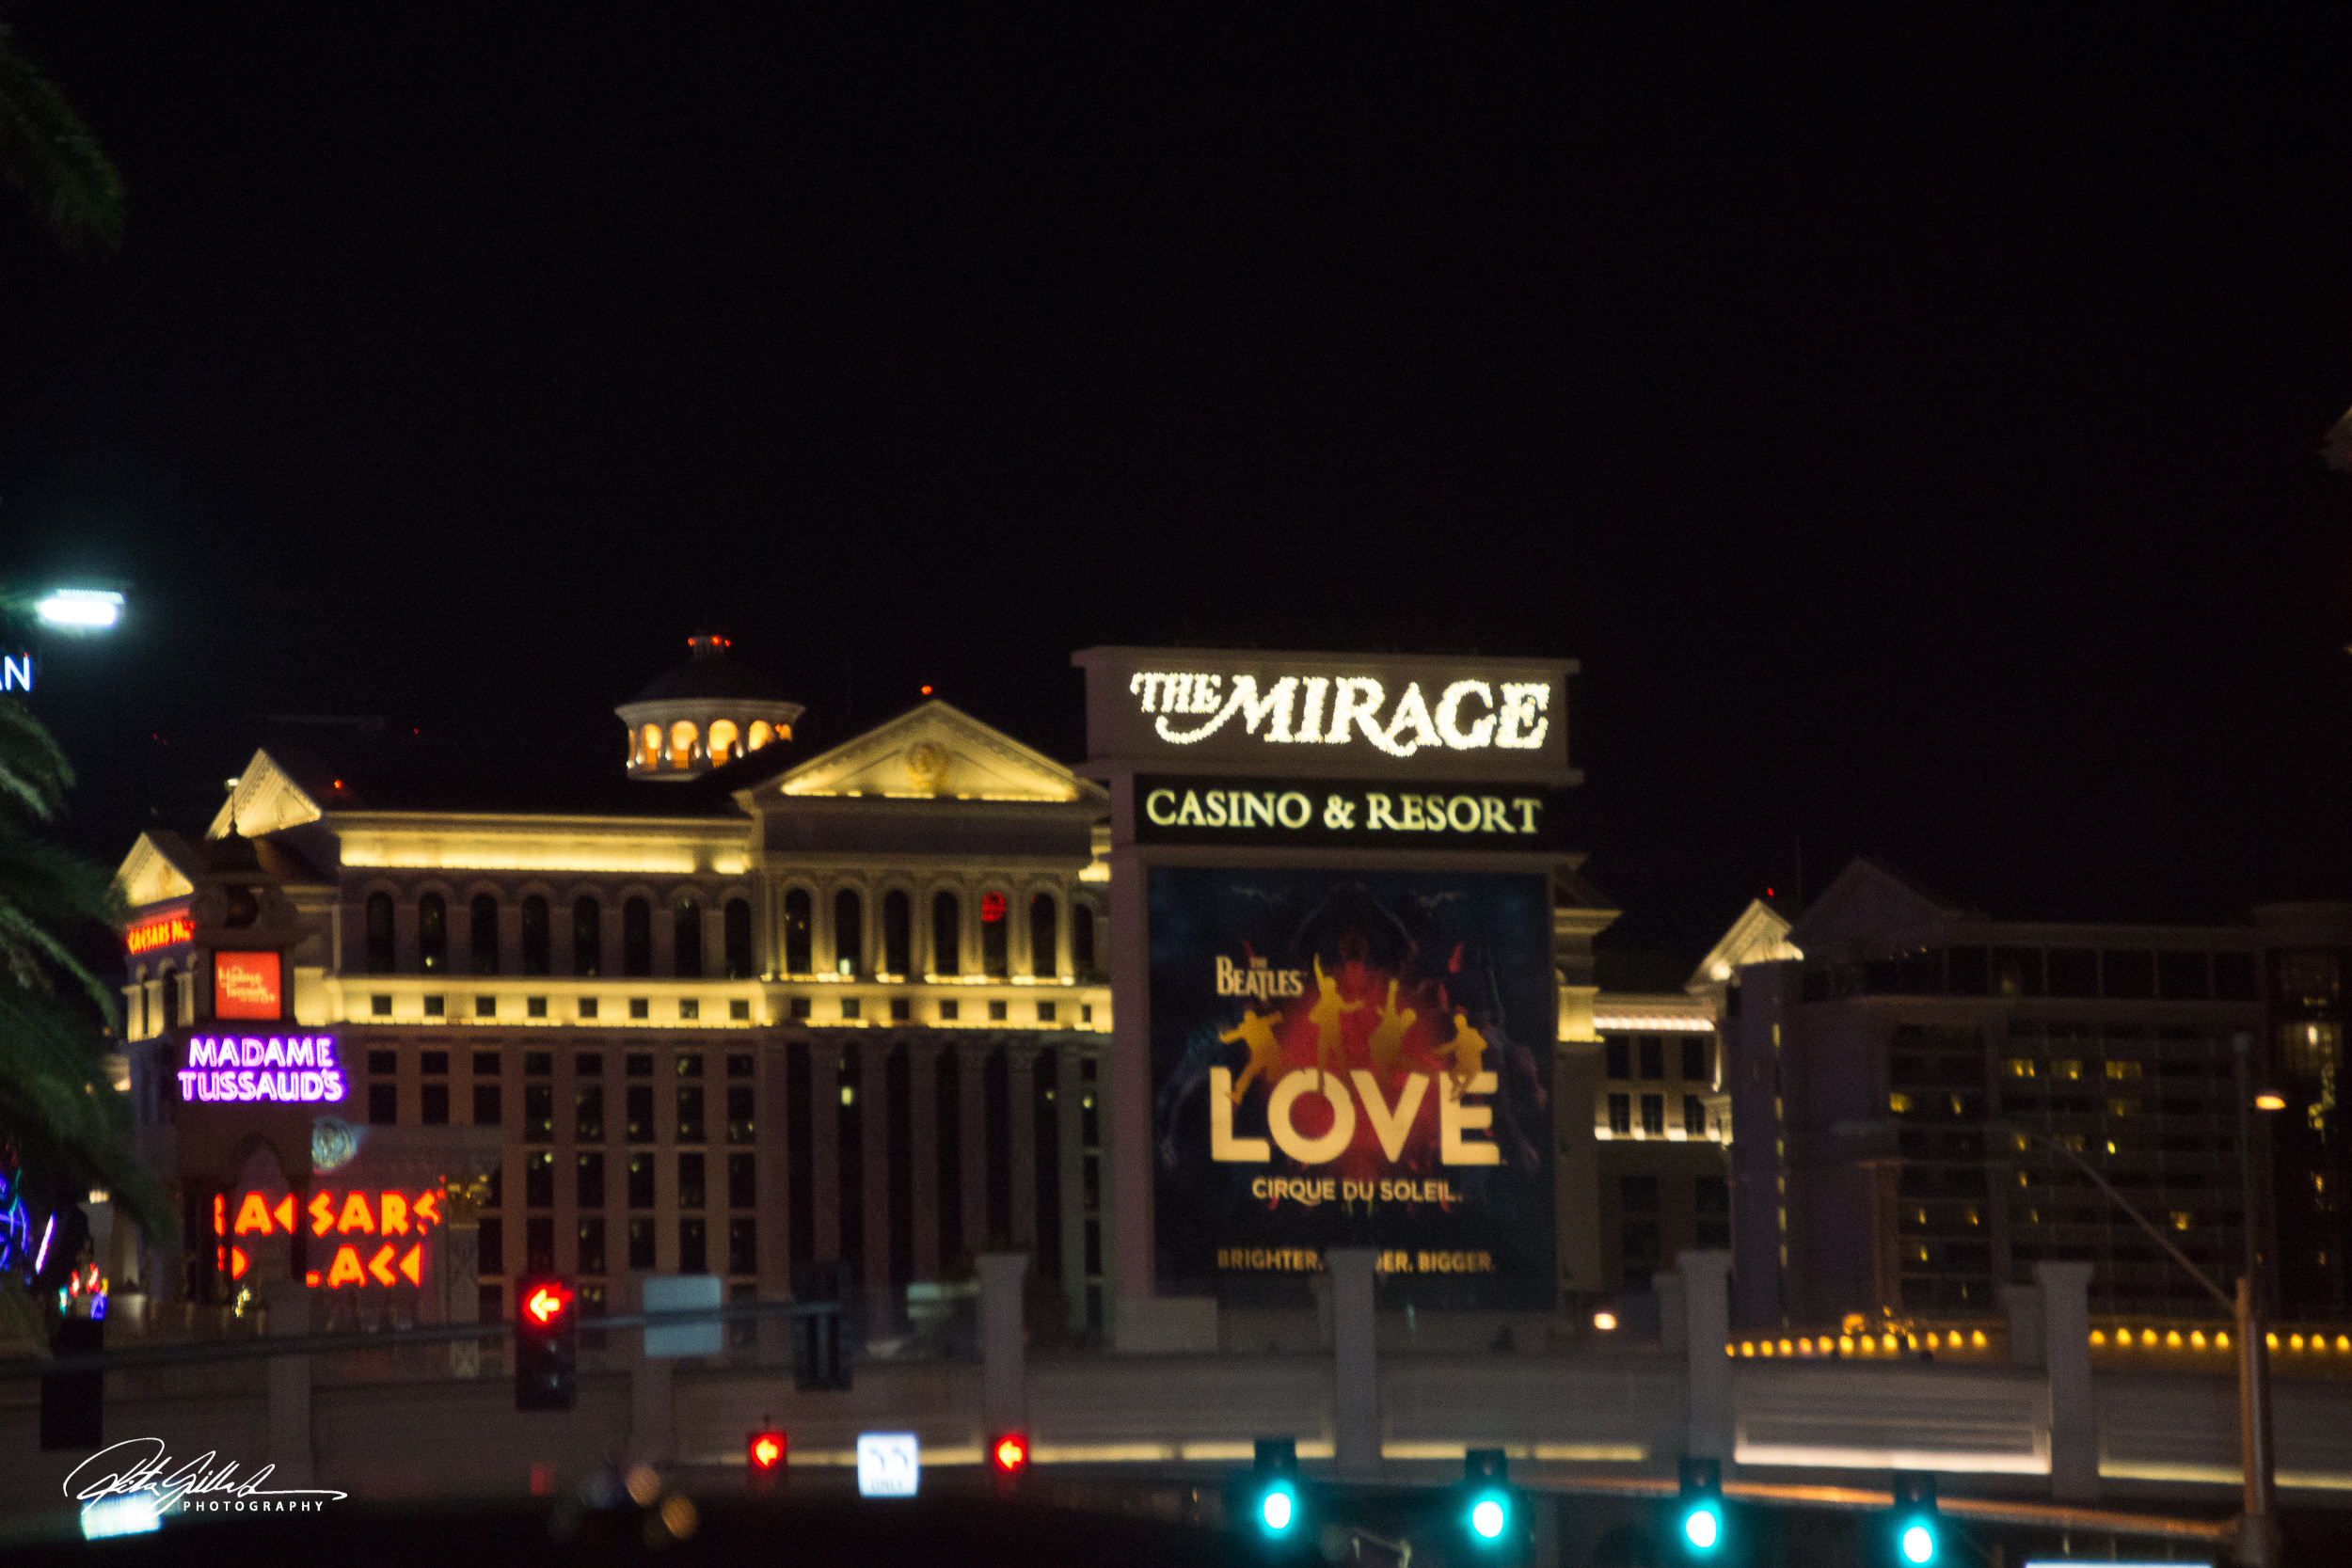
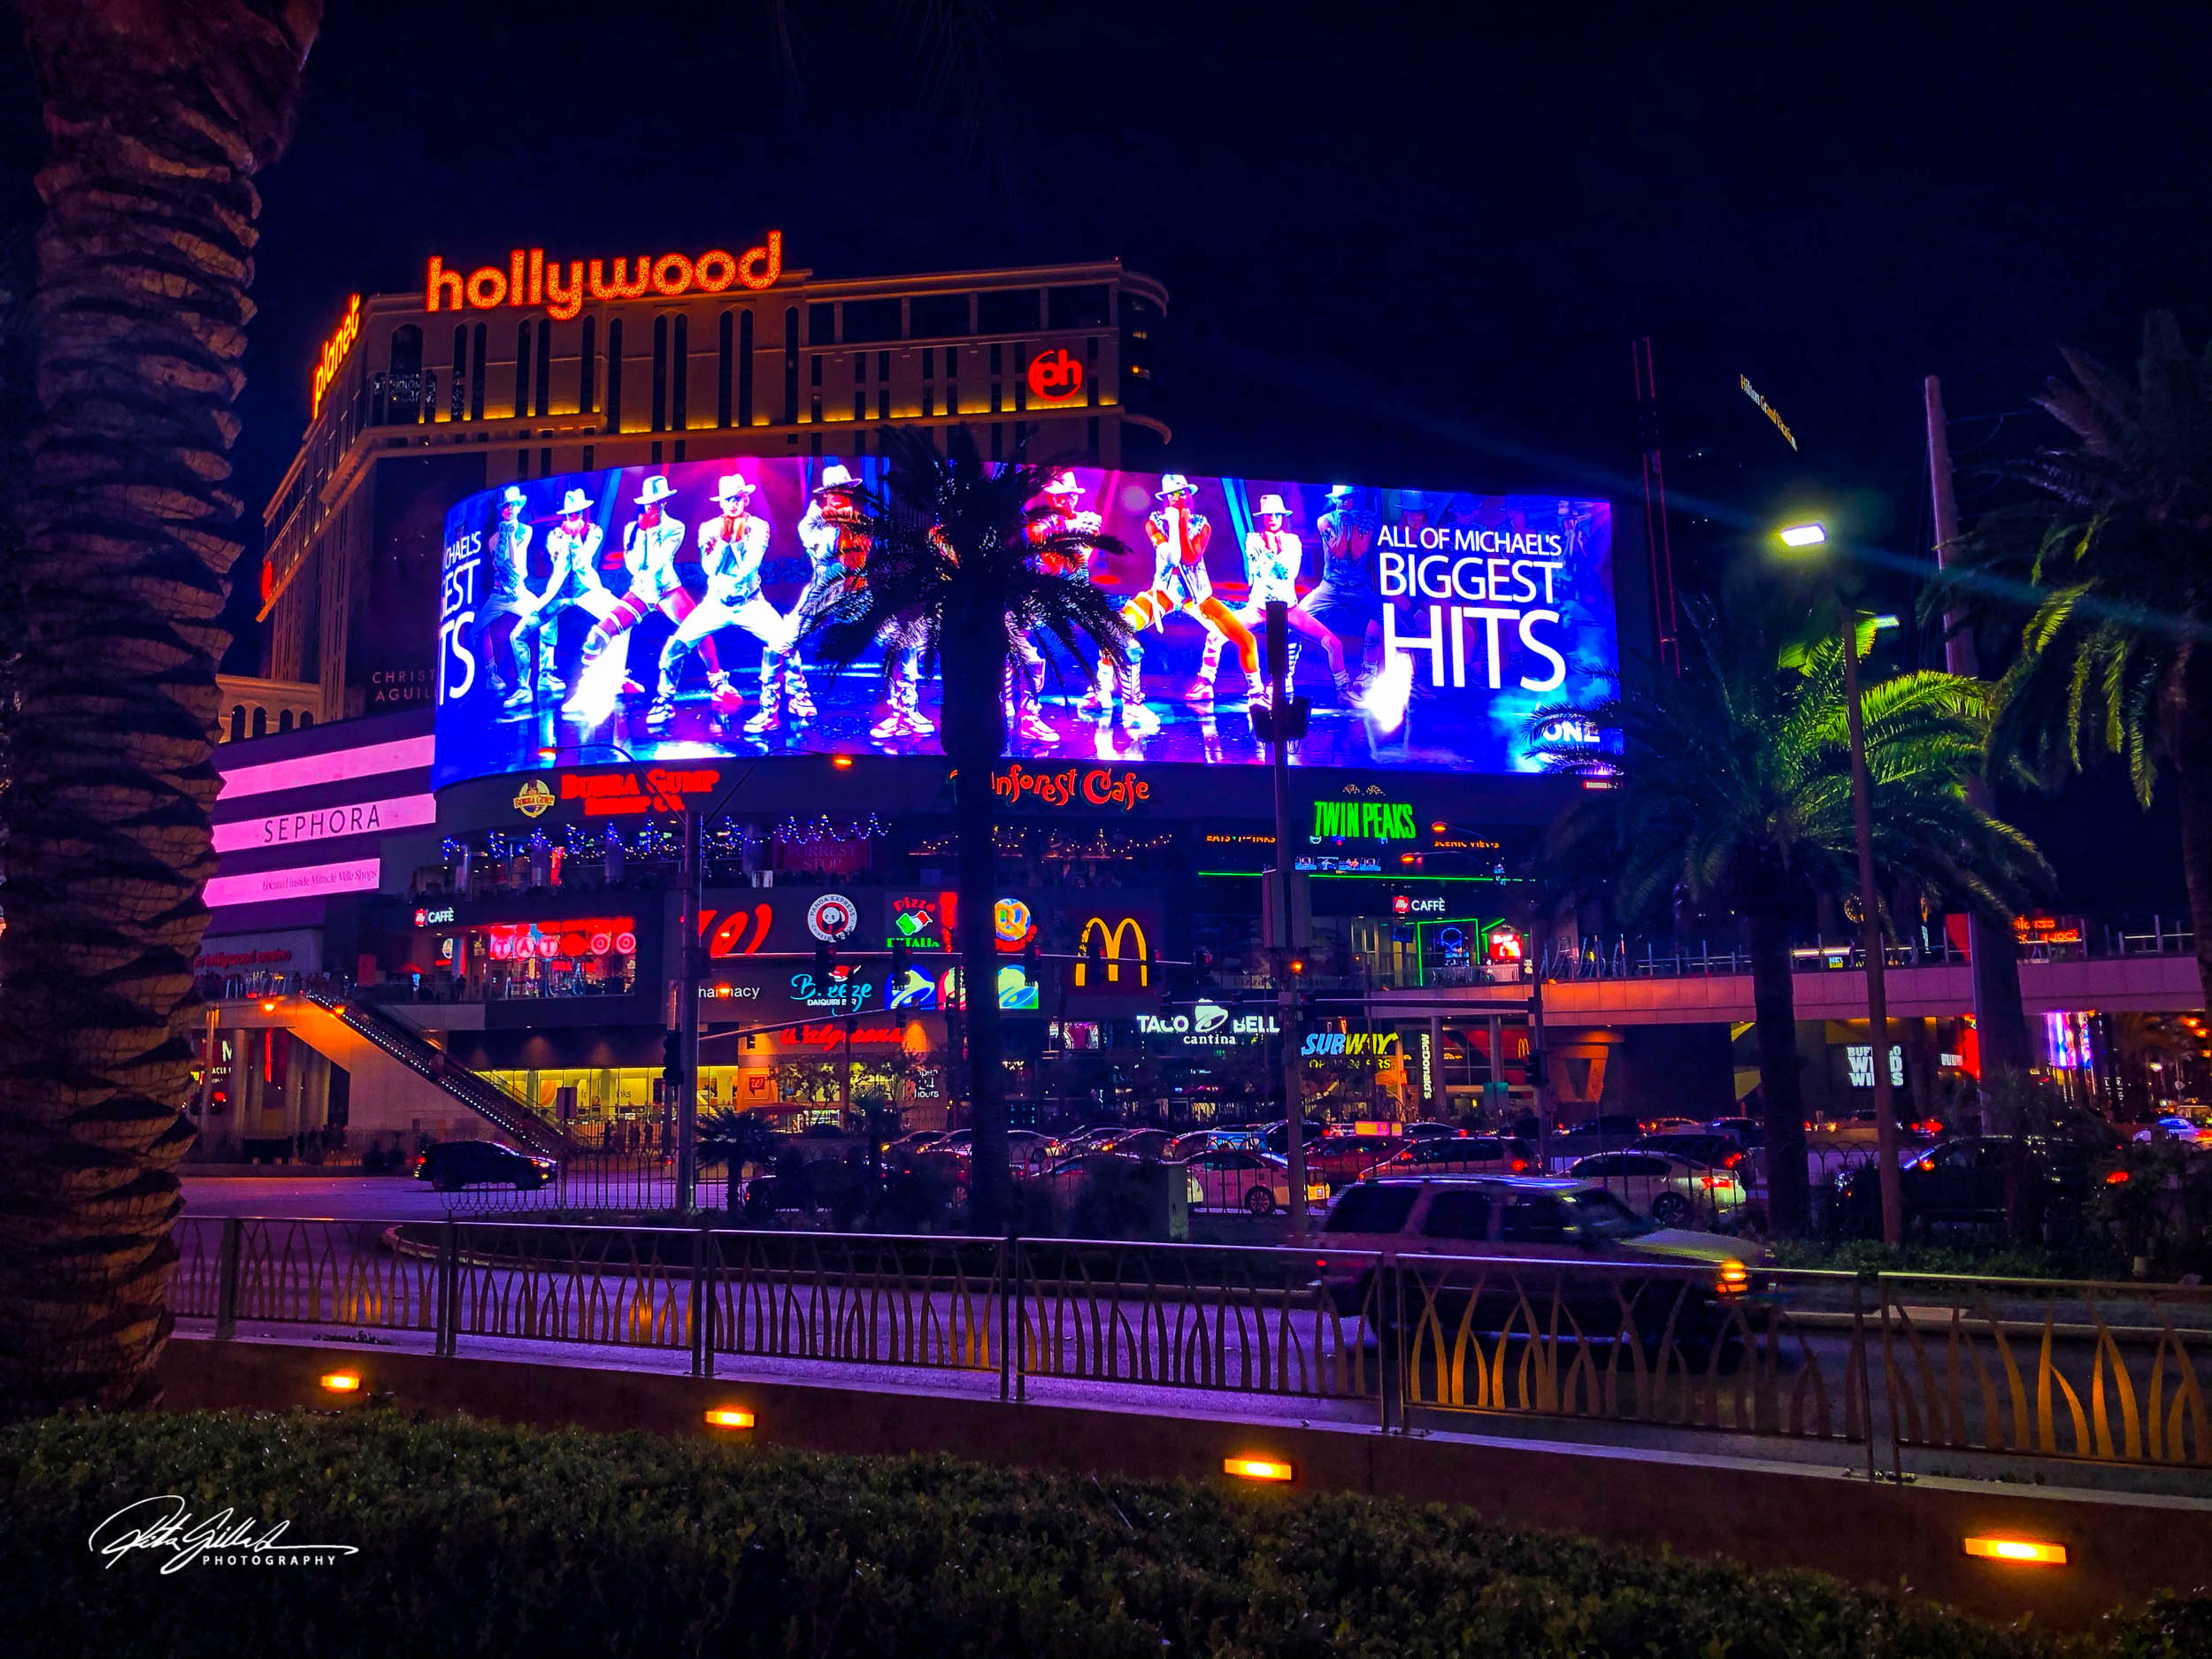
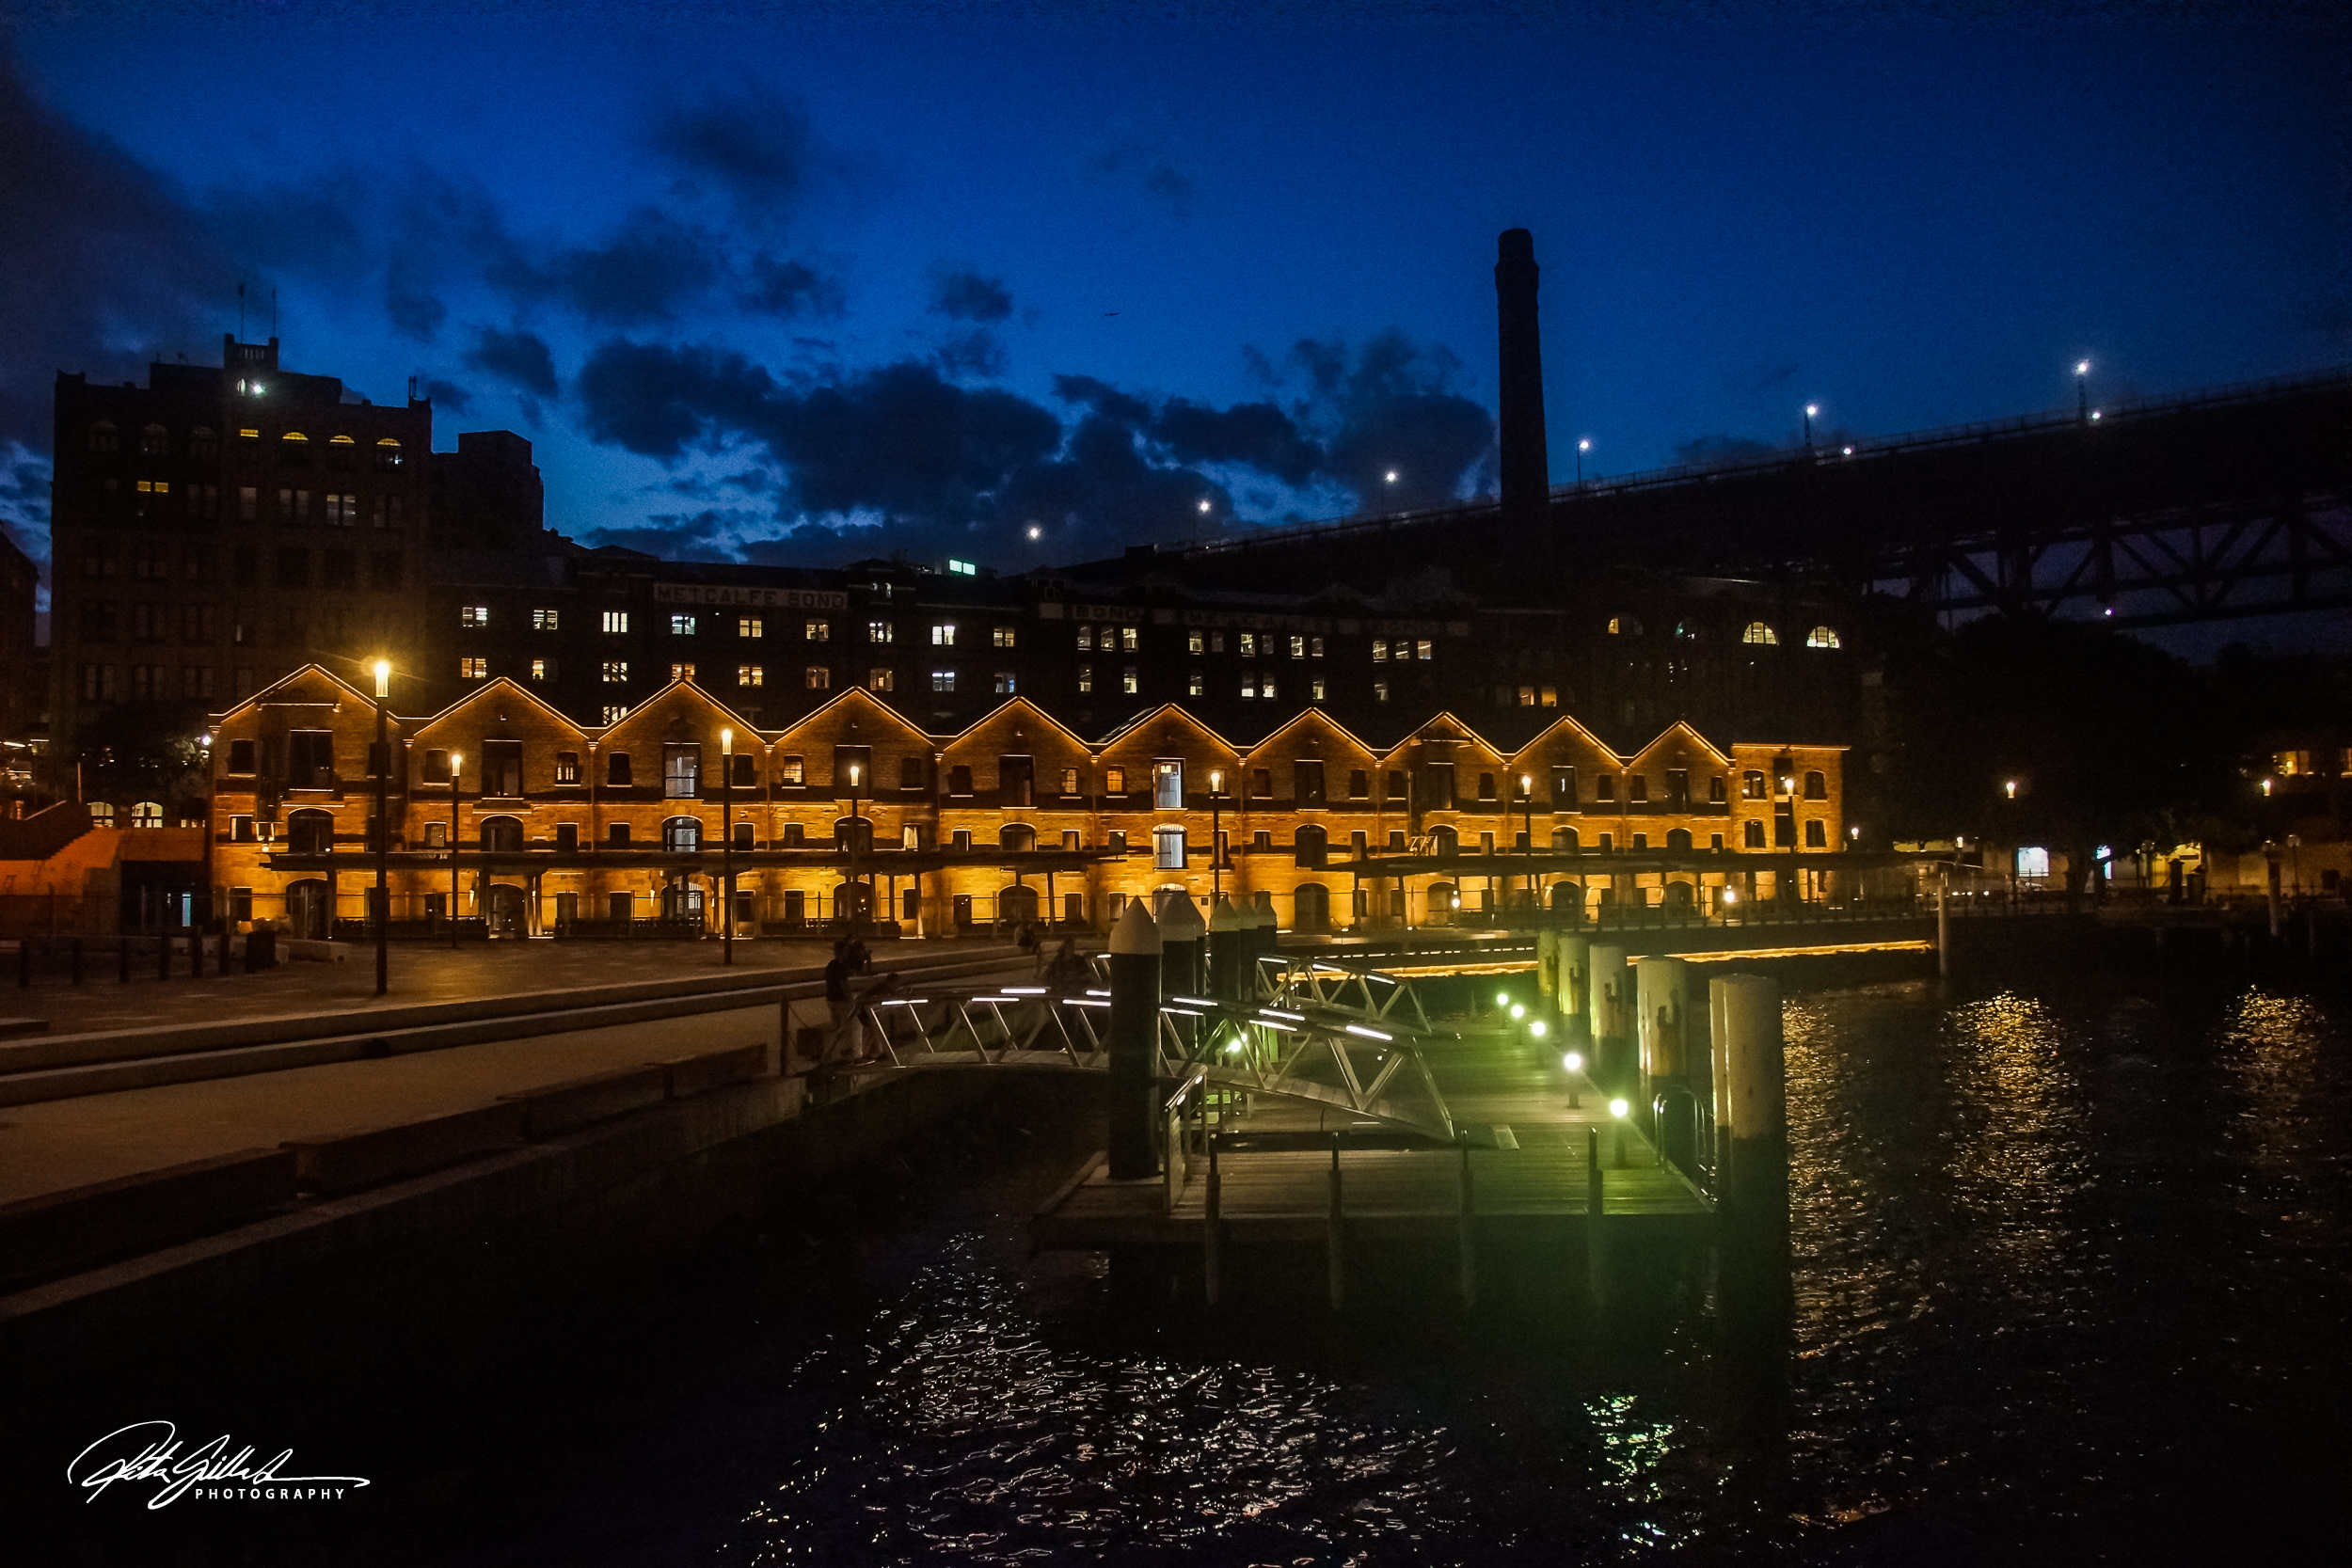
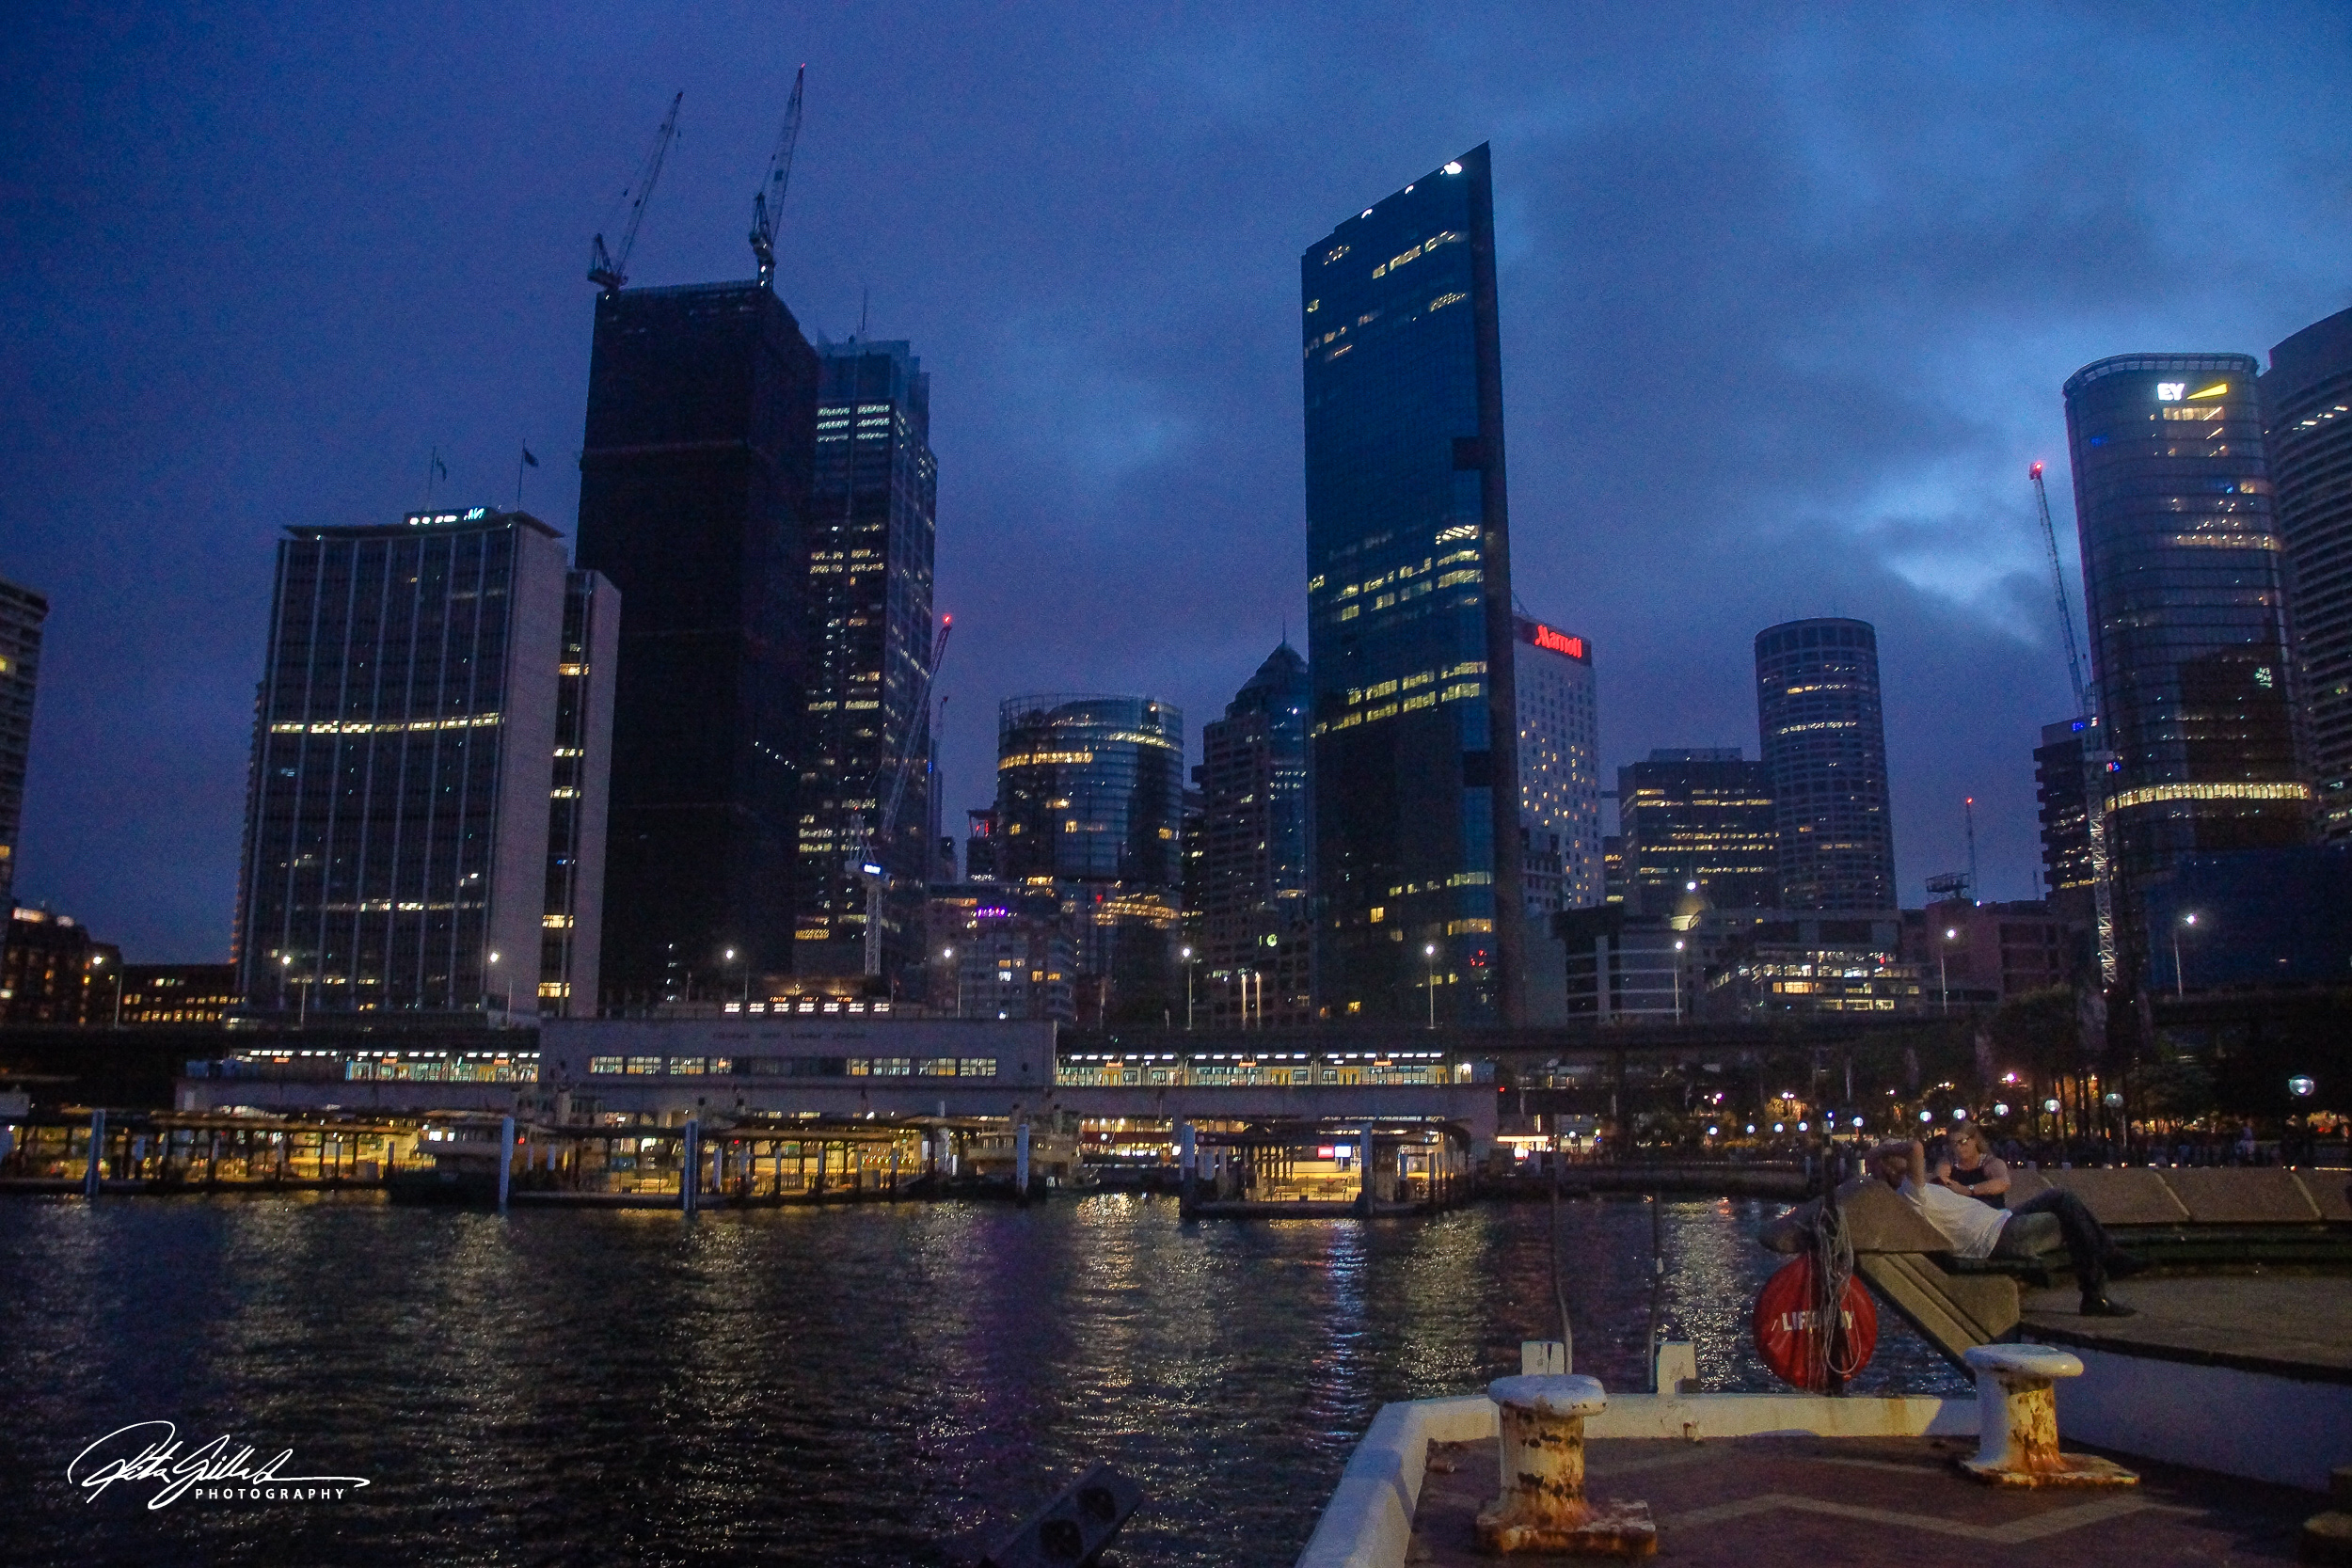
The thing about not having that sun around, is that everything is darker! In order to get more light to your sensor, you’ll want to slap that camera onto a tripod. or rest it on a flat surface, and set your shutter speeds to lower settings, like multiple seconds, and the night scenes in front of you will come alive!
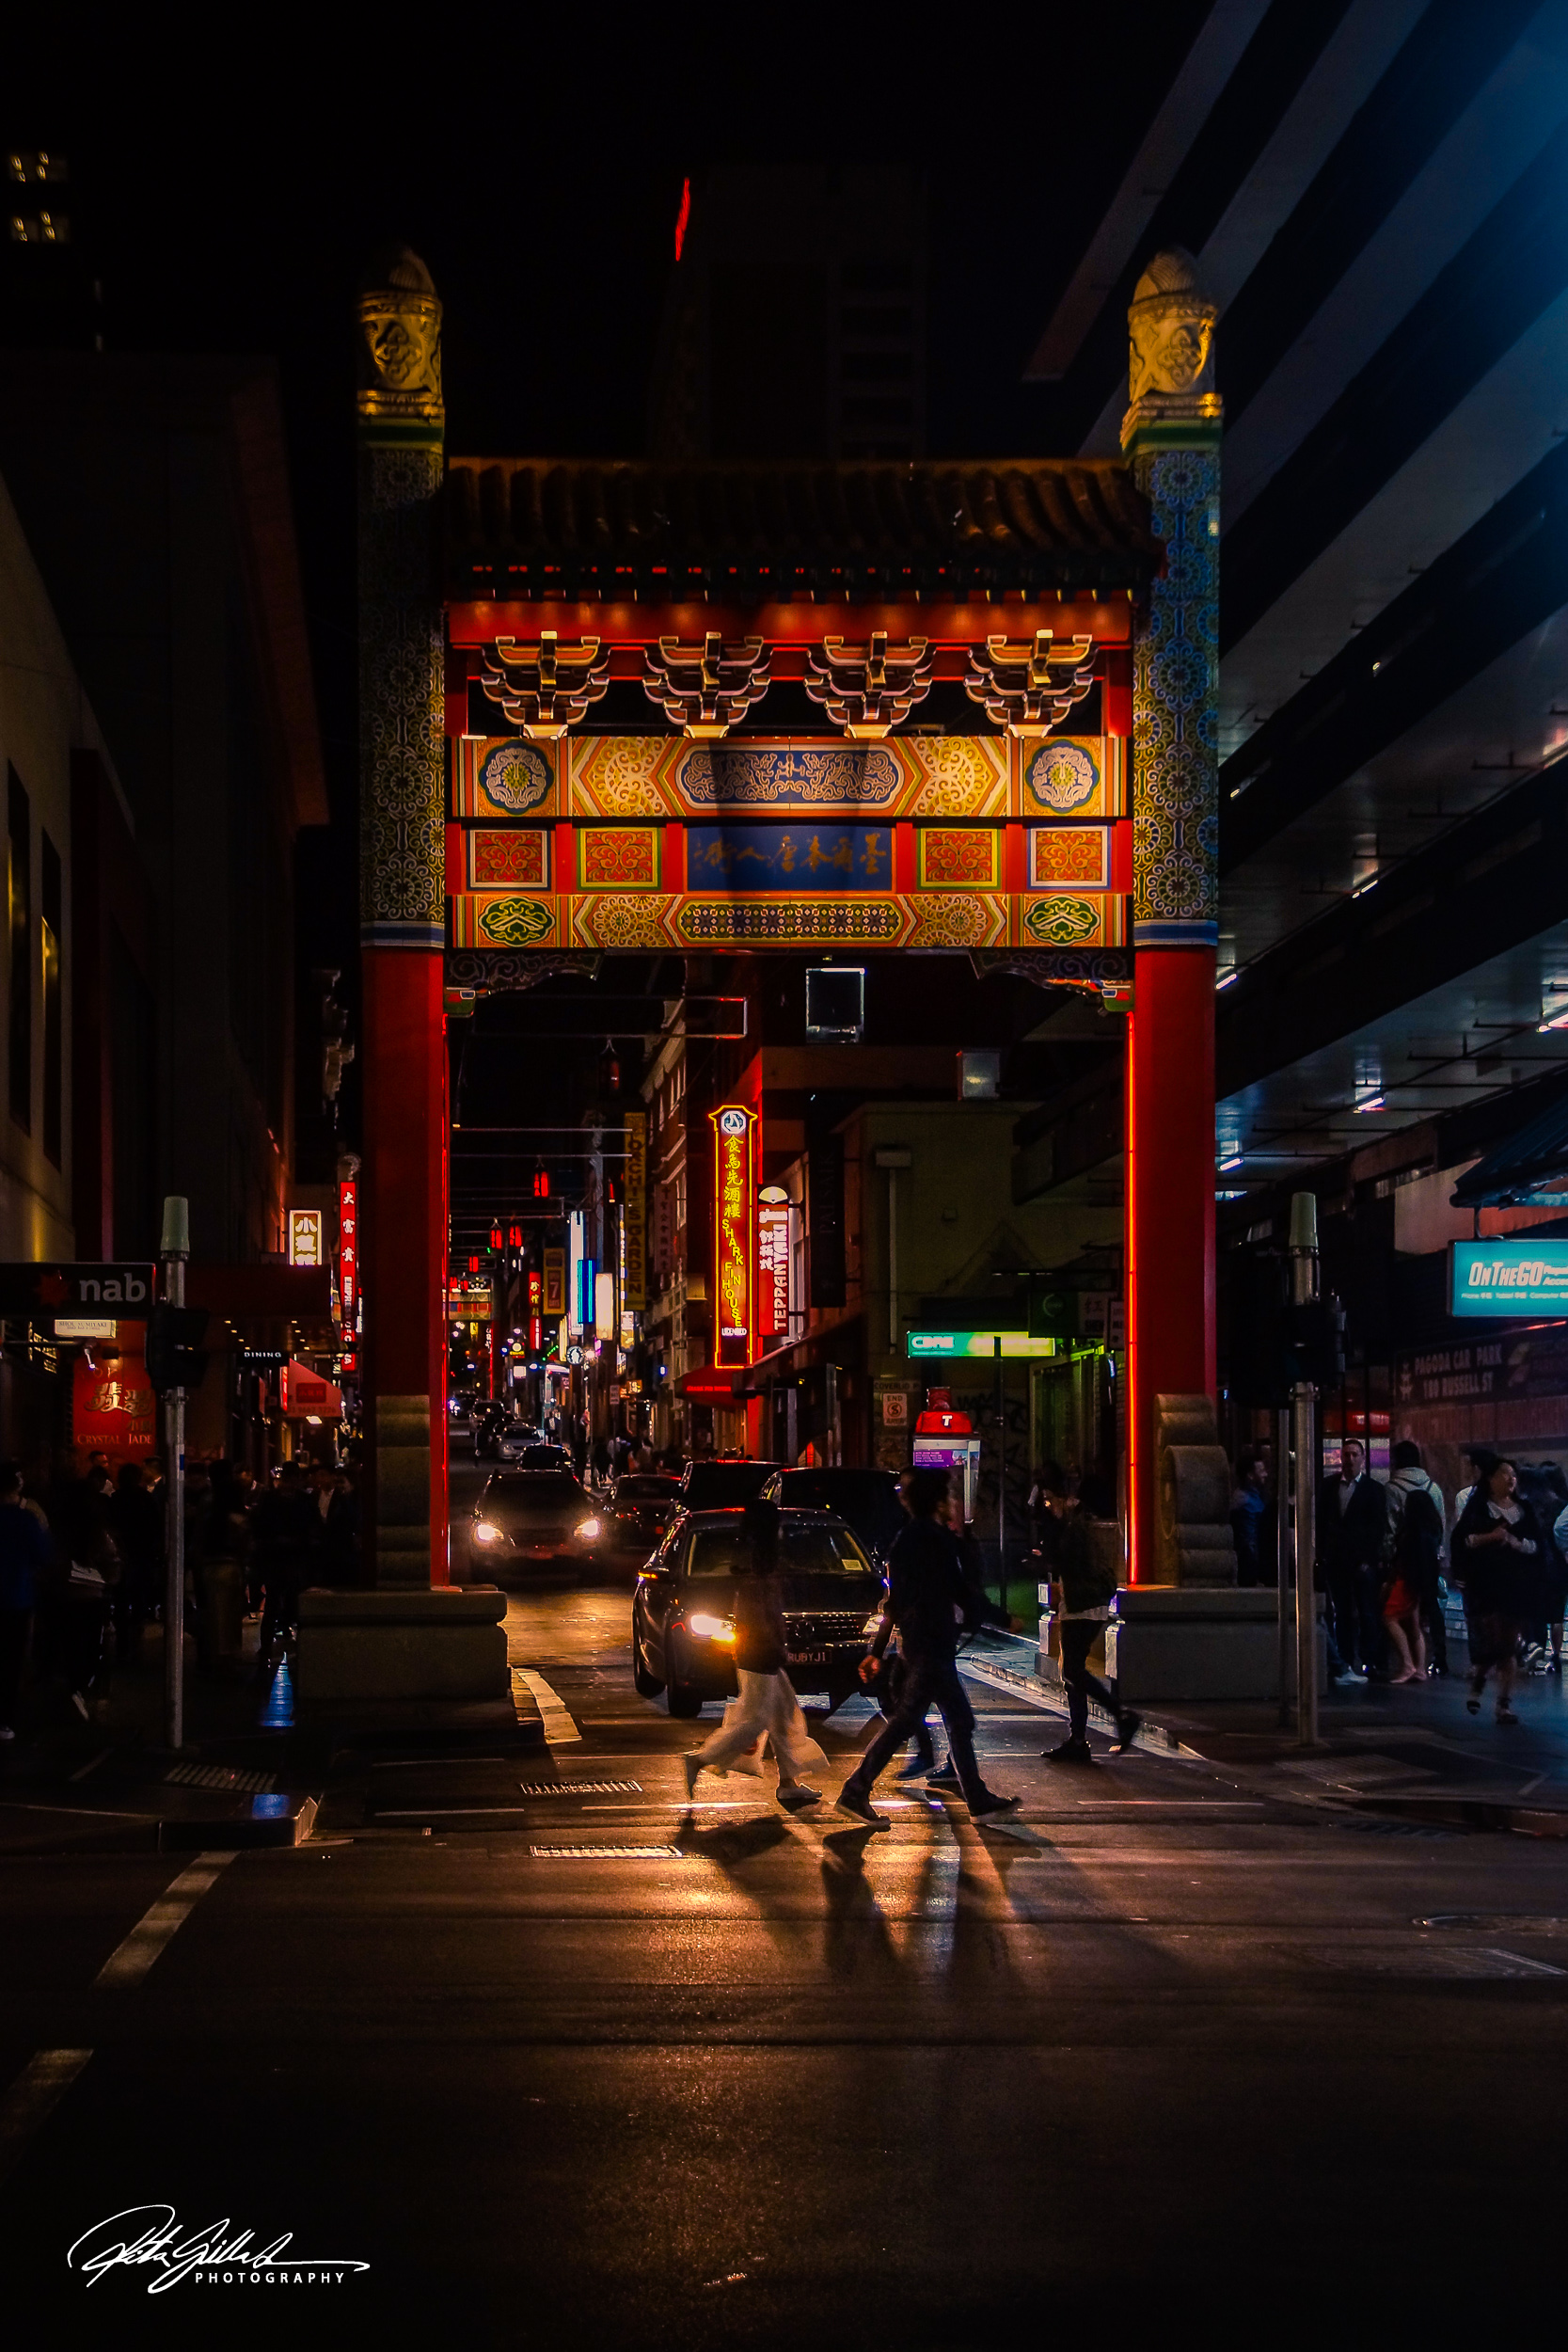
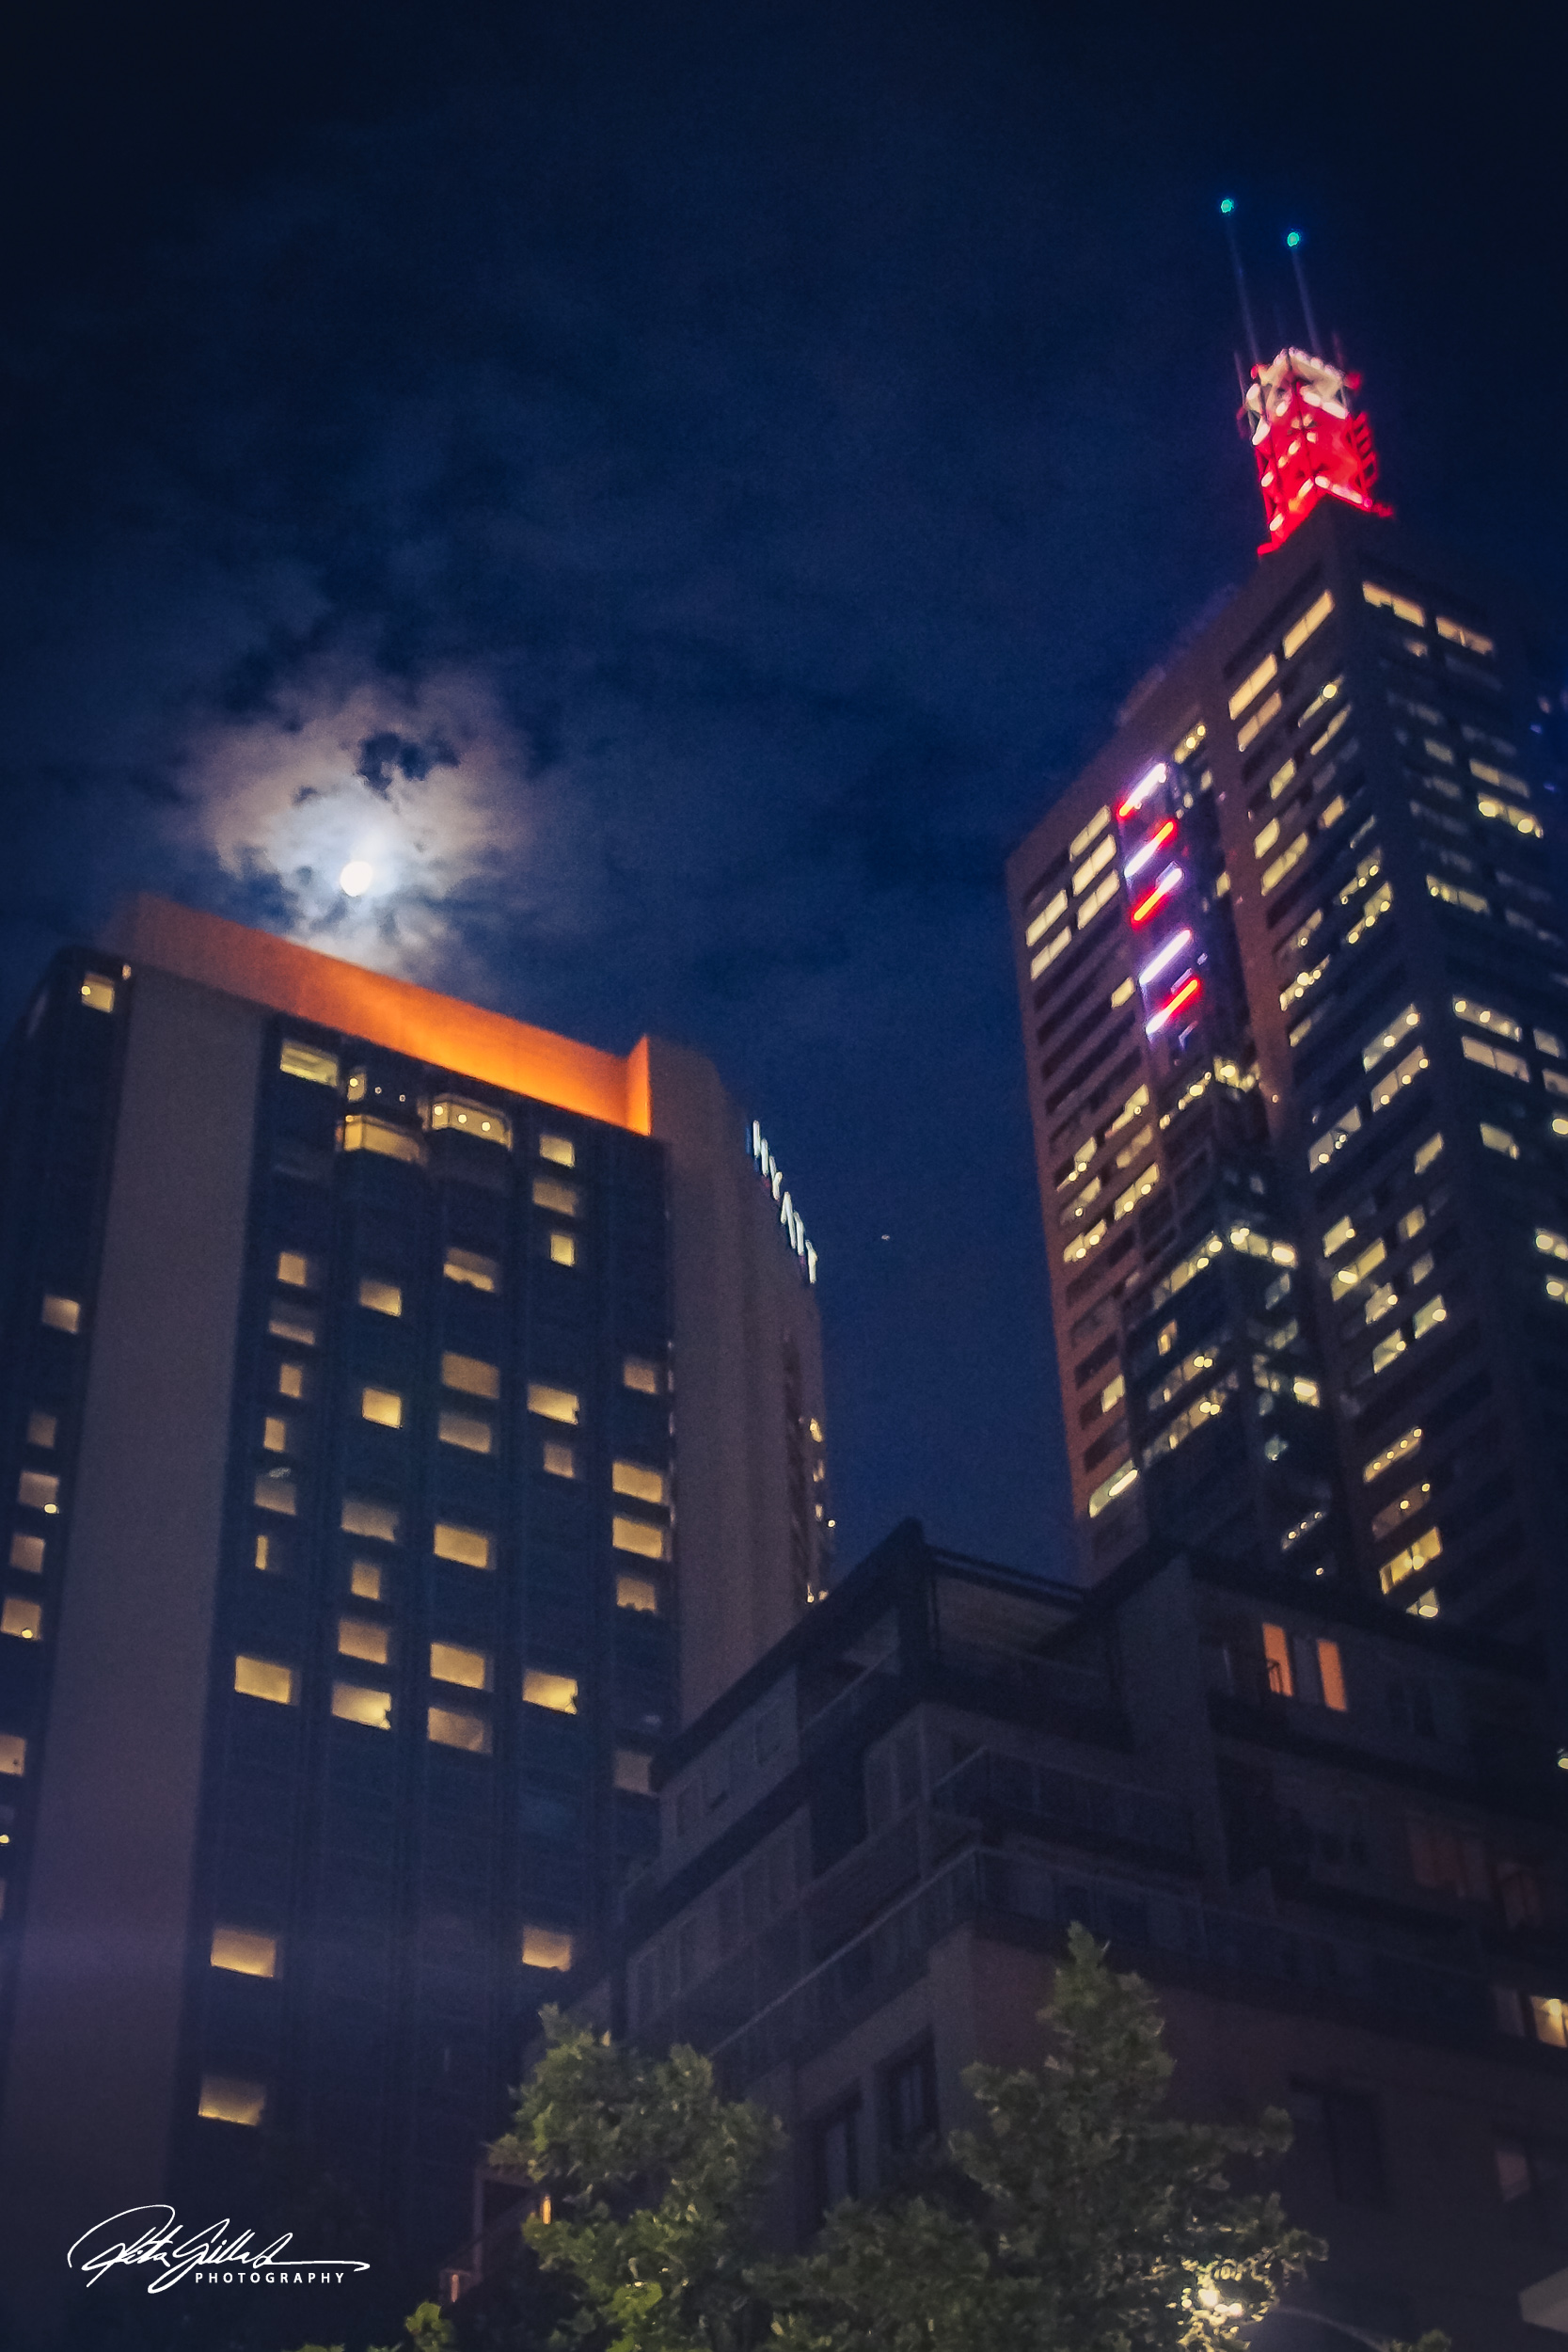
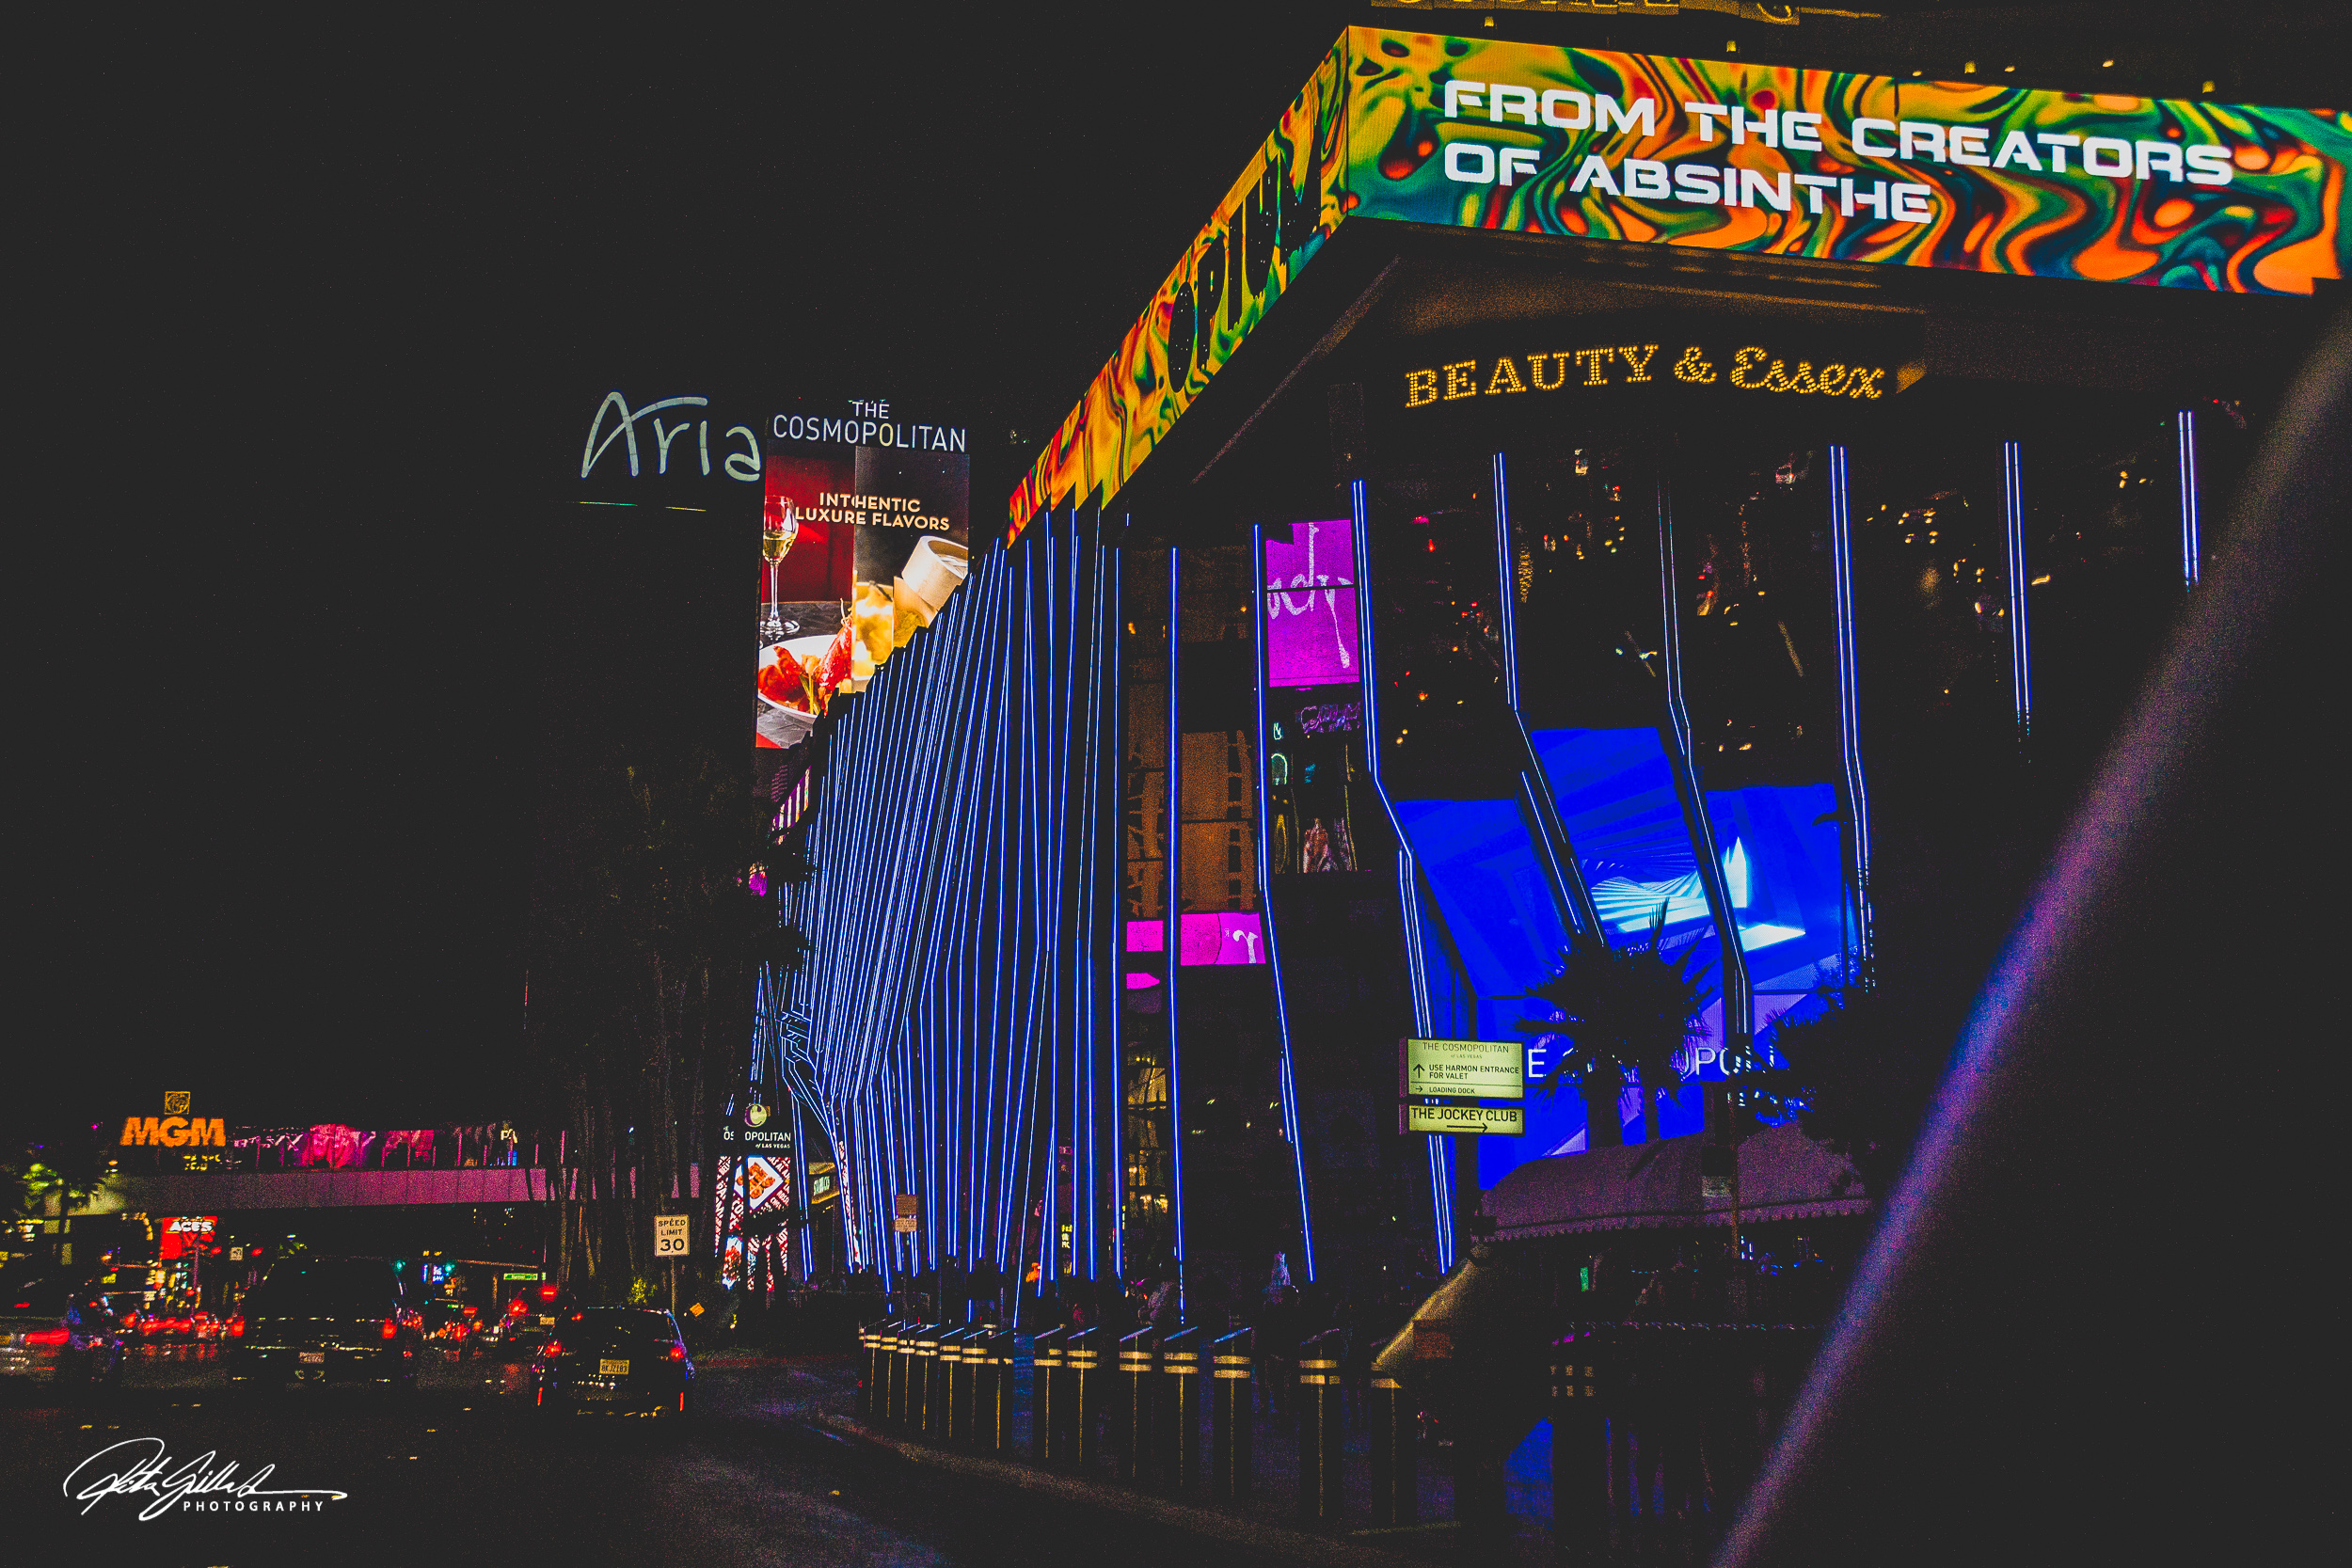
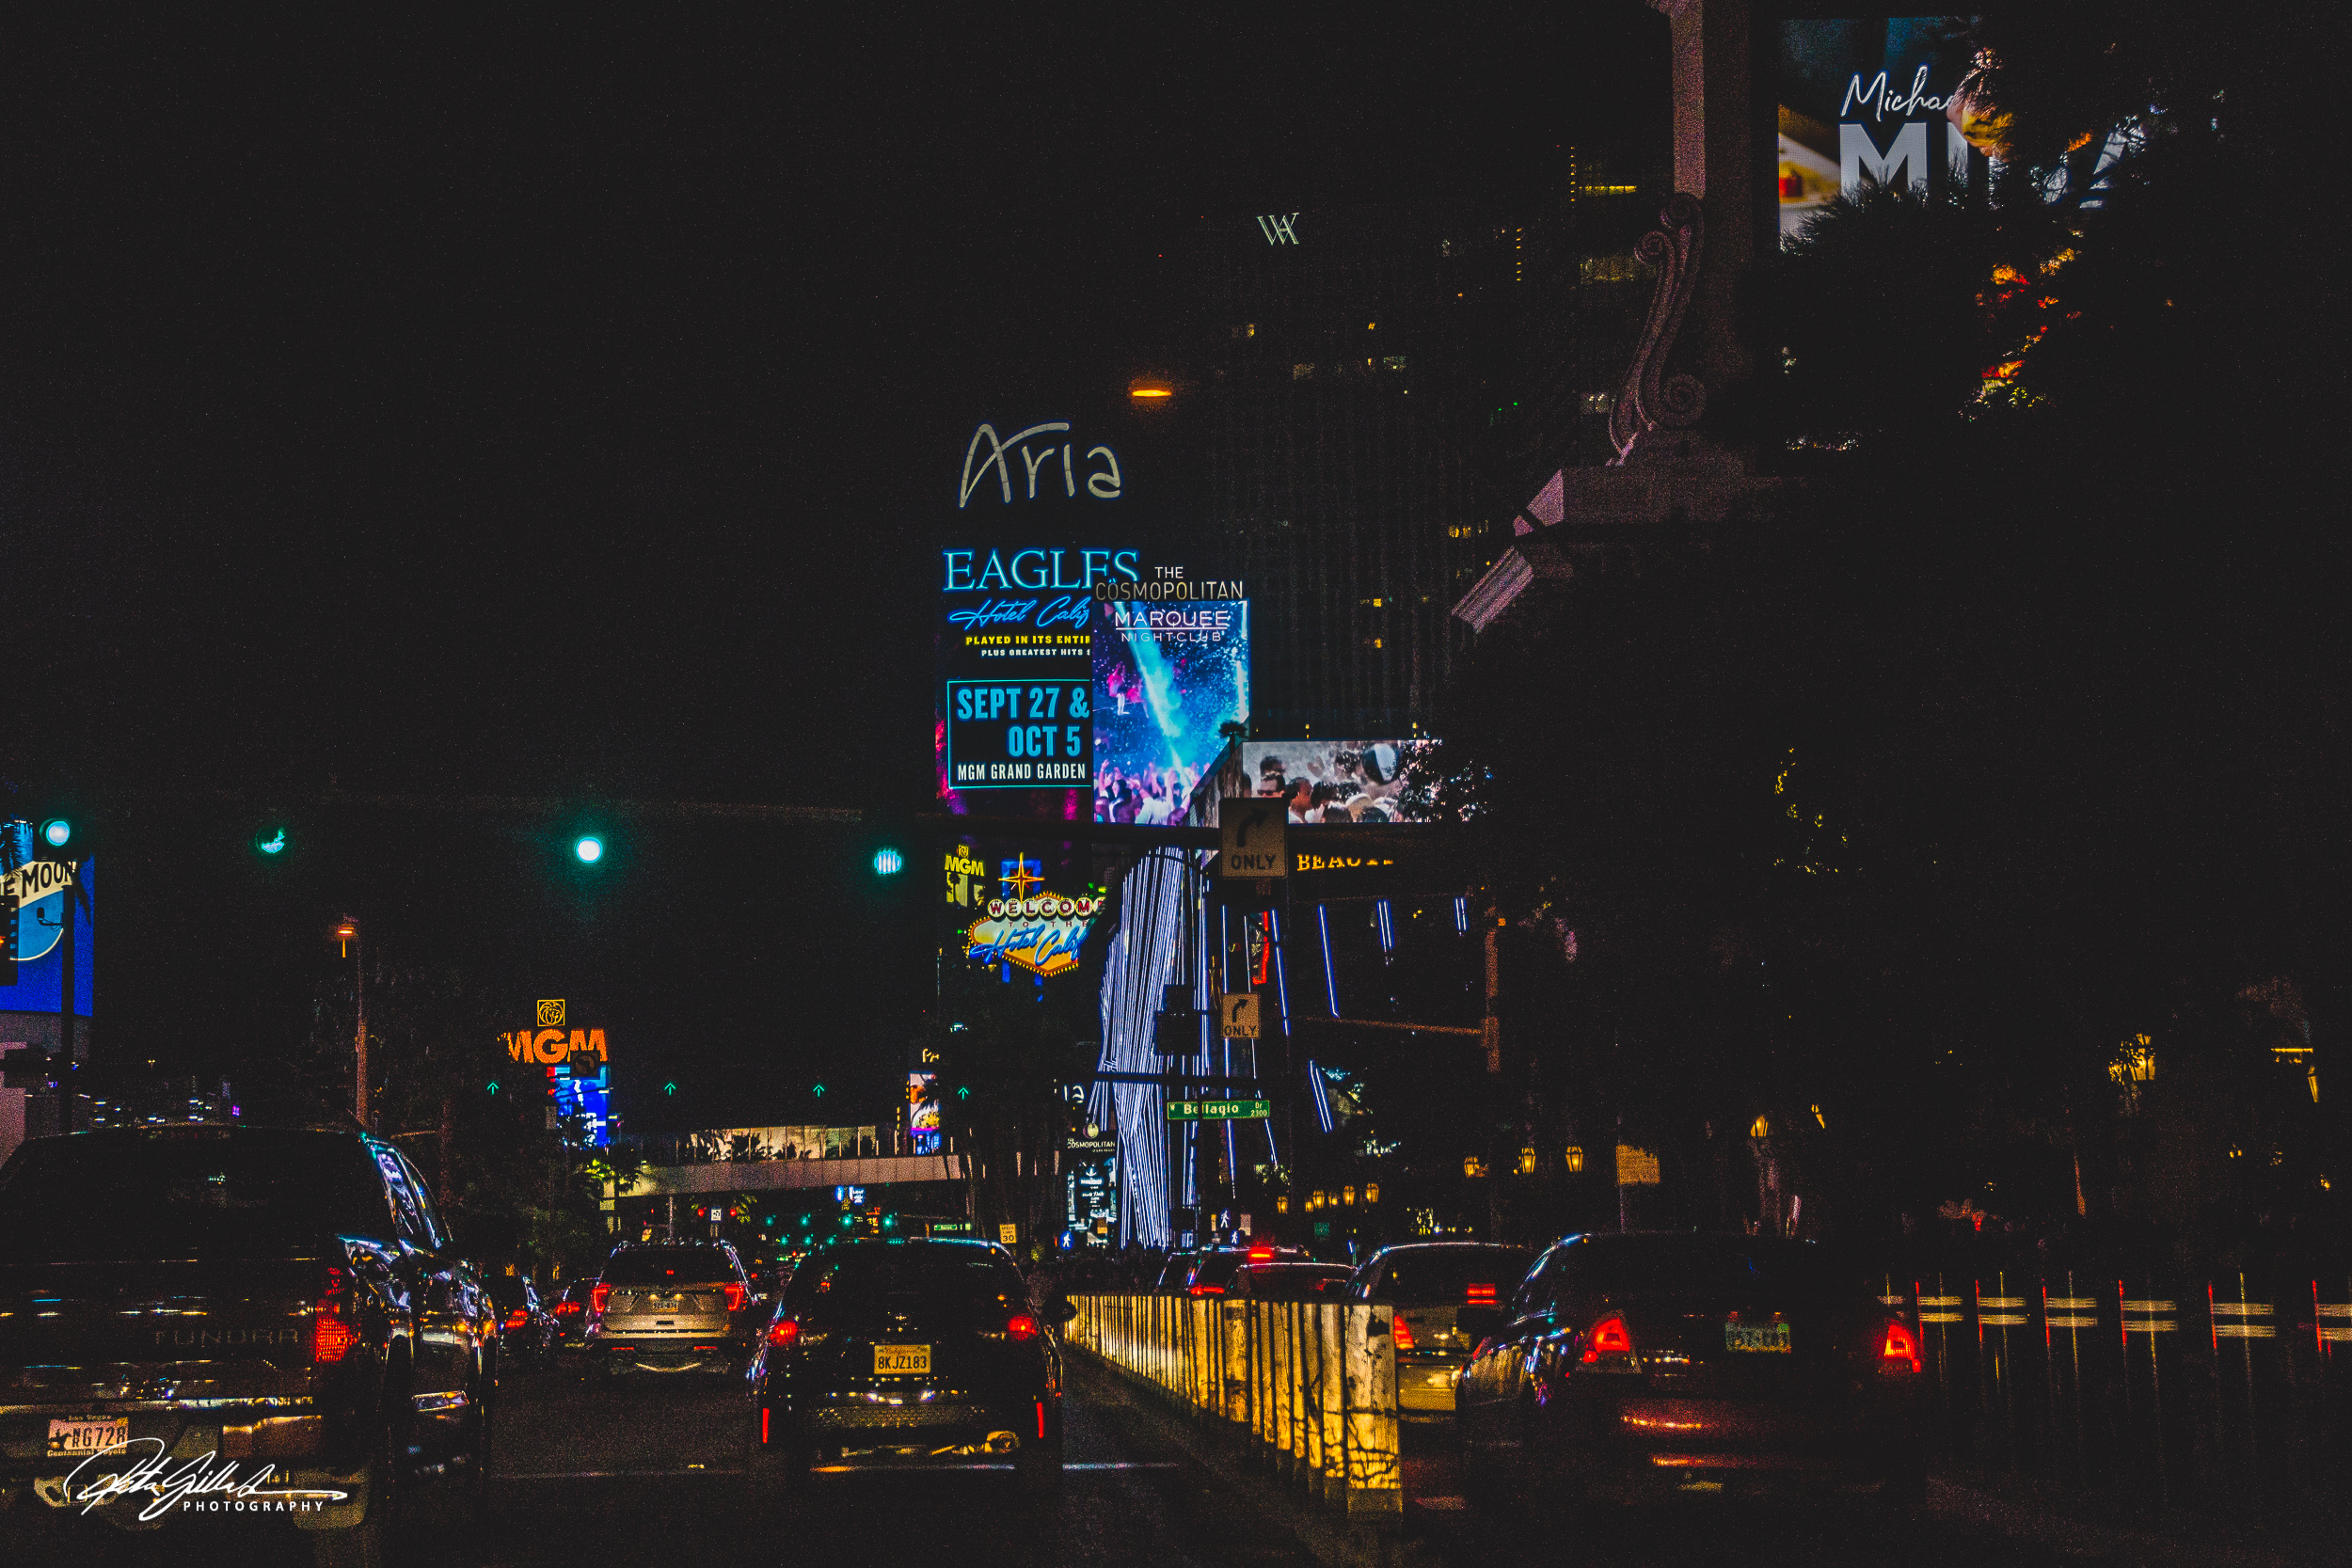
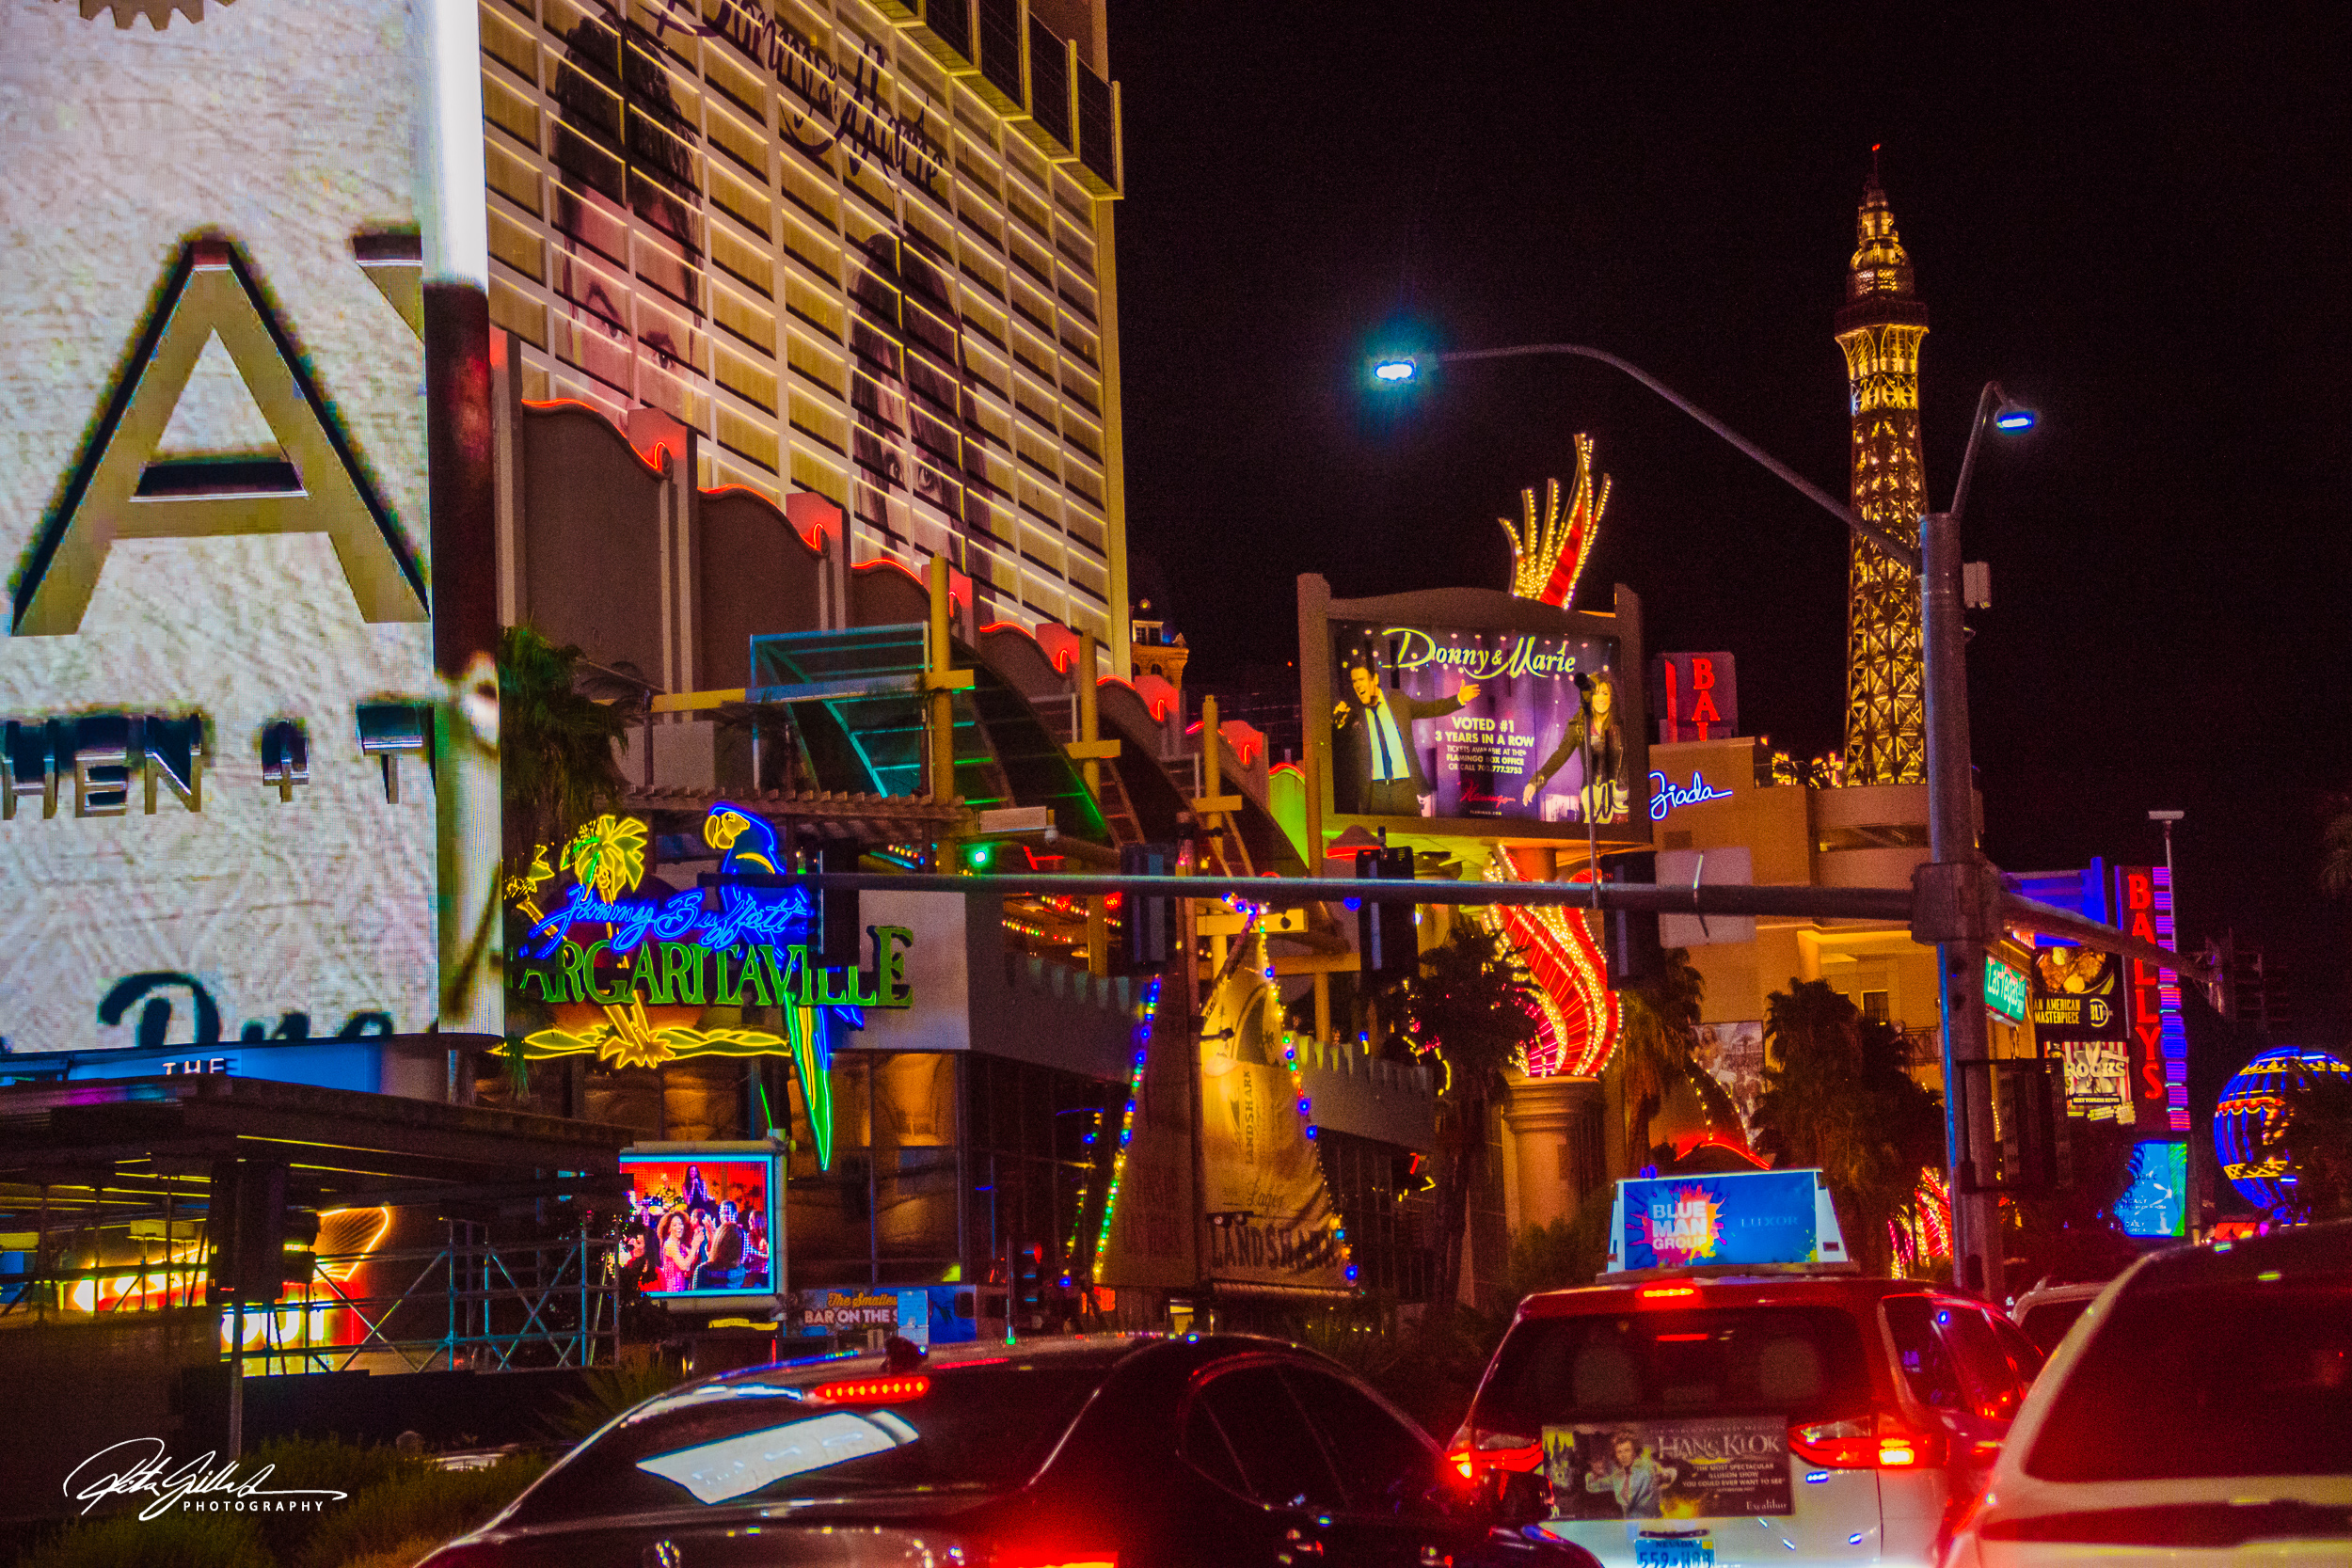
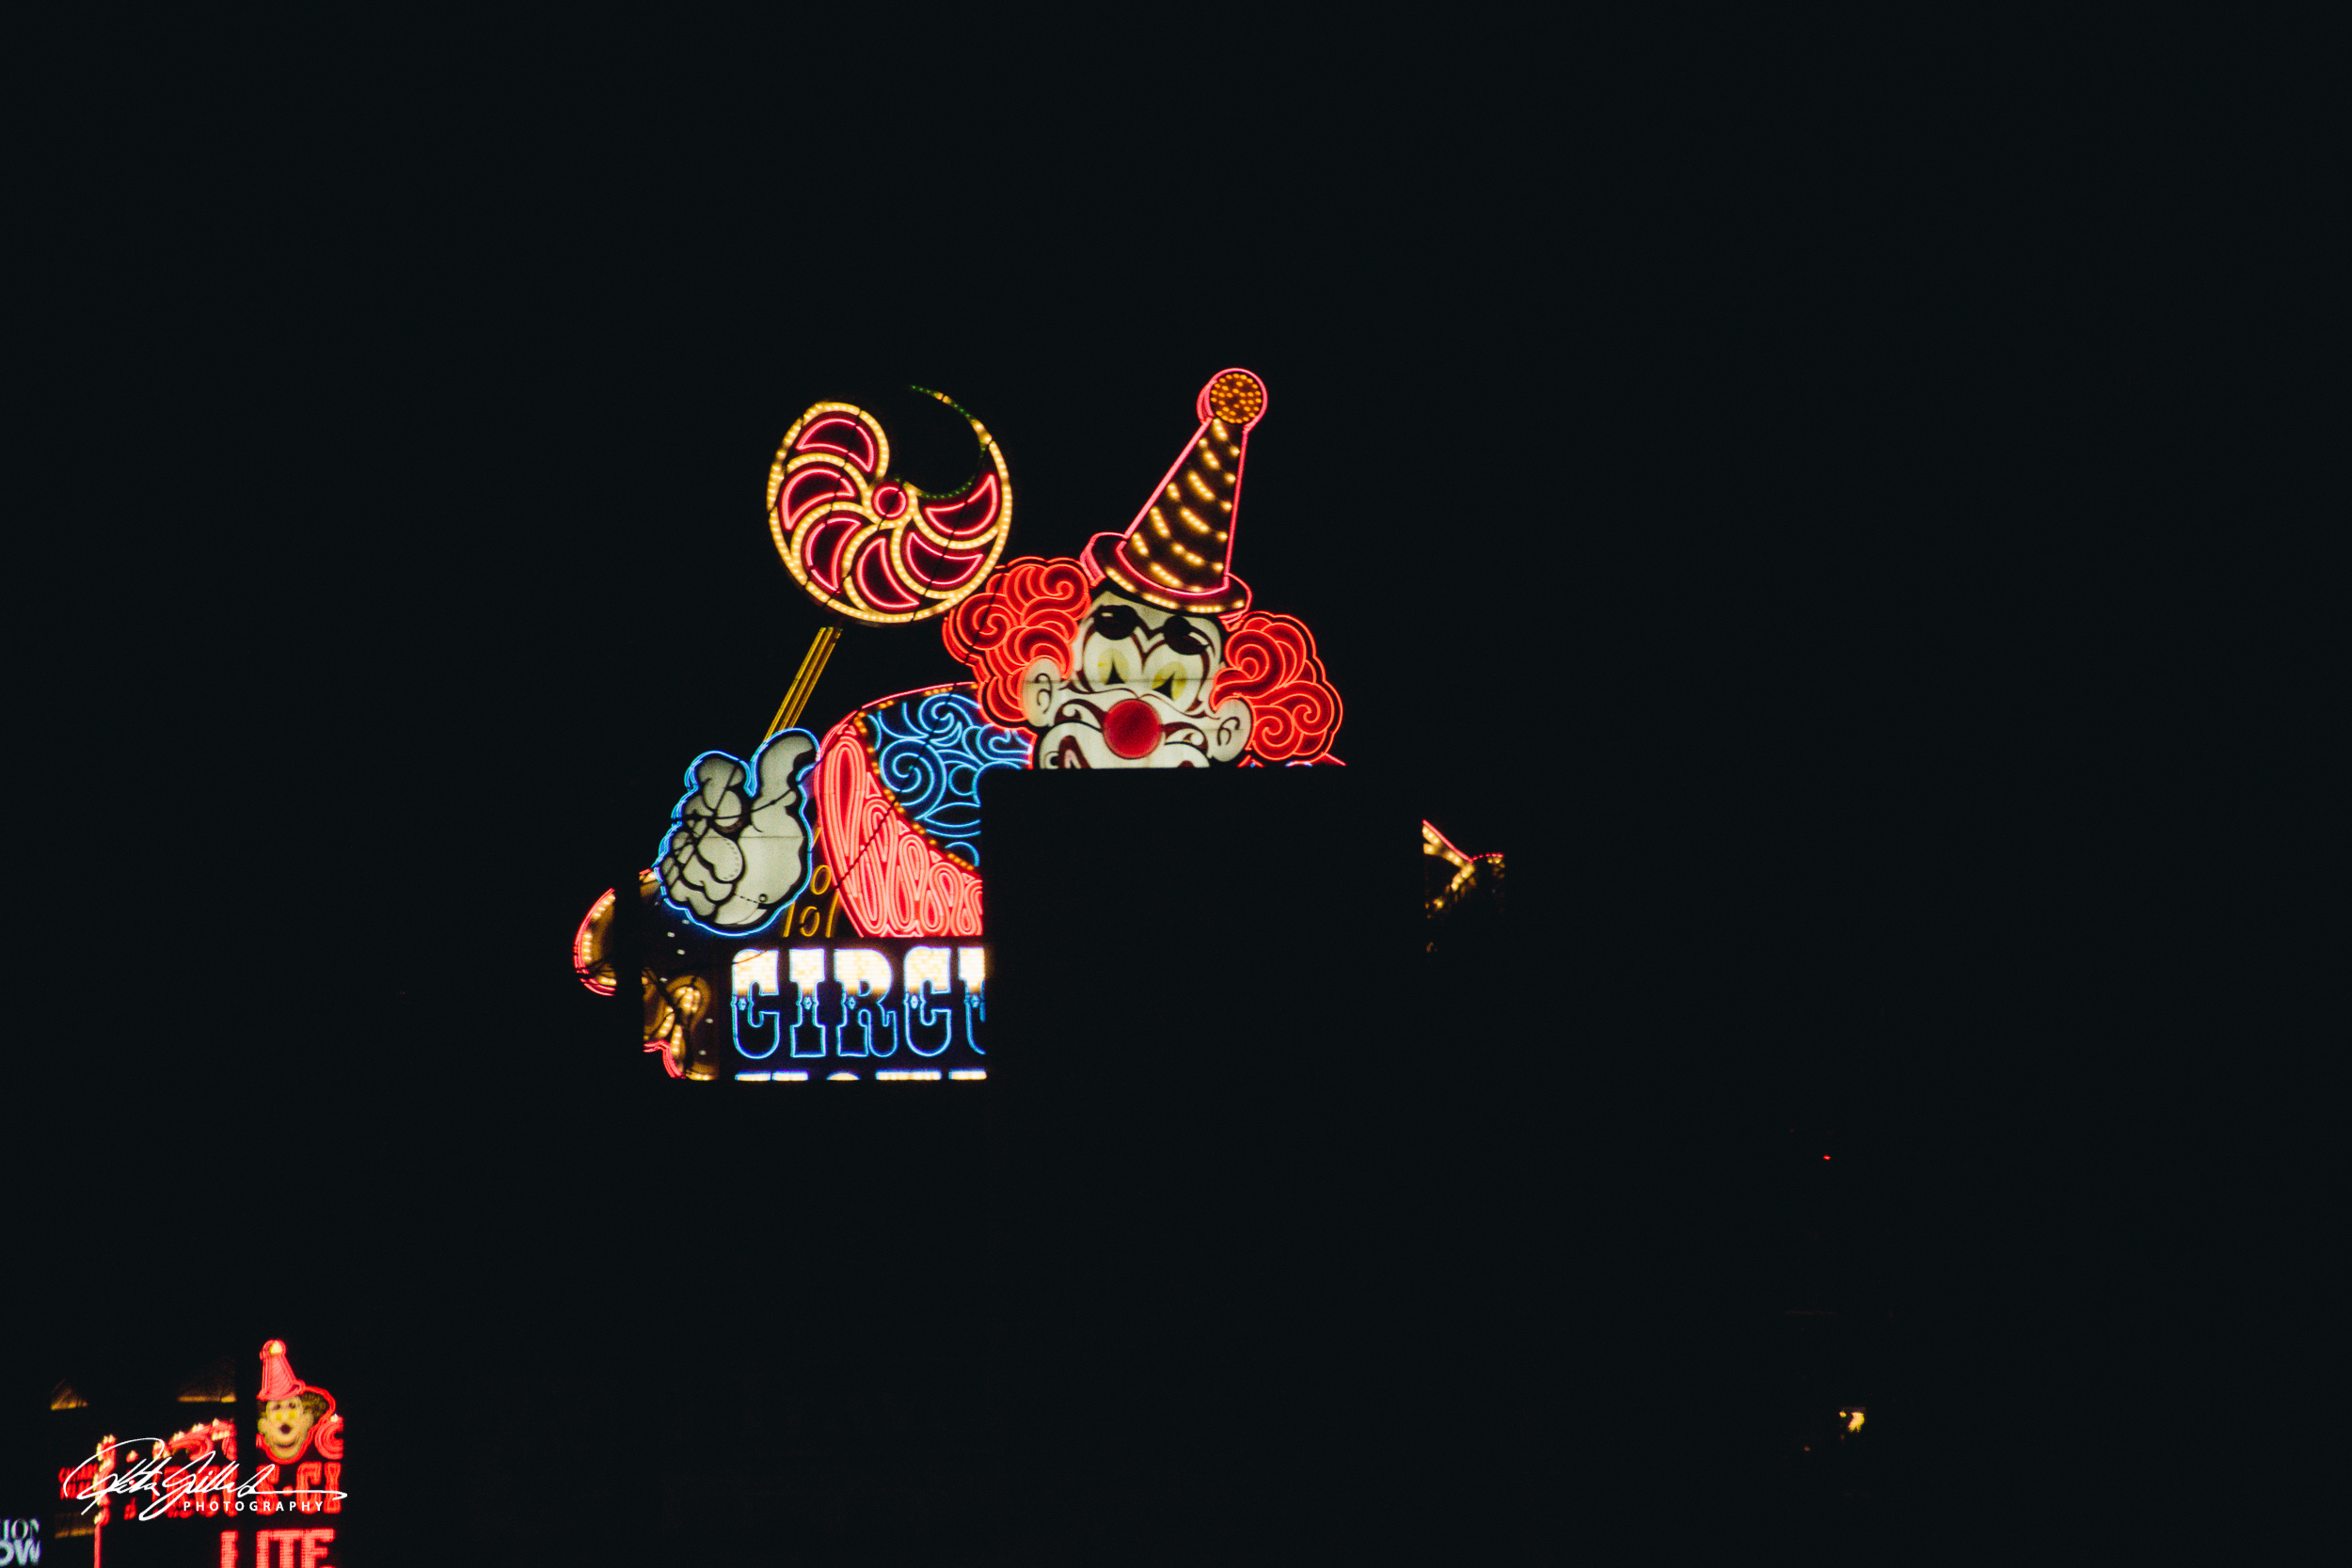
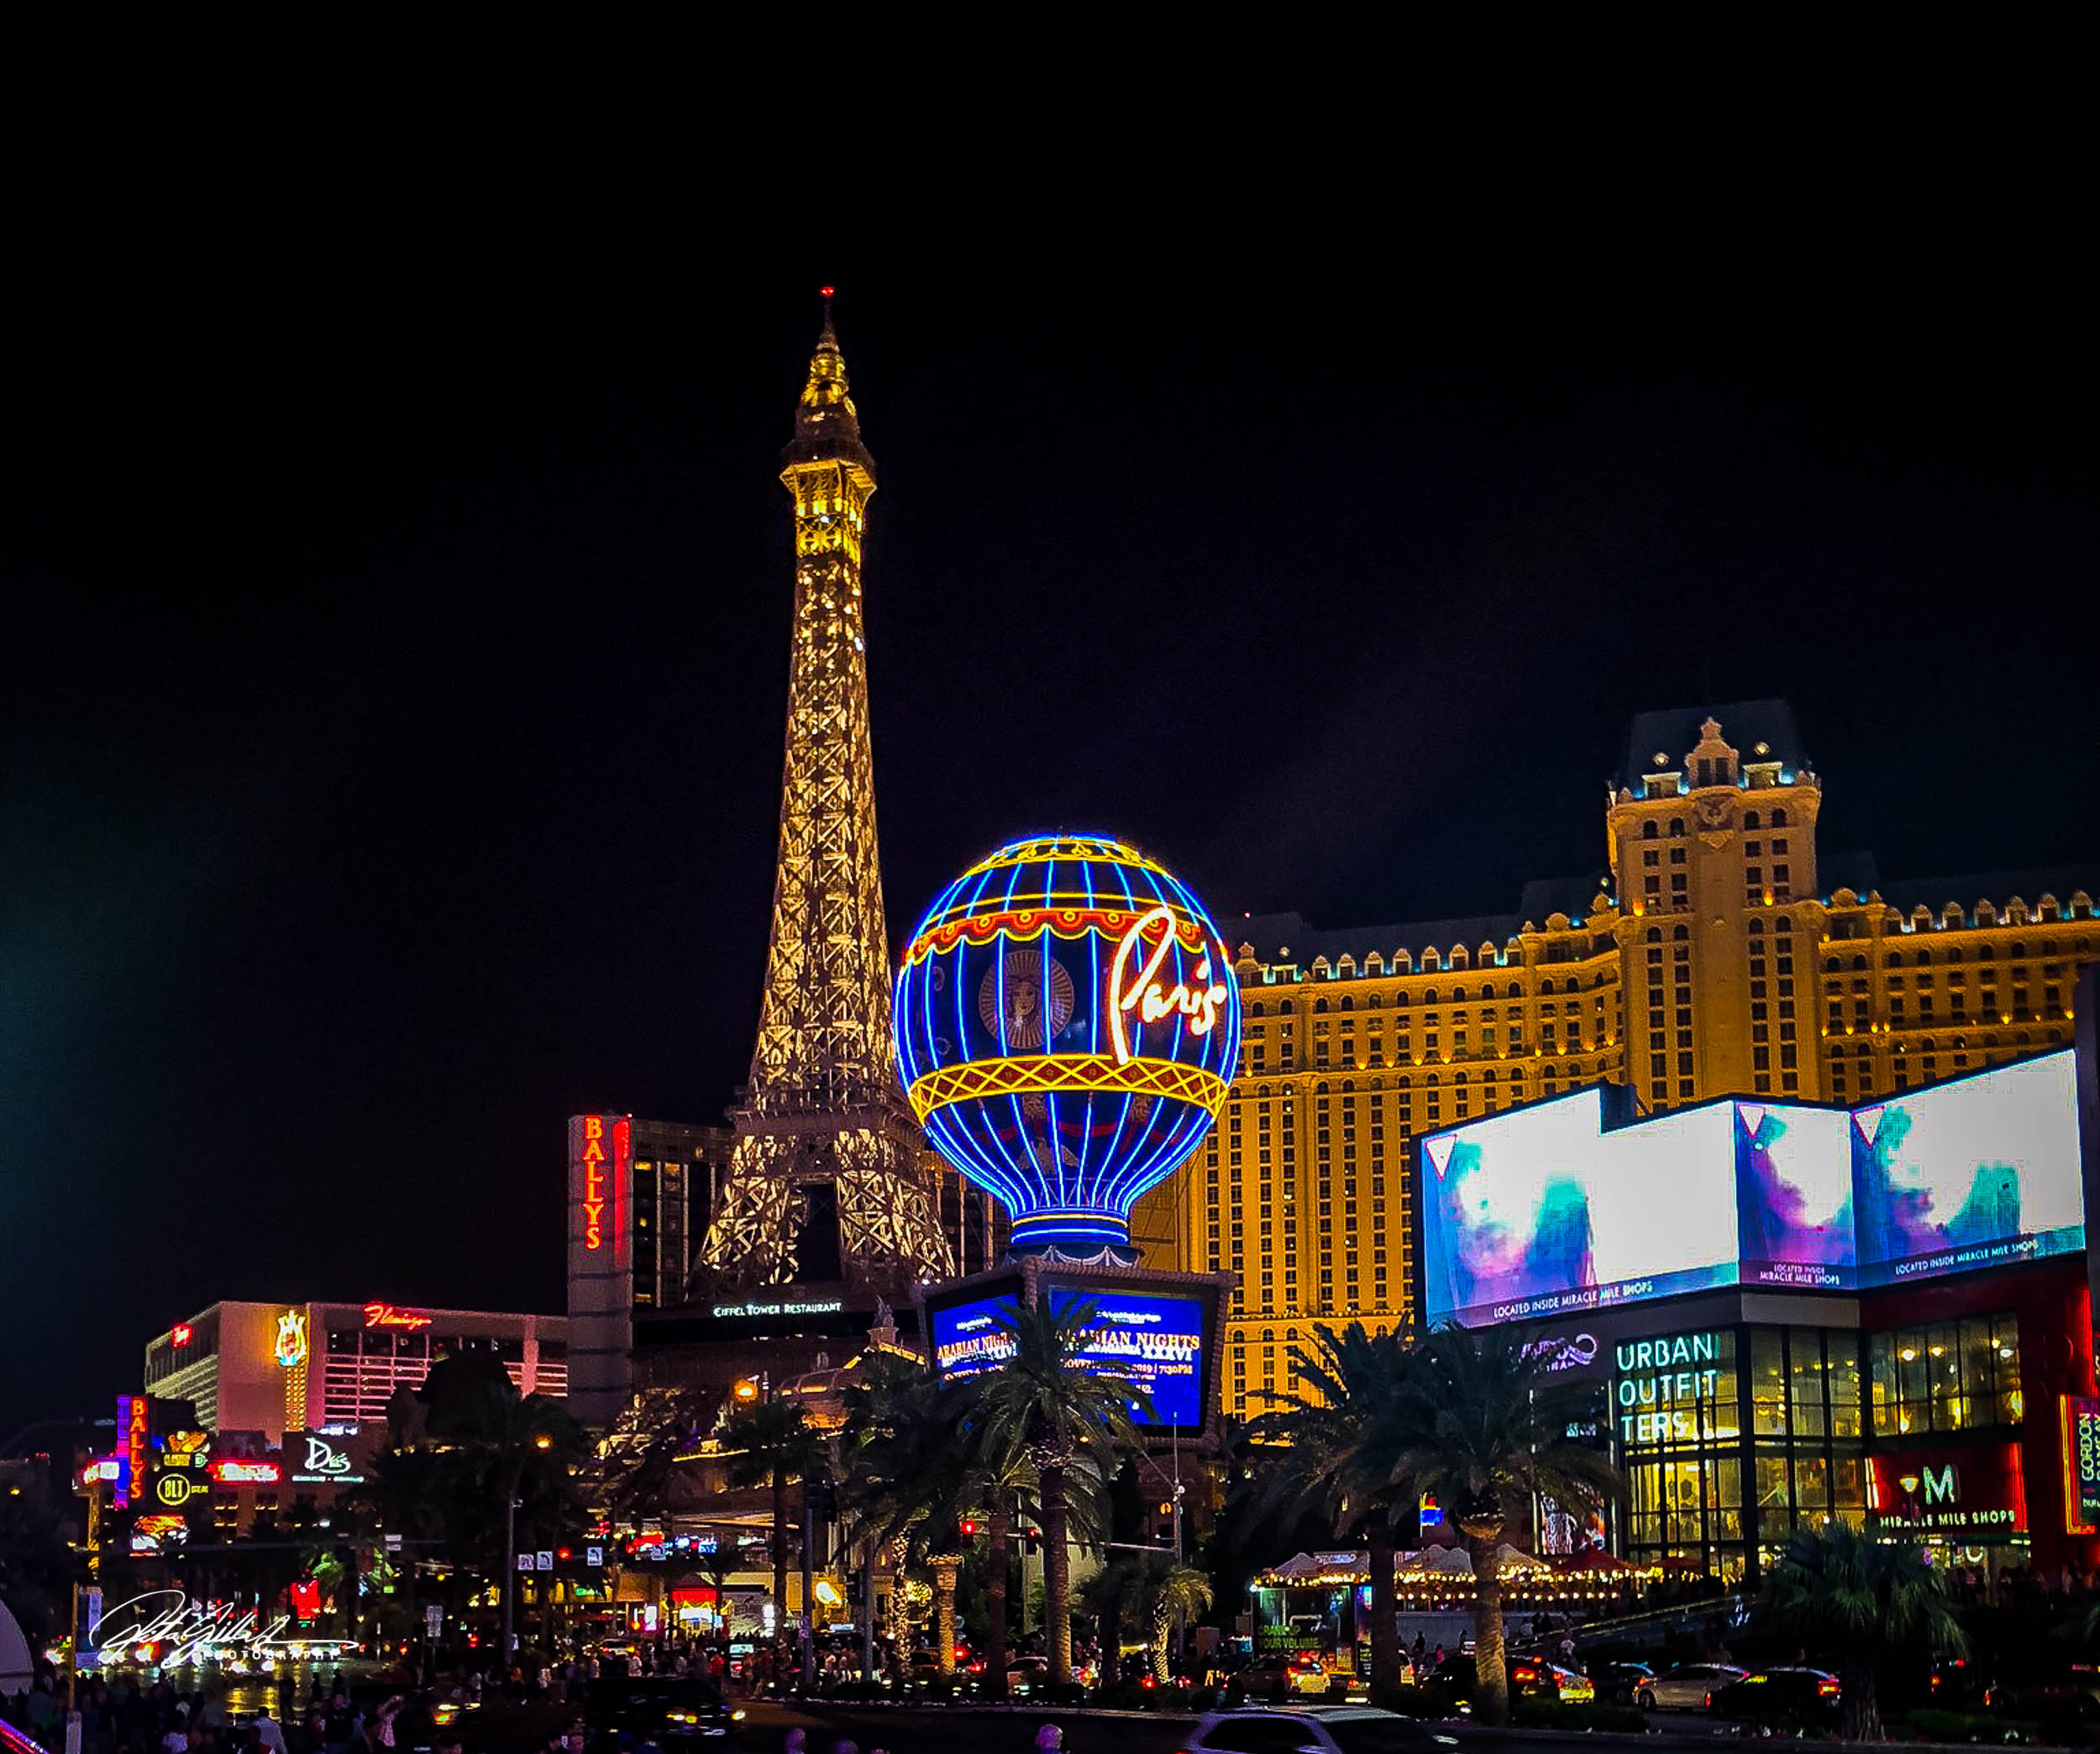
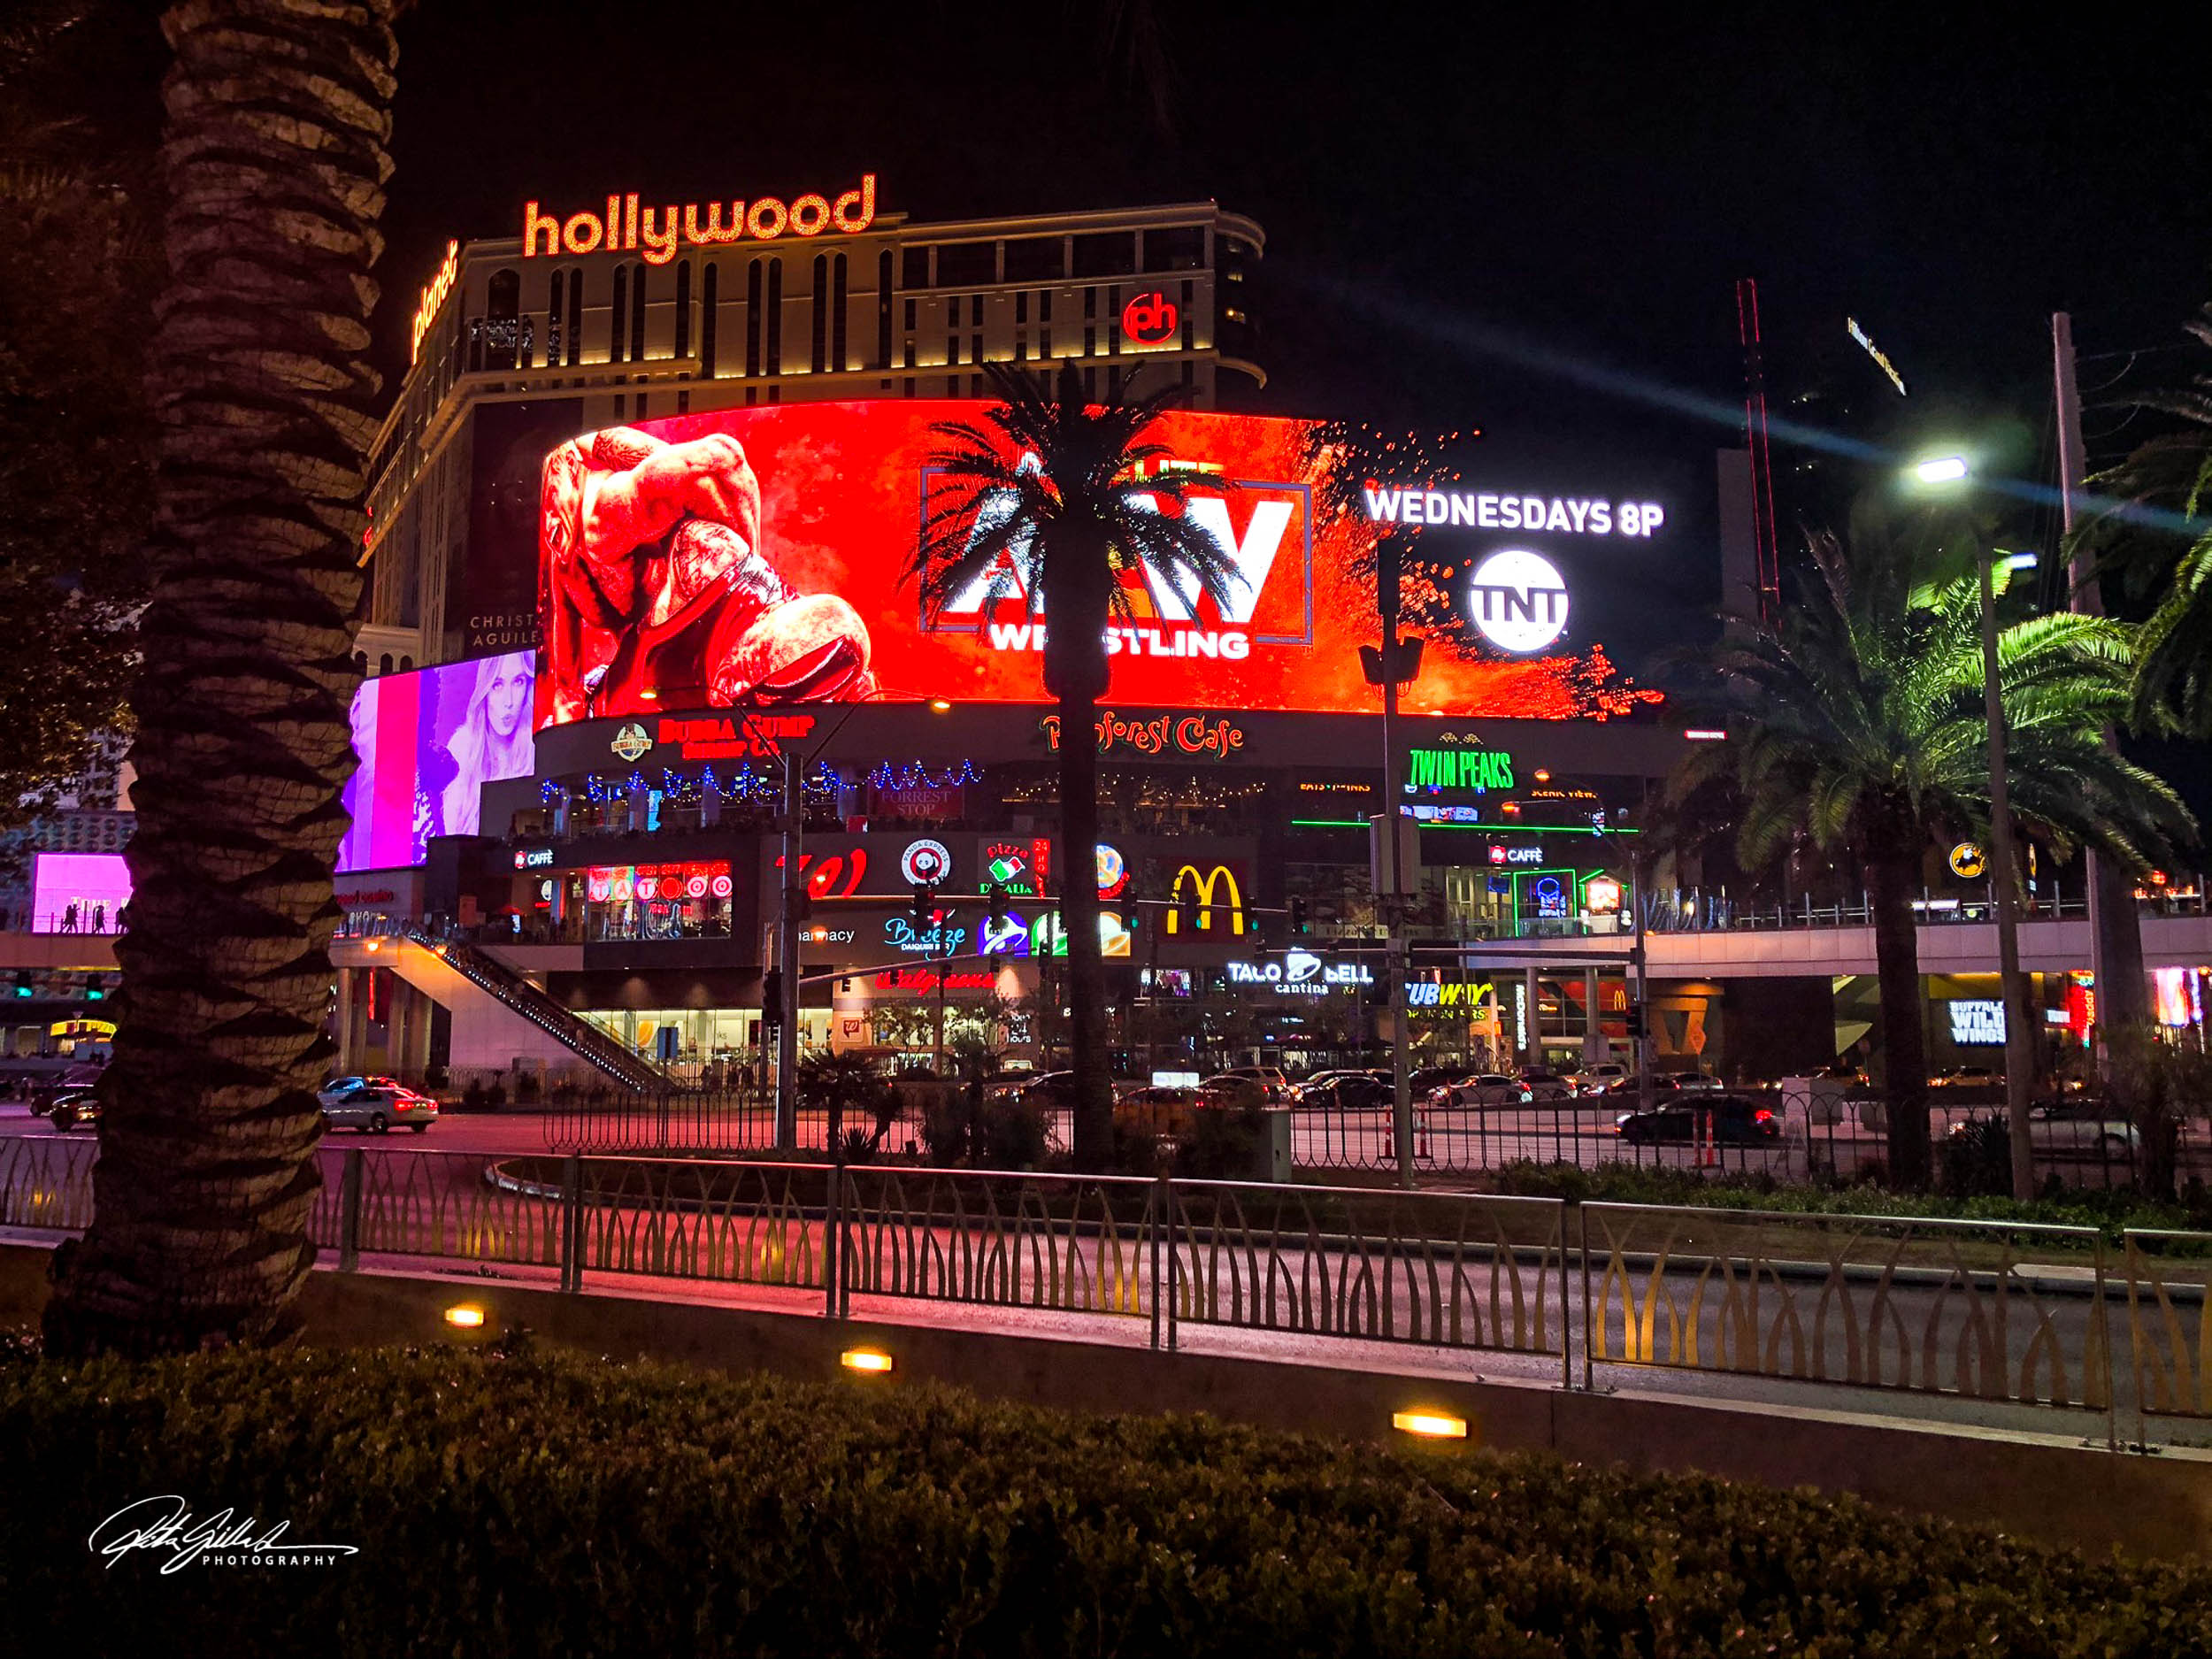
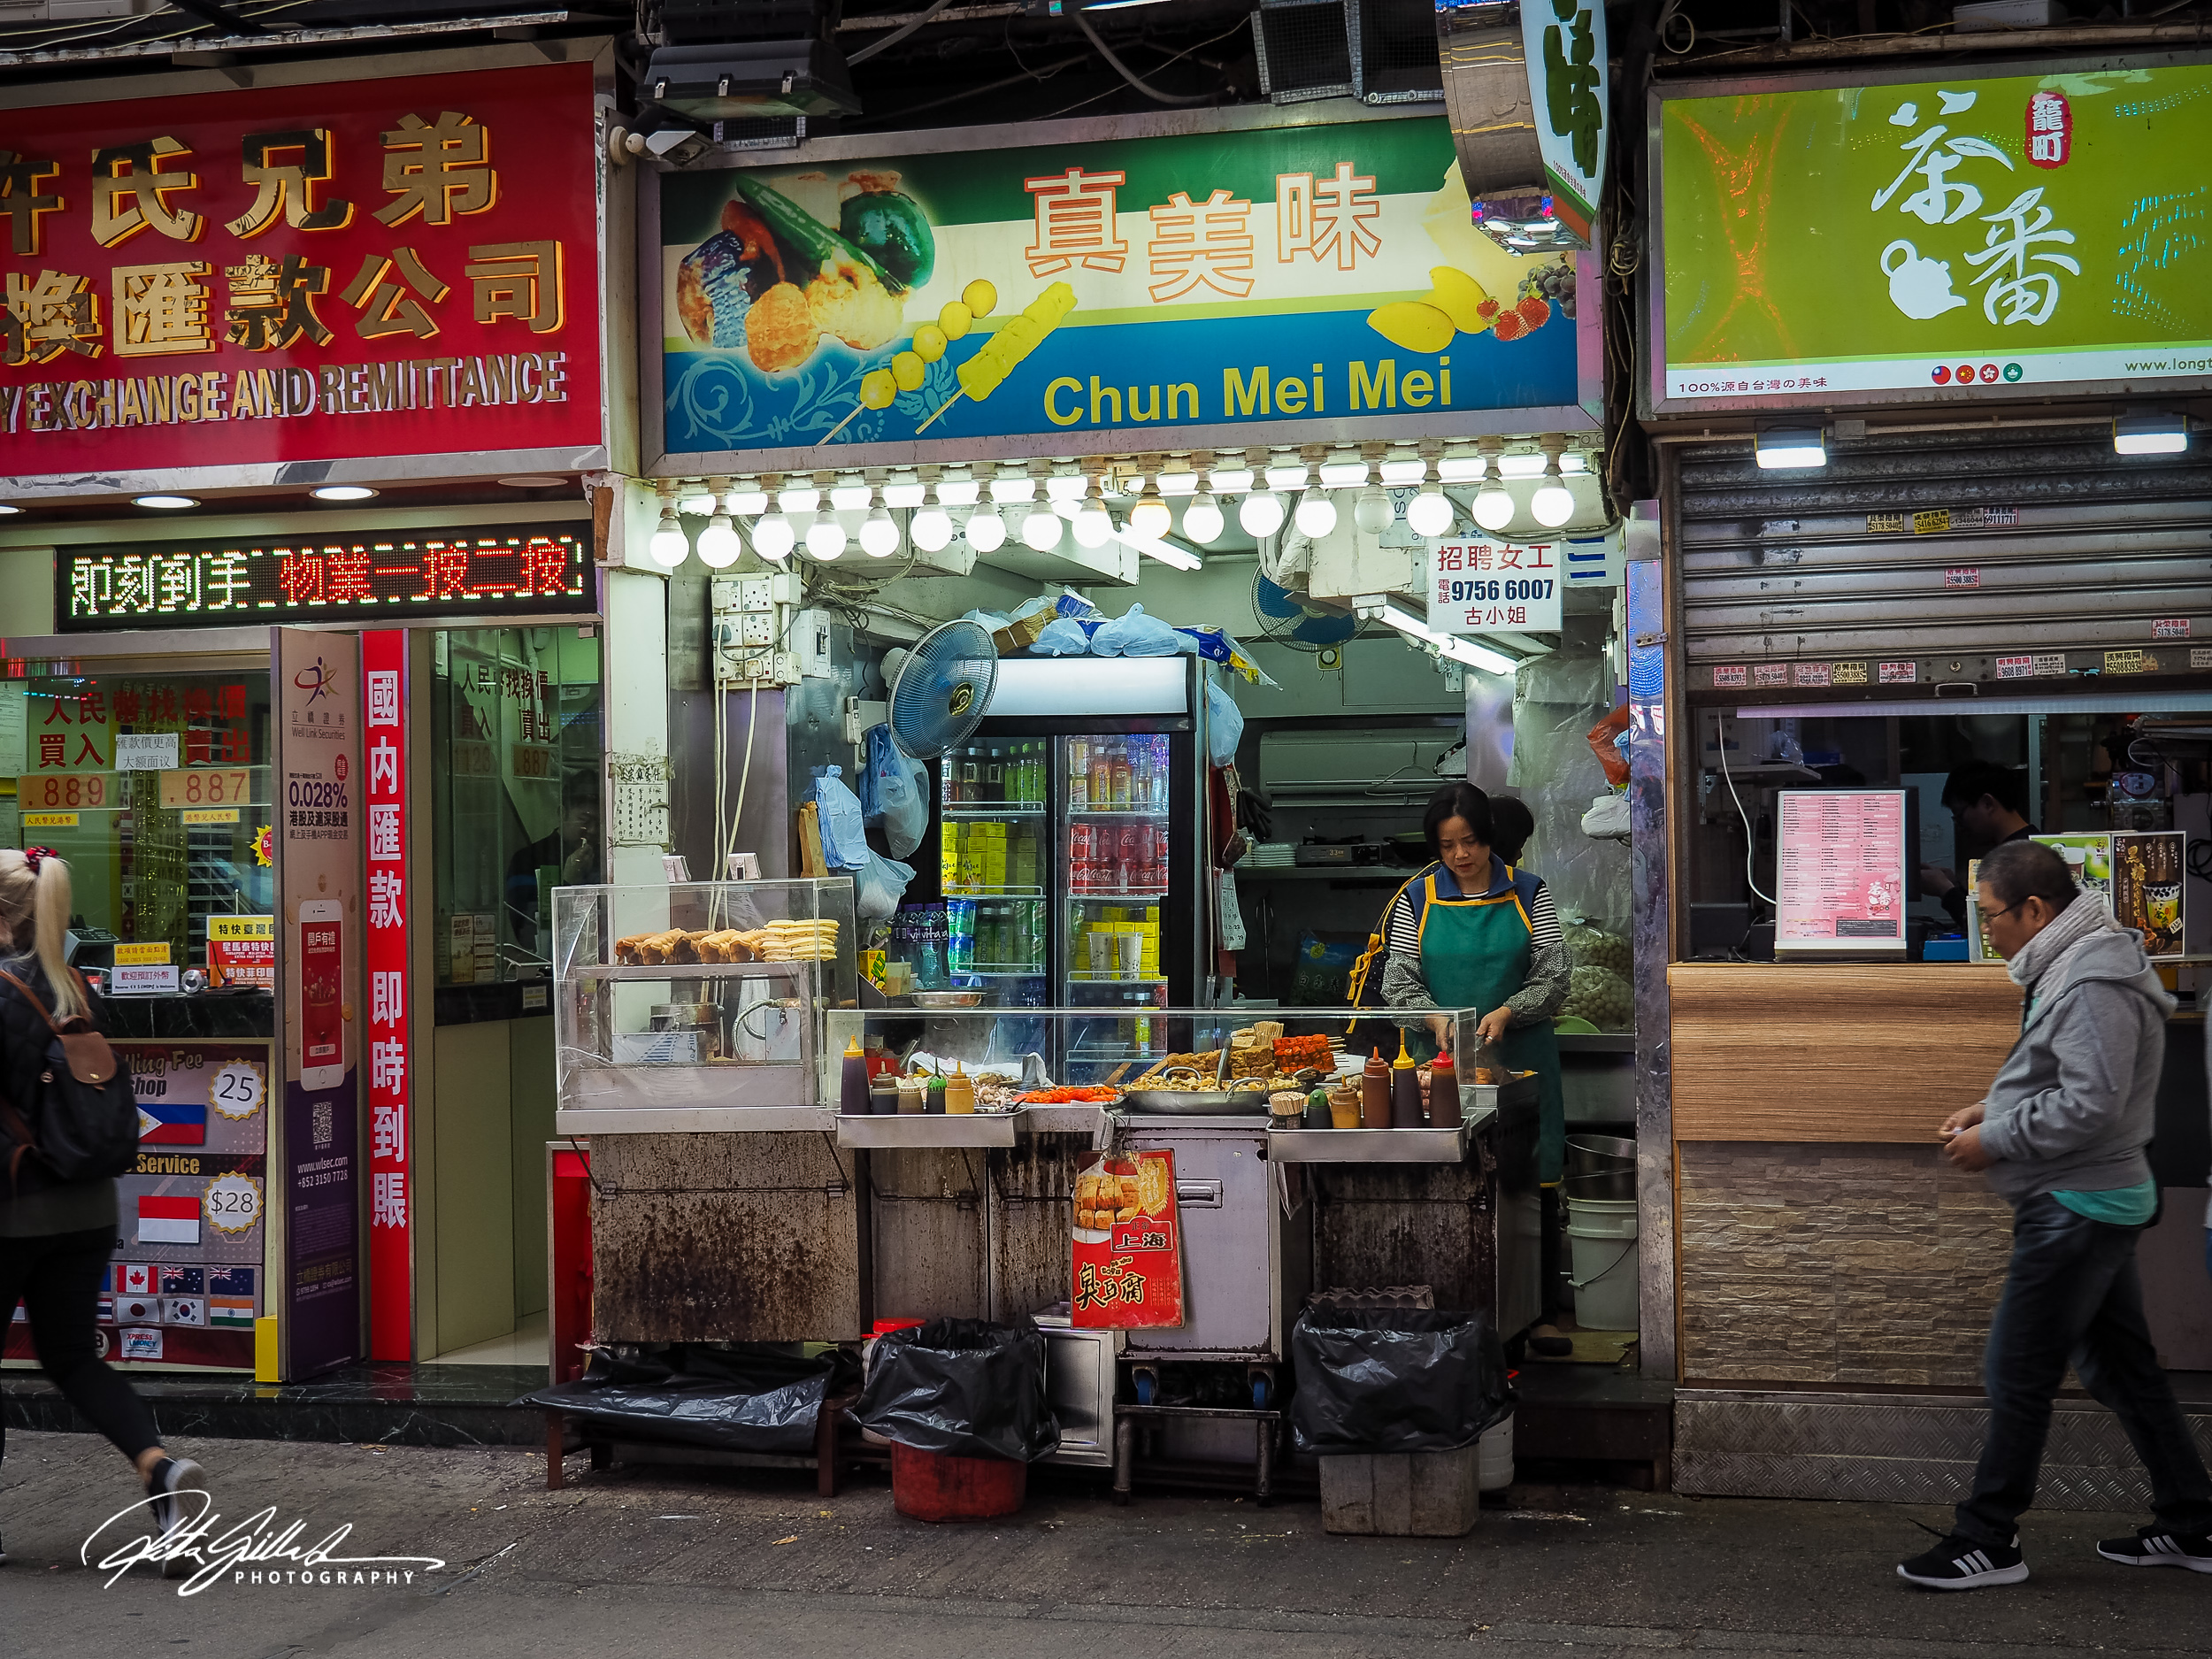
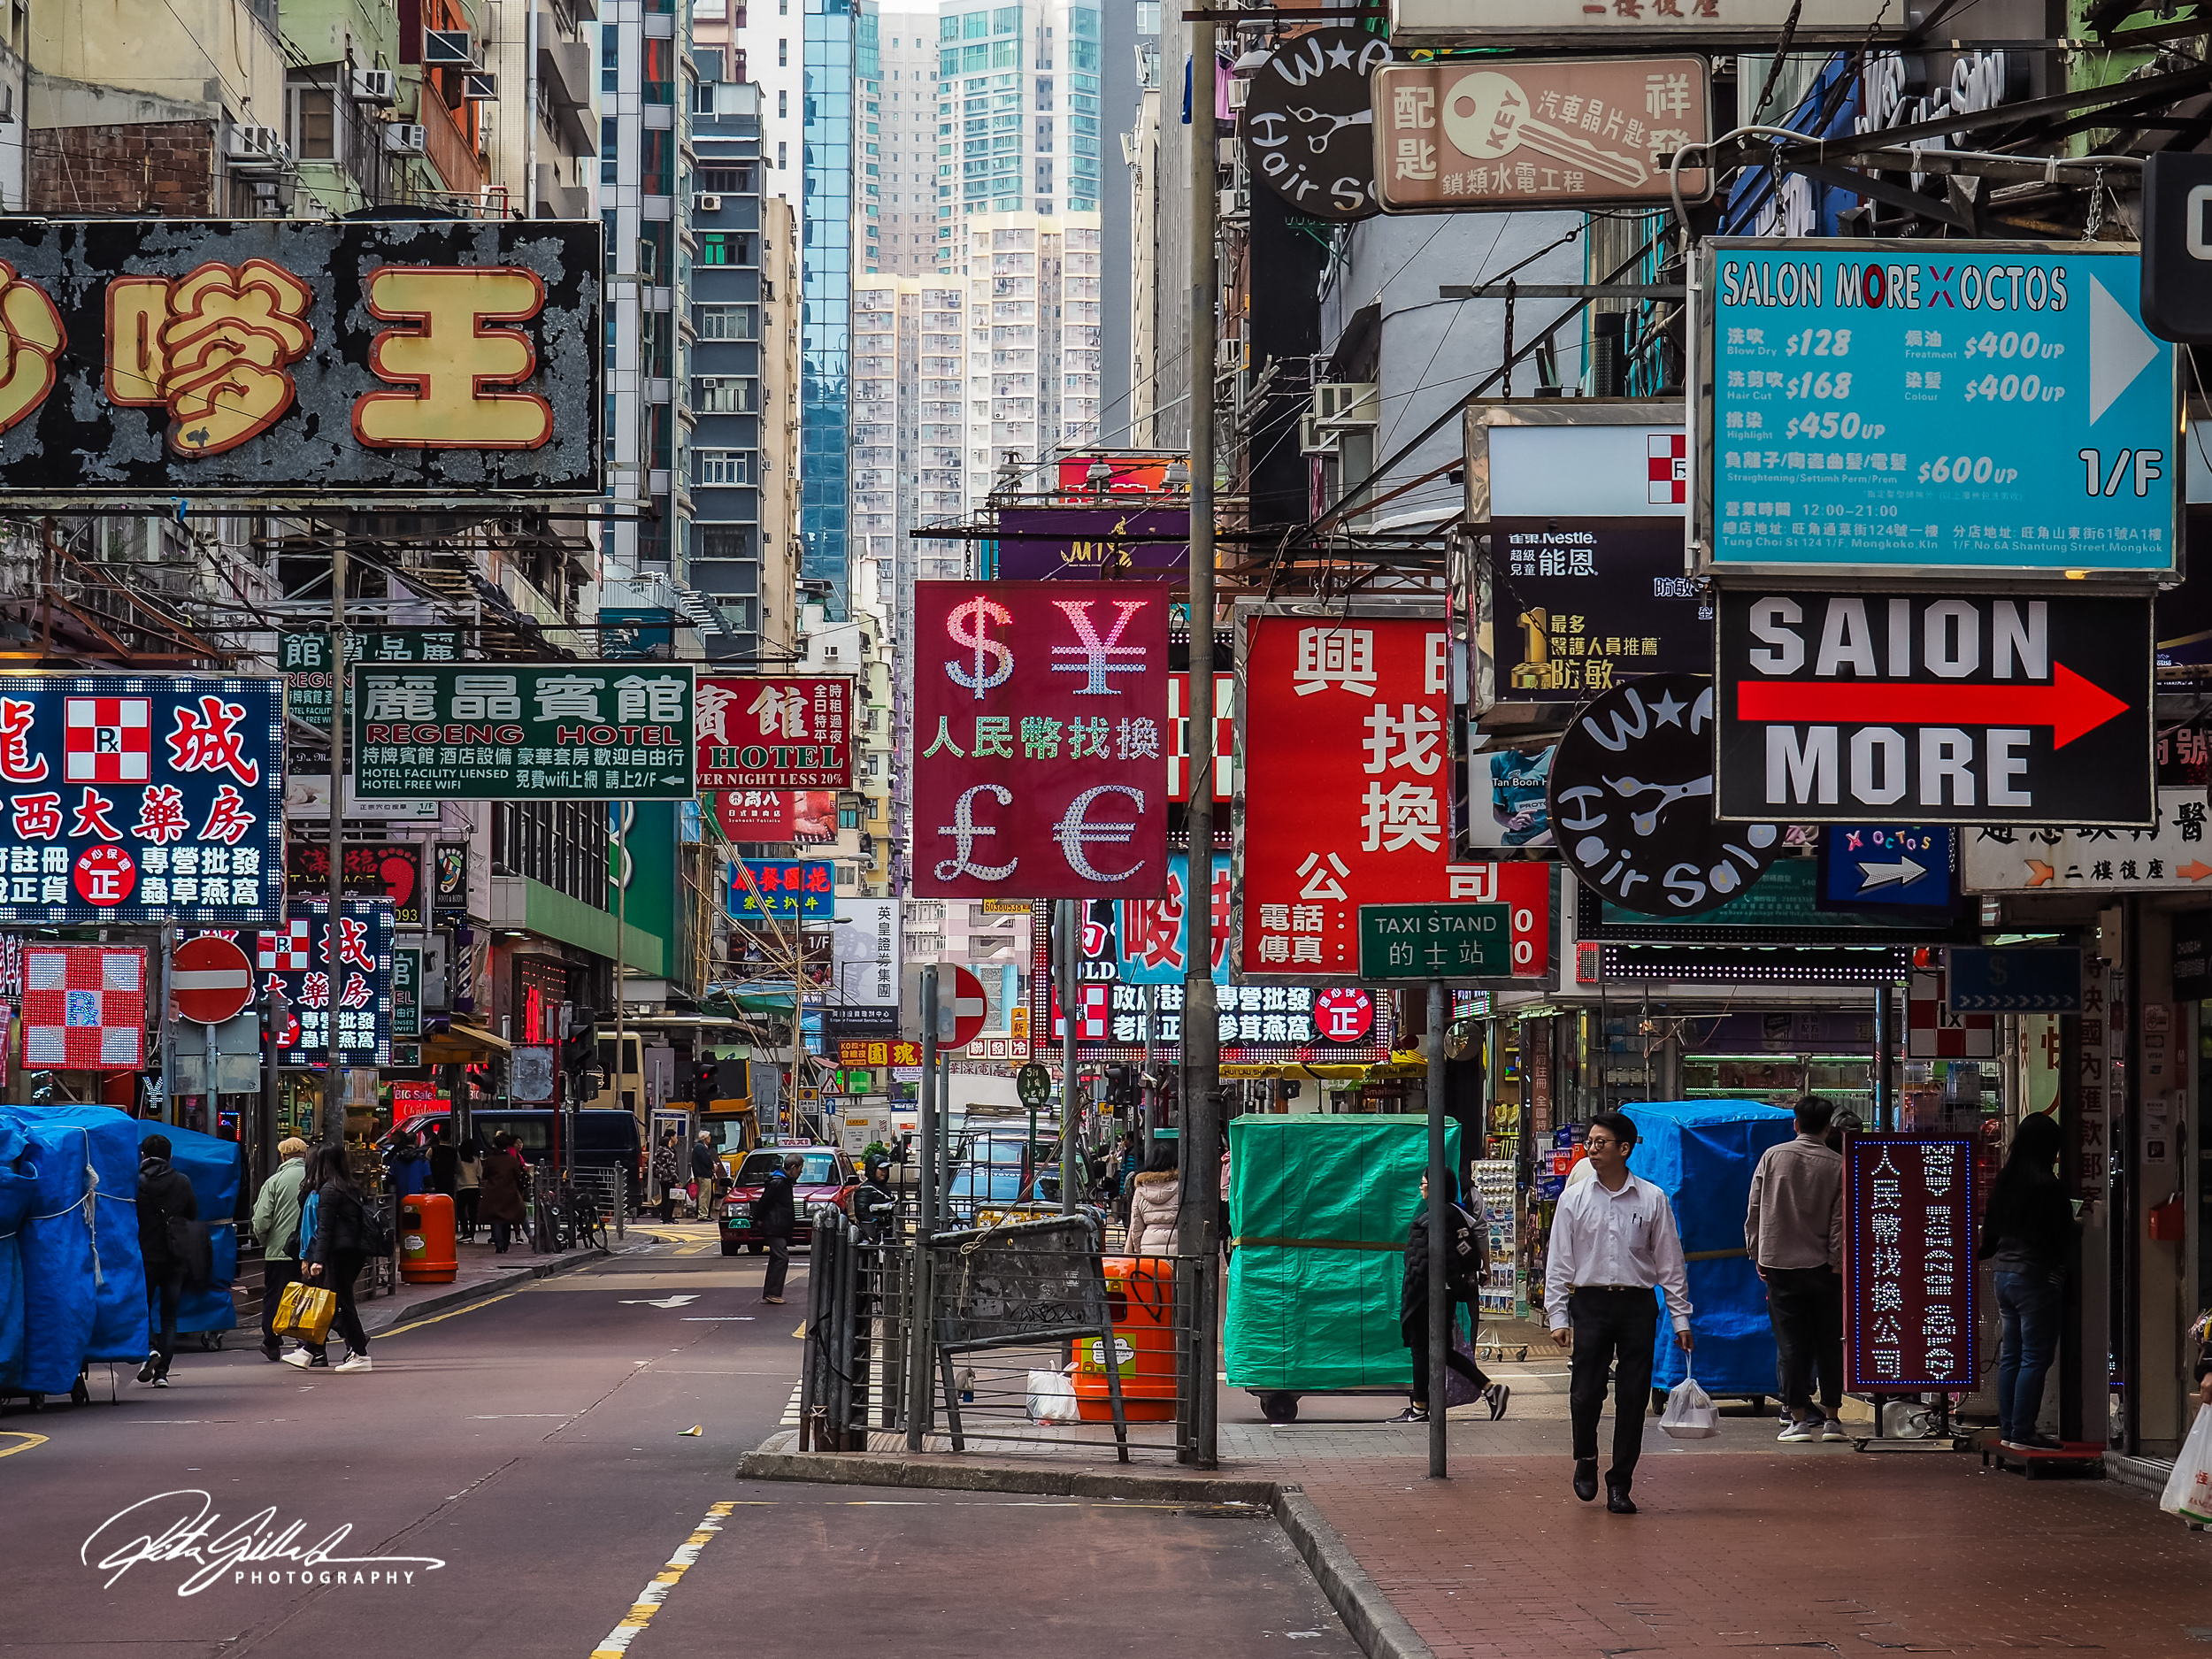
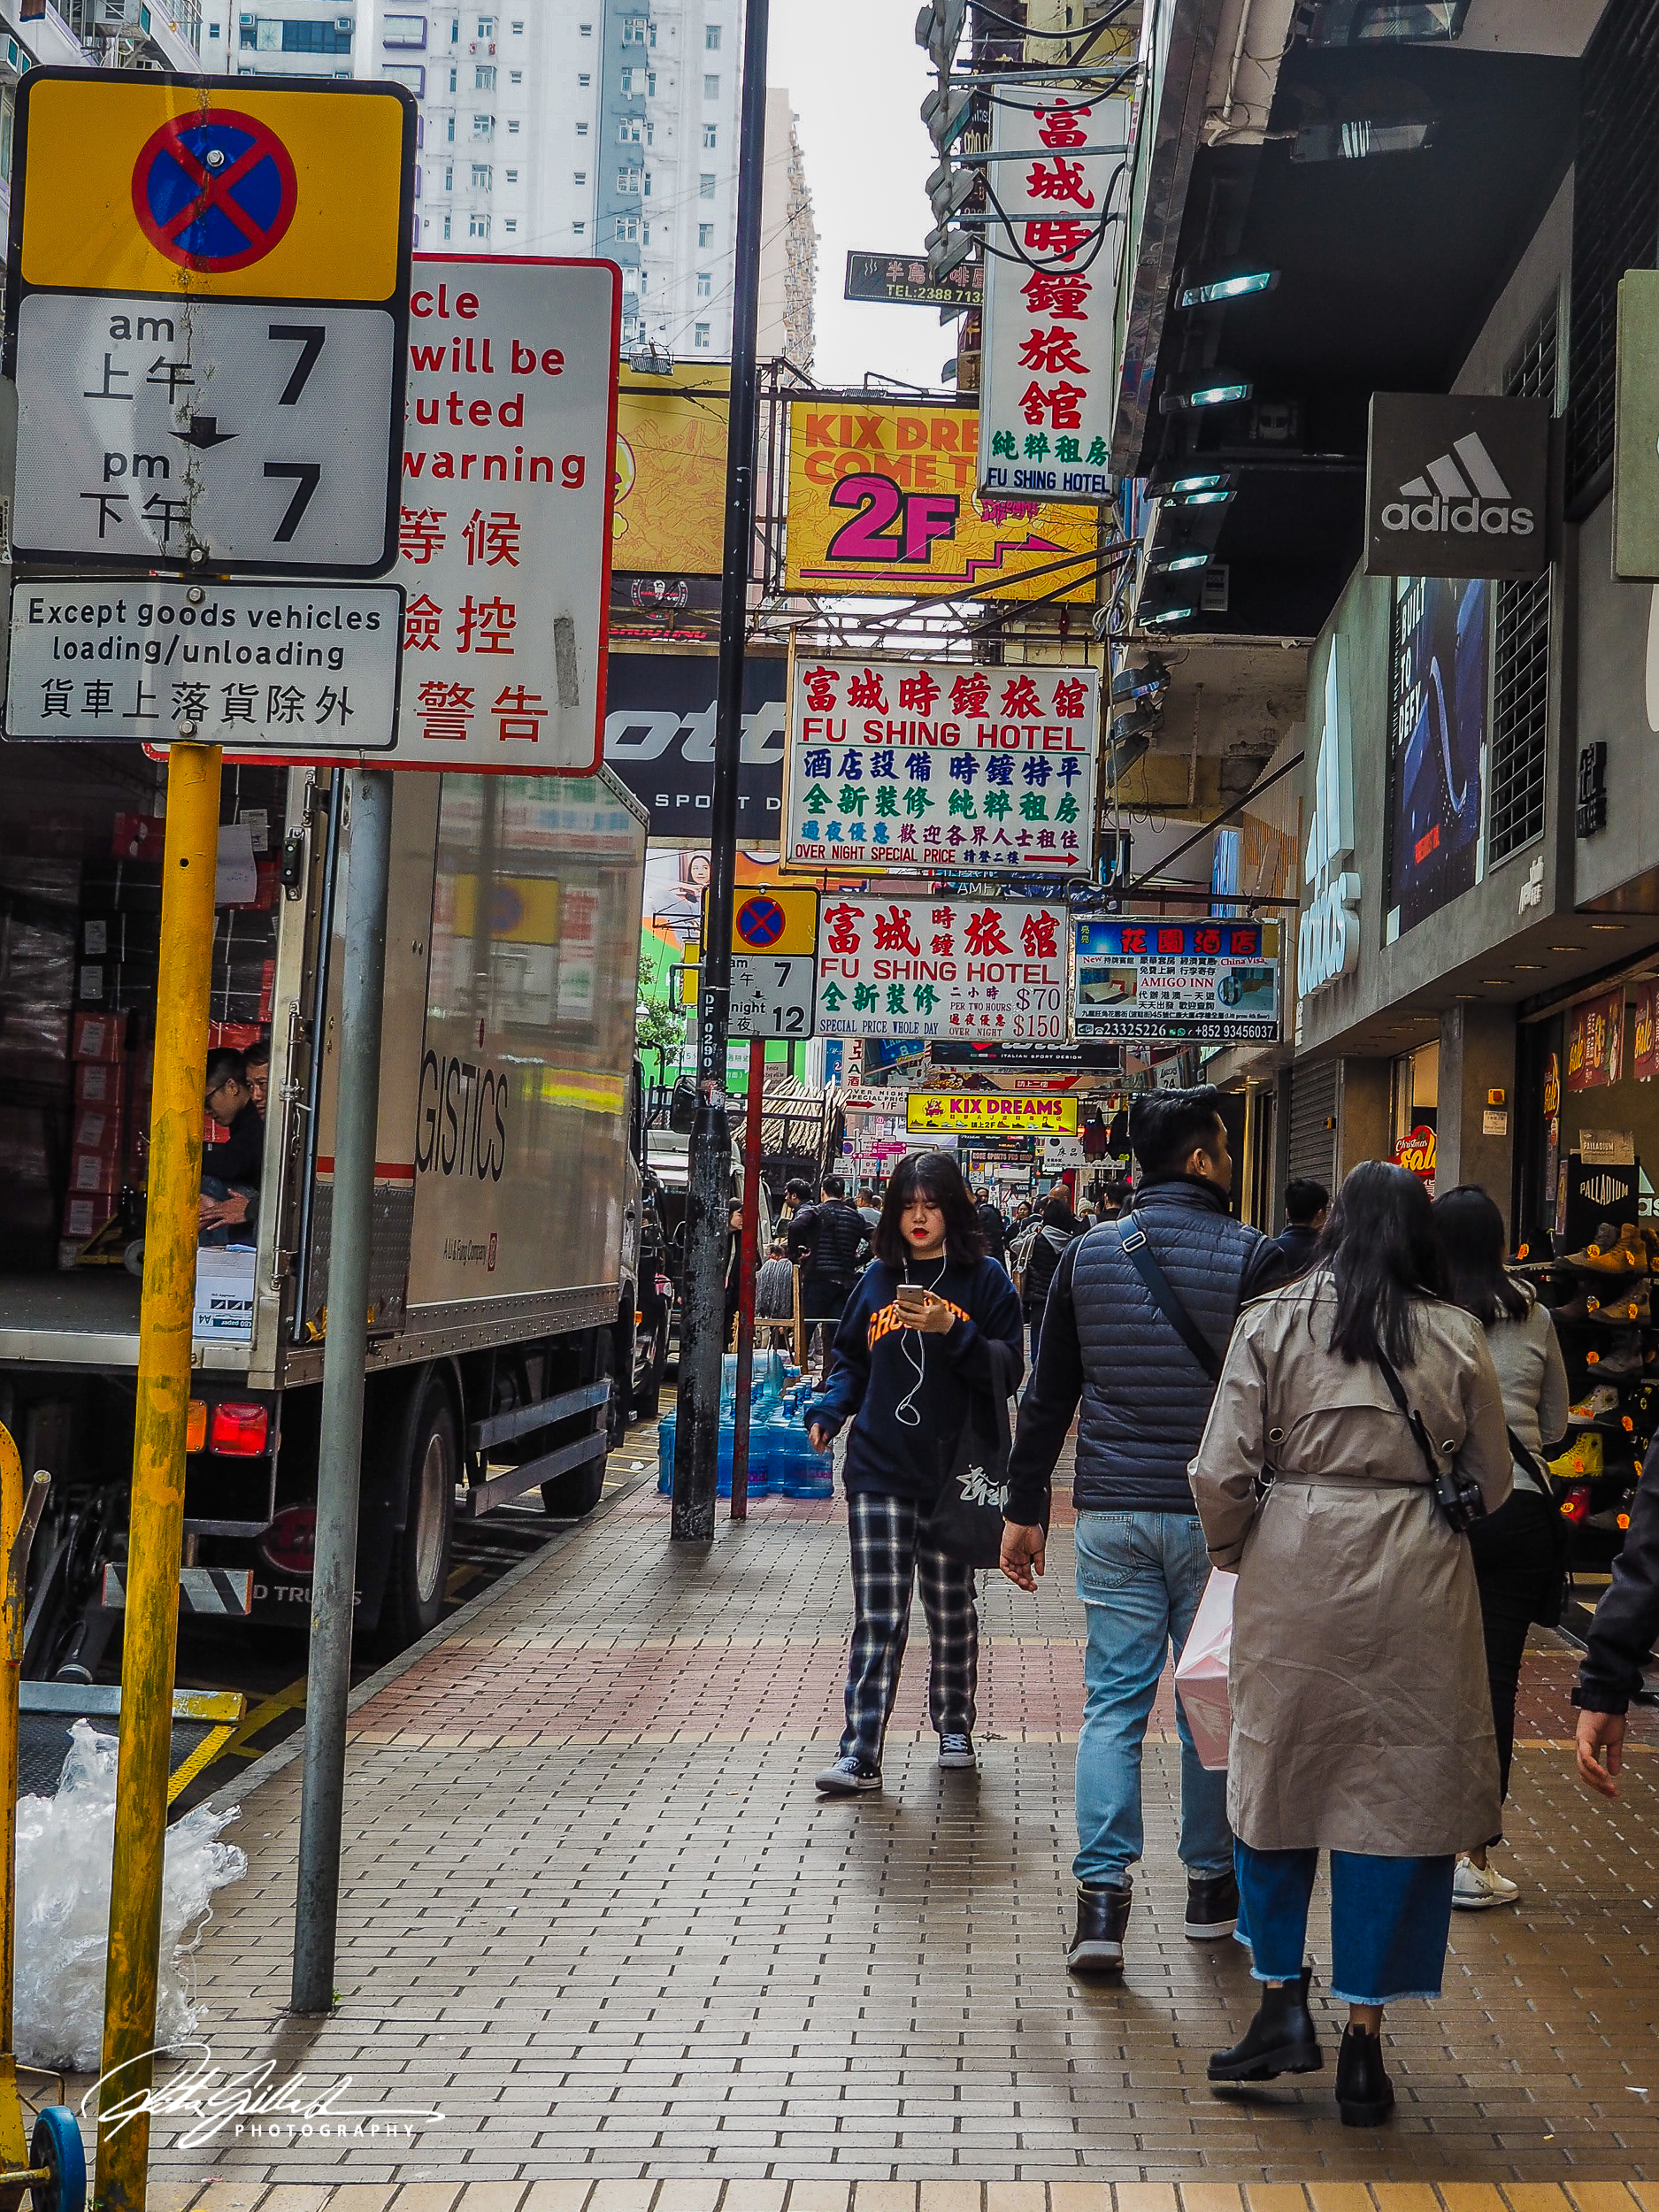
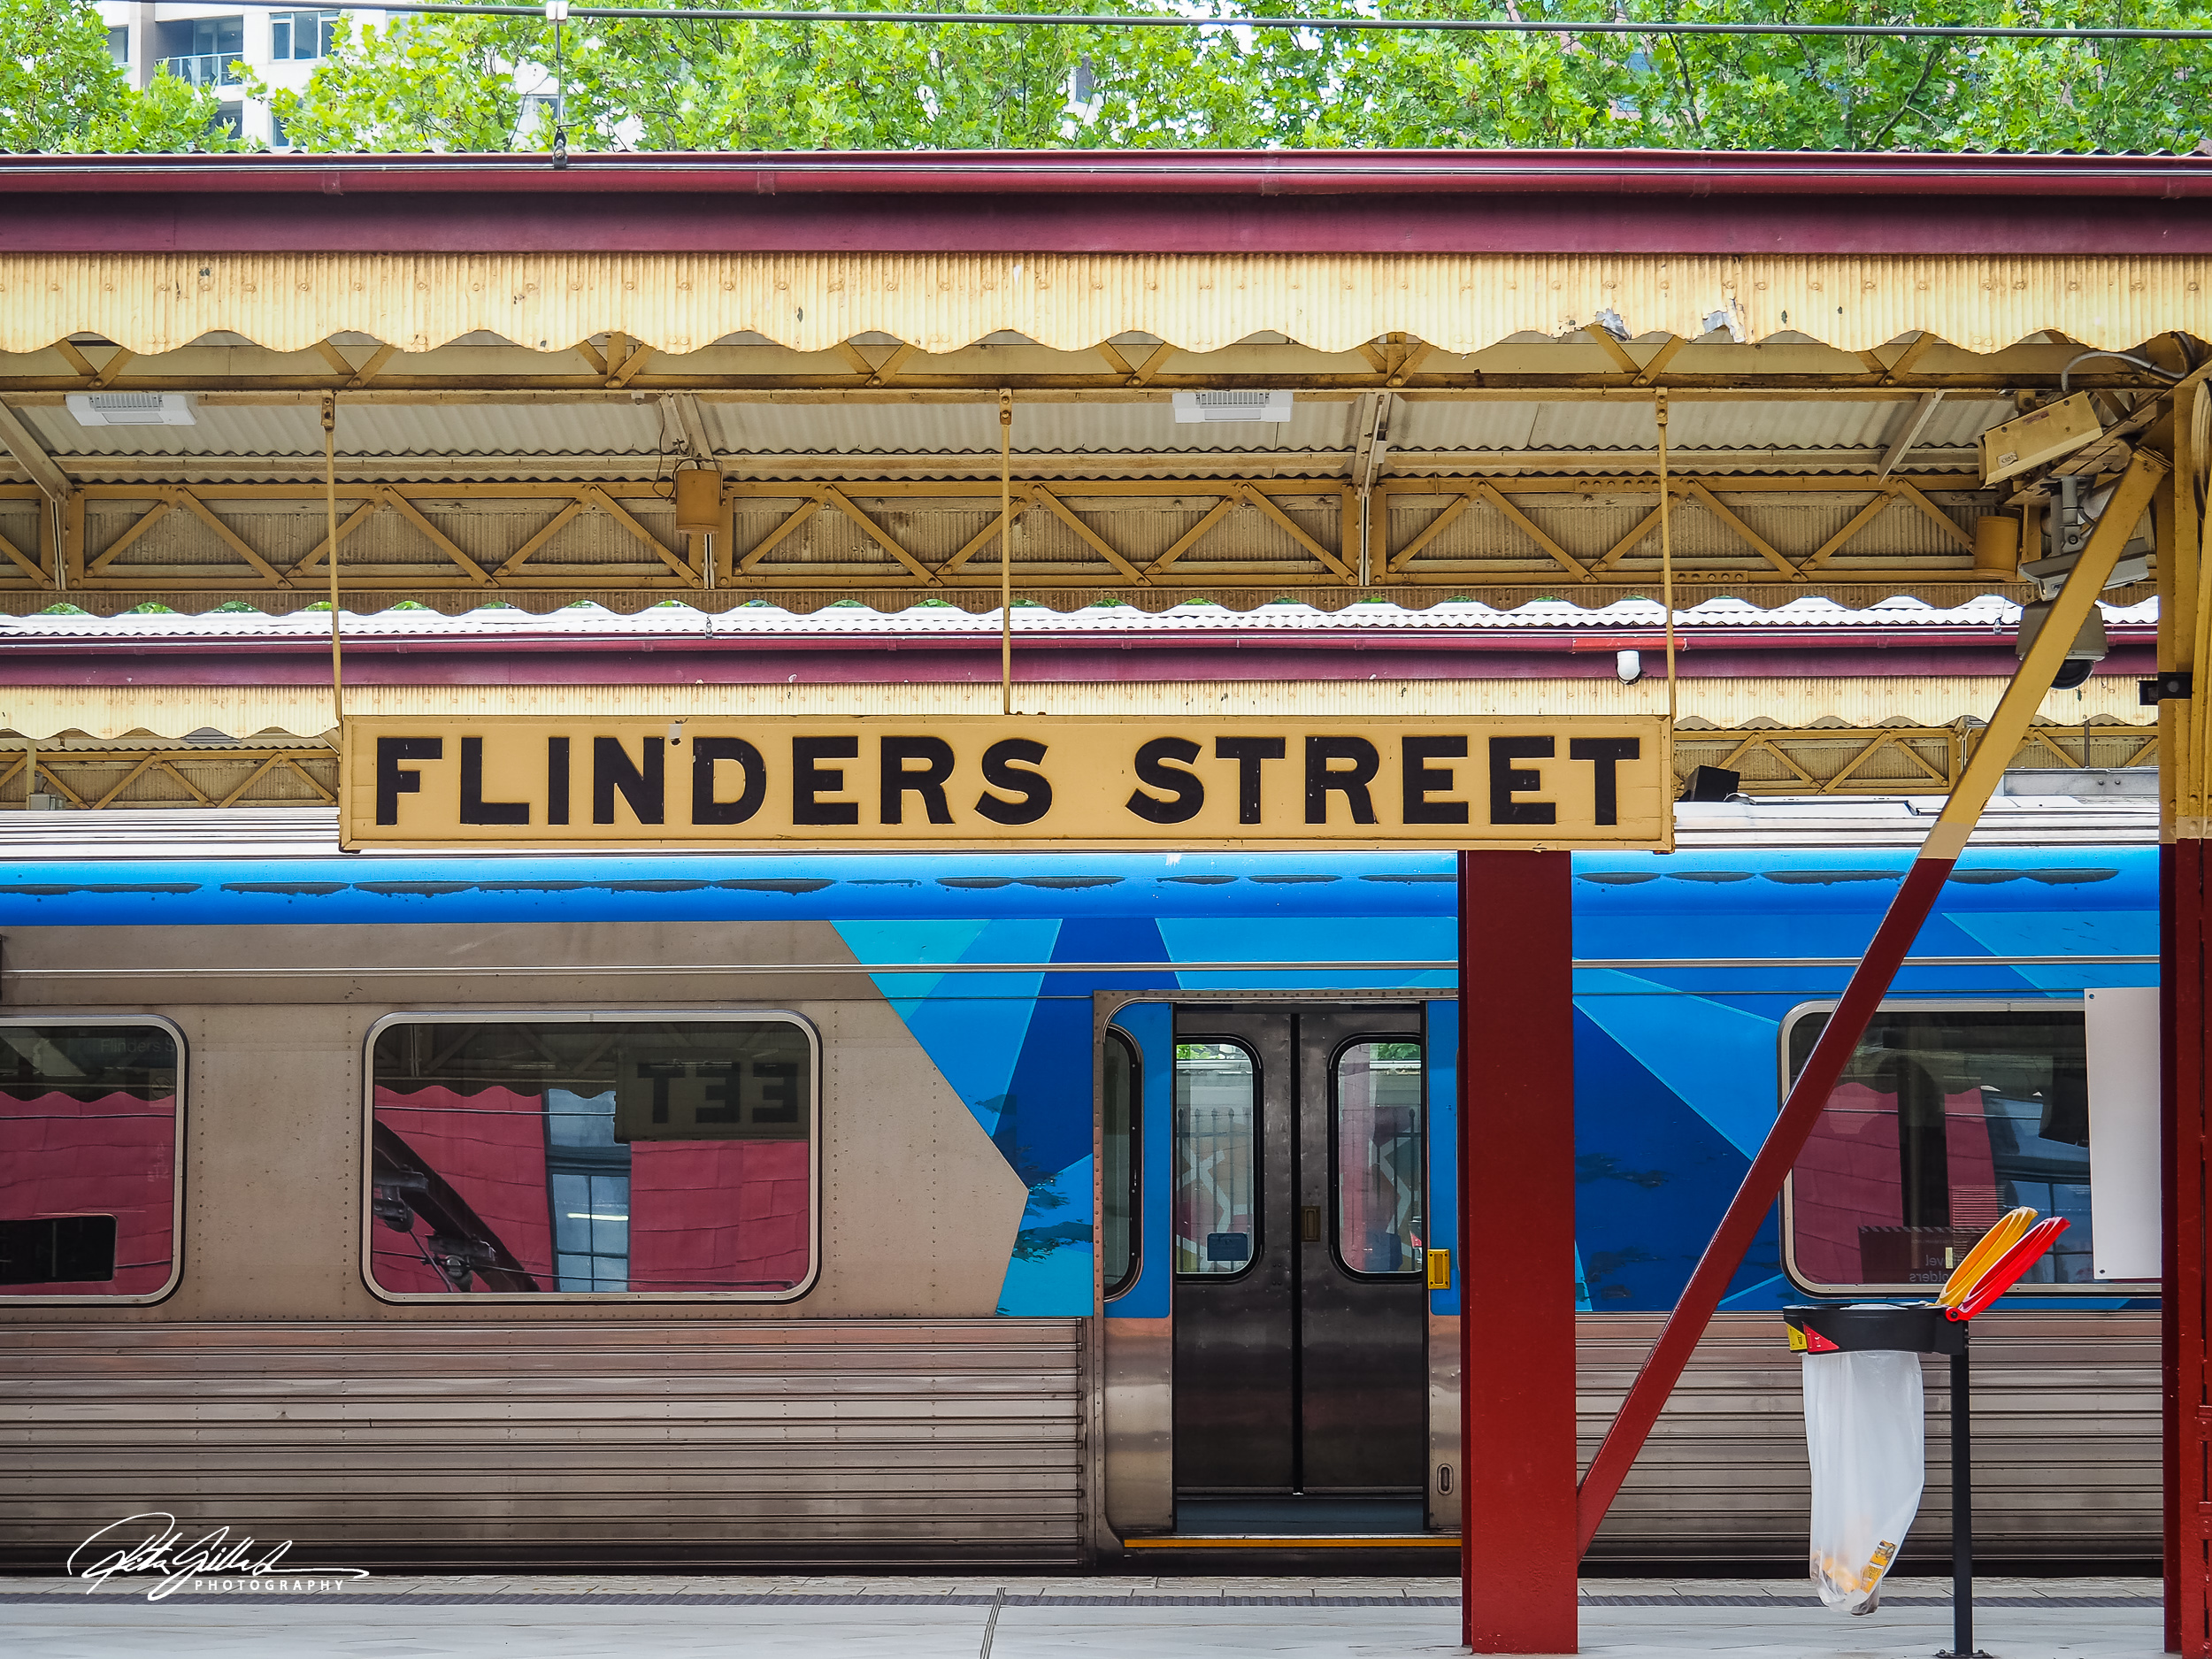
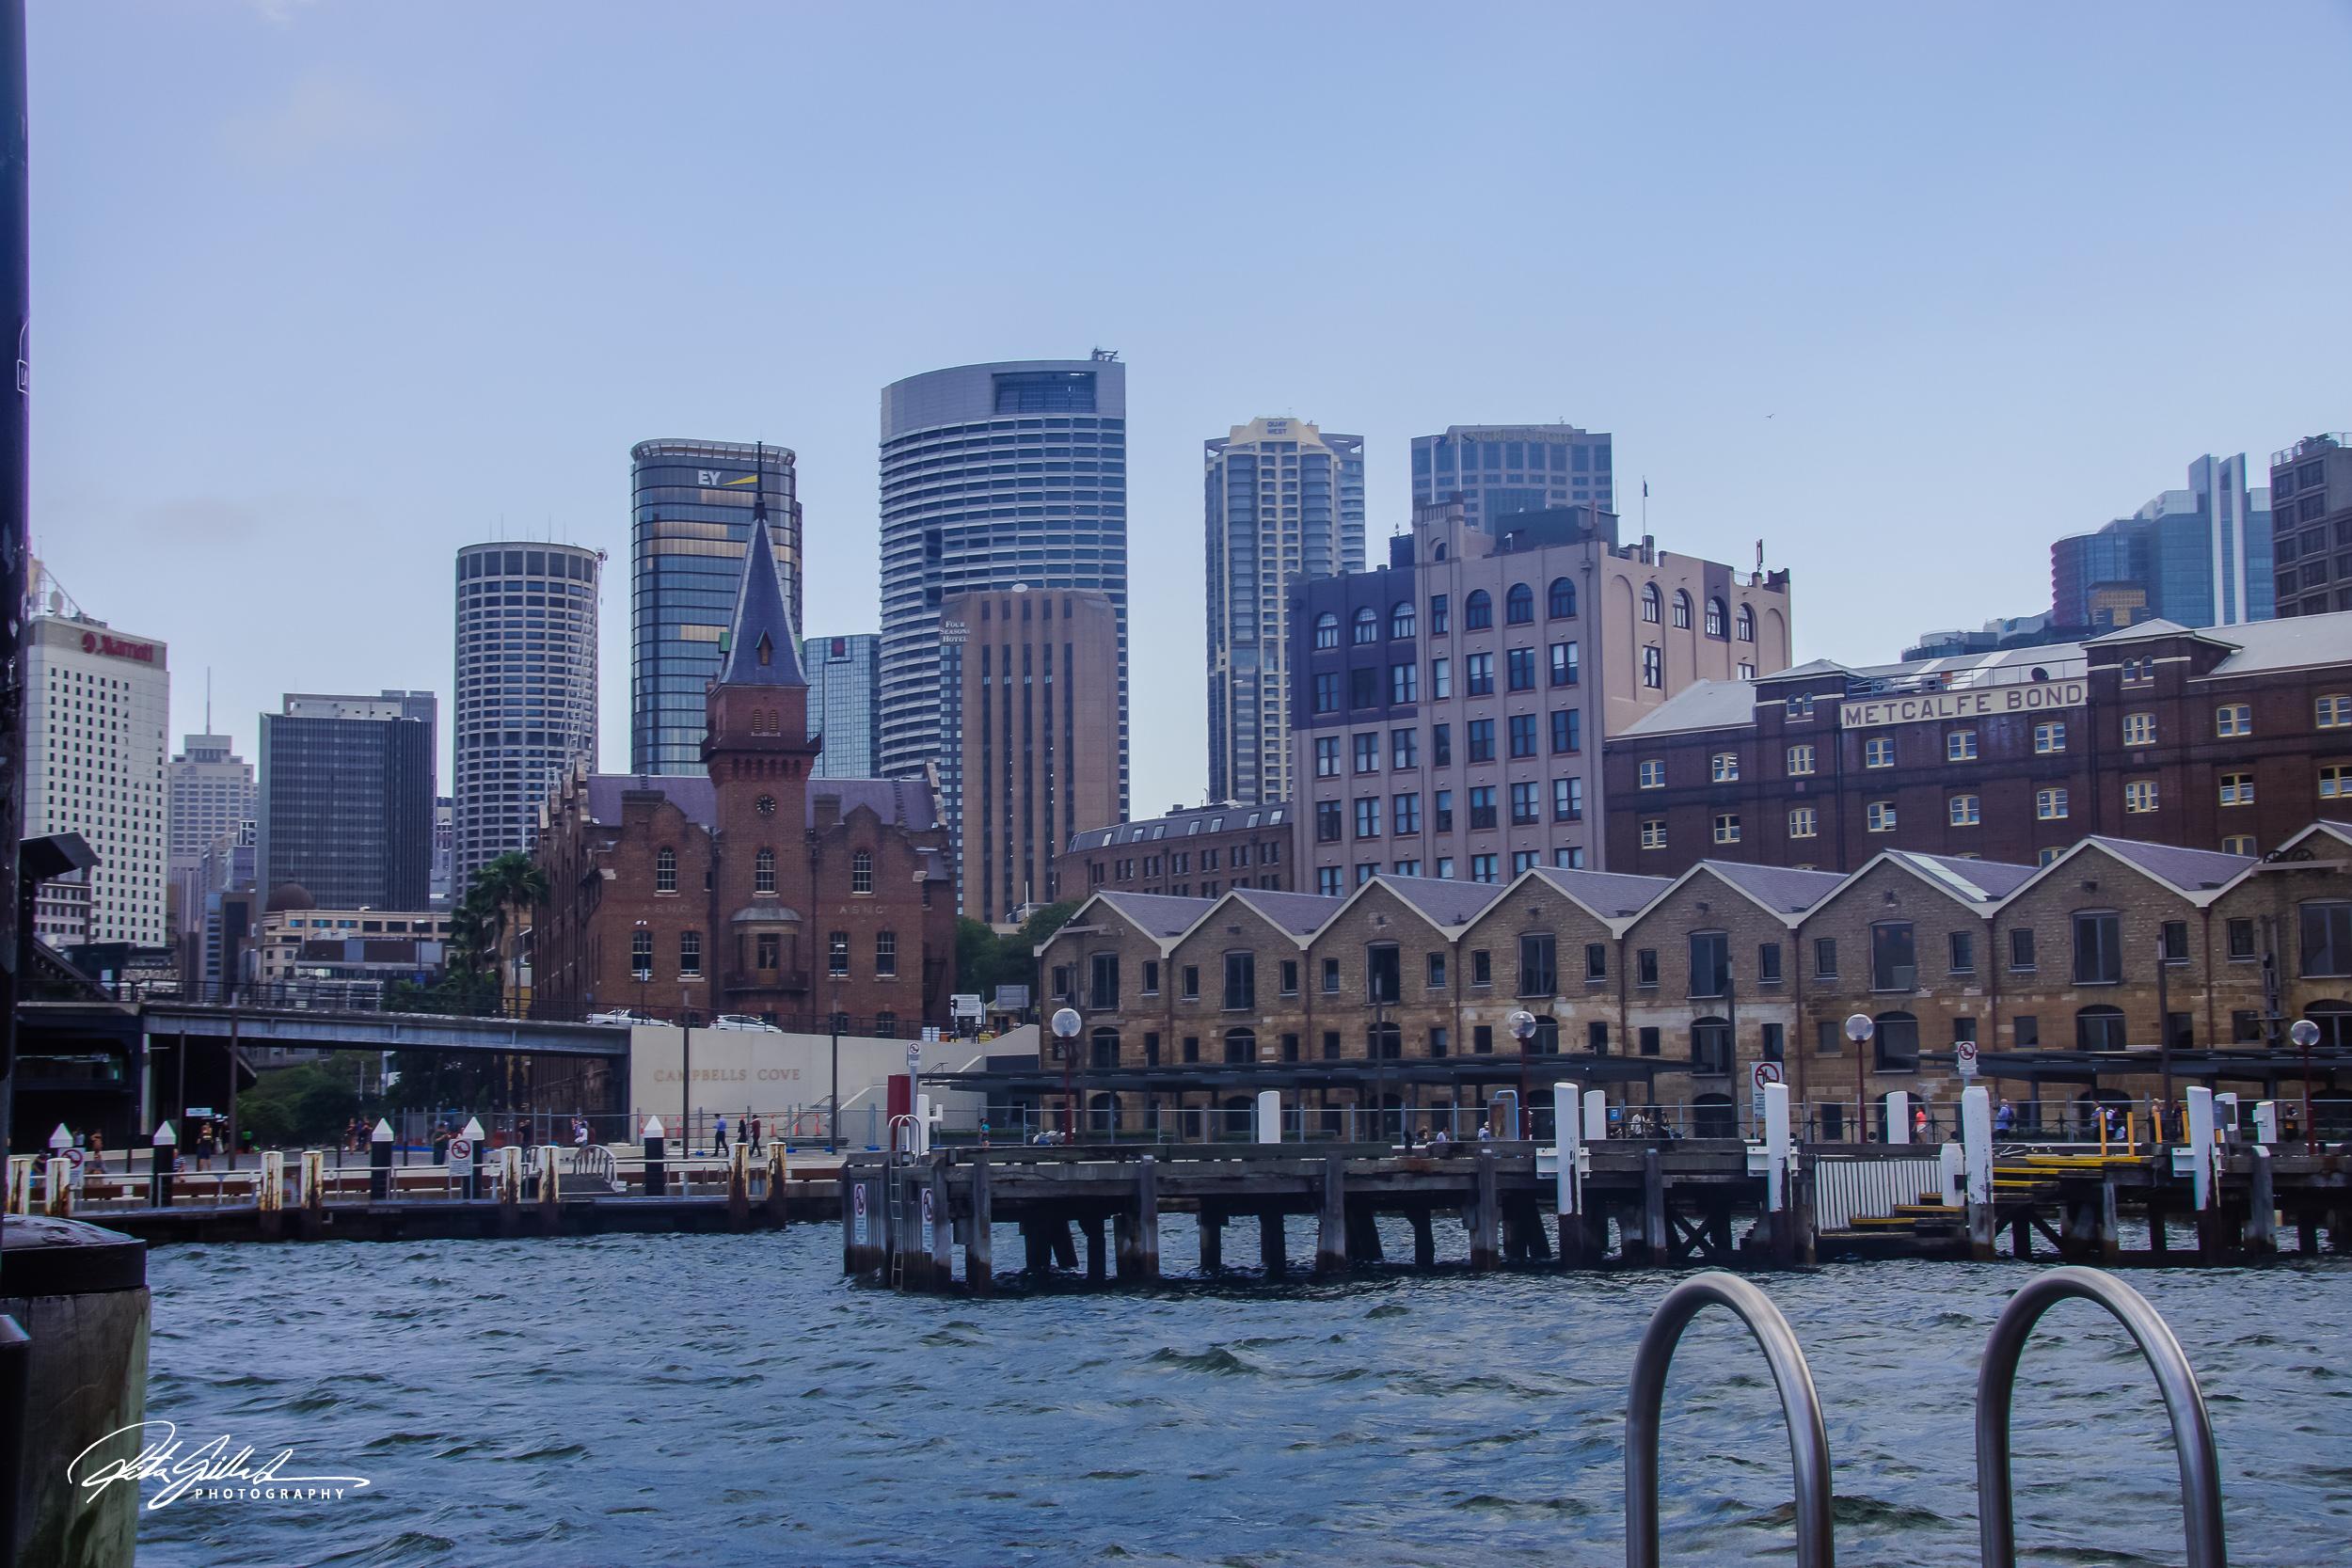
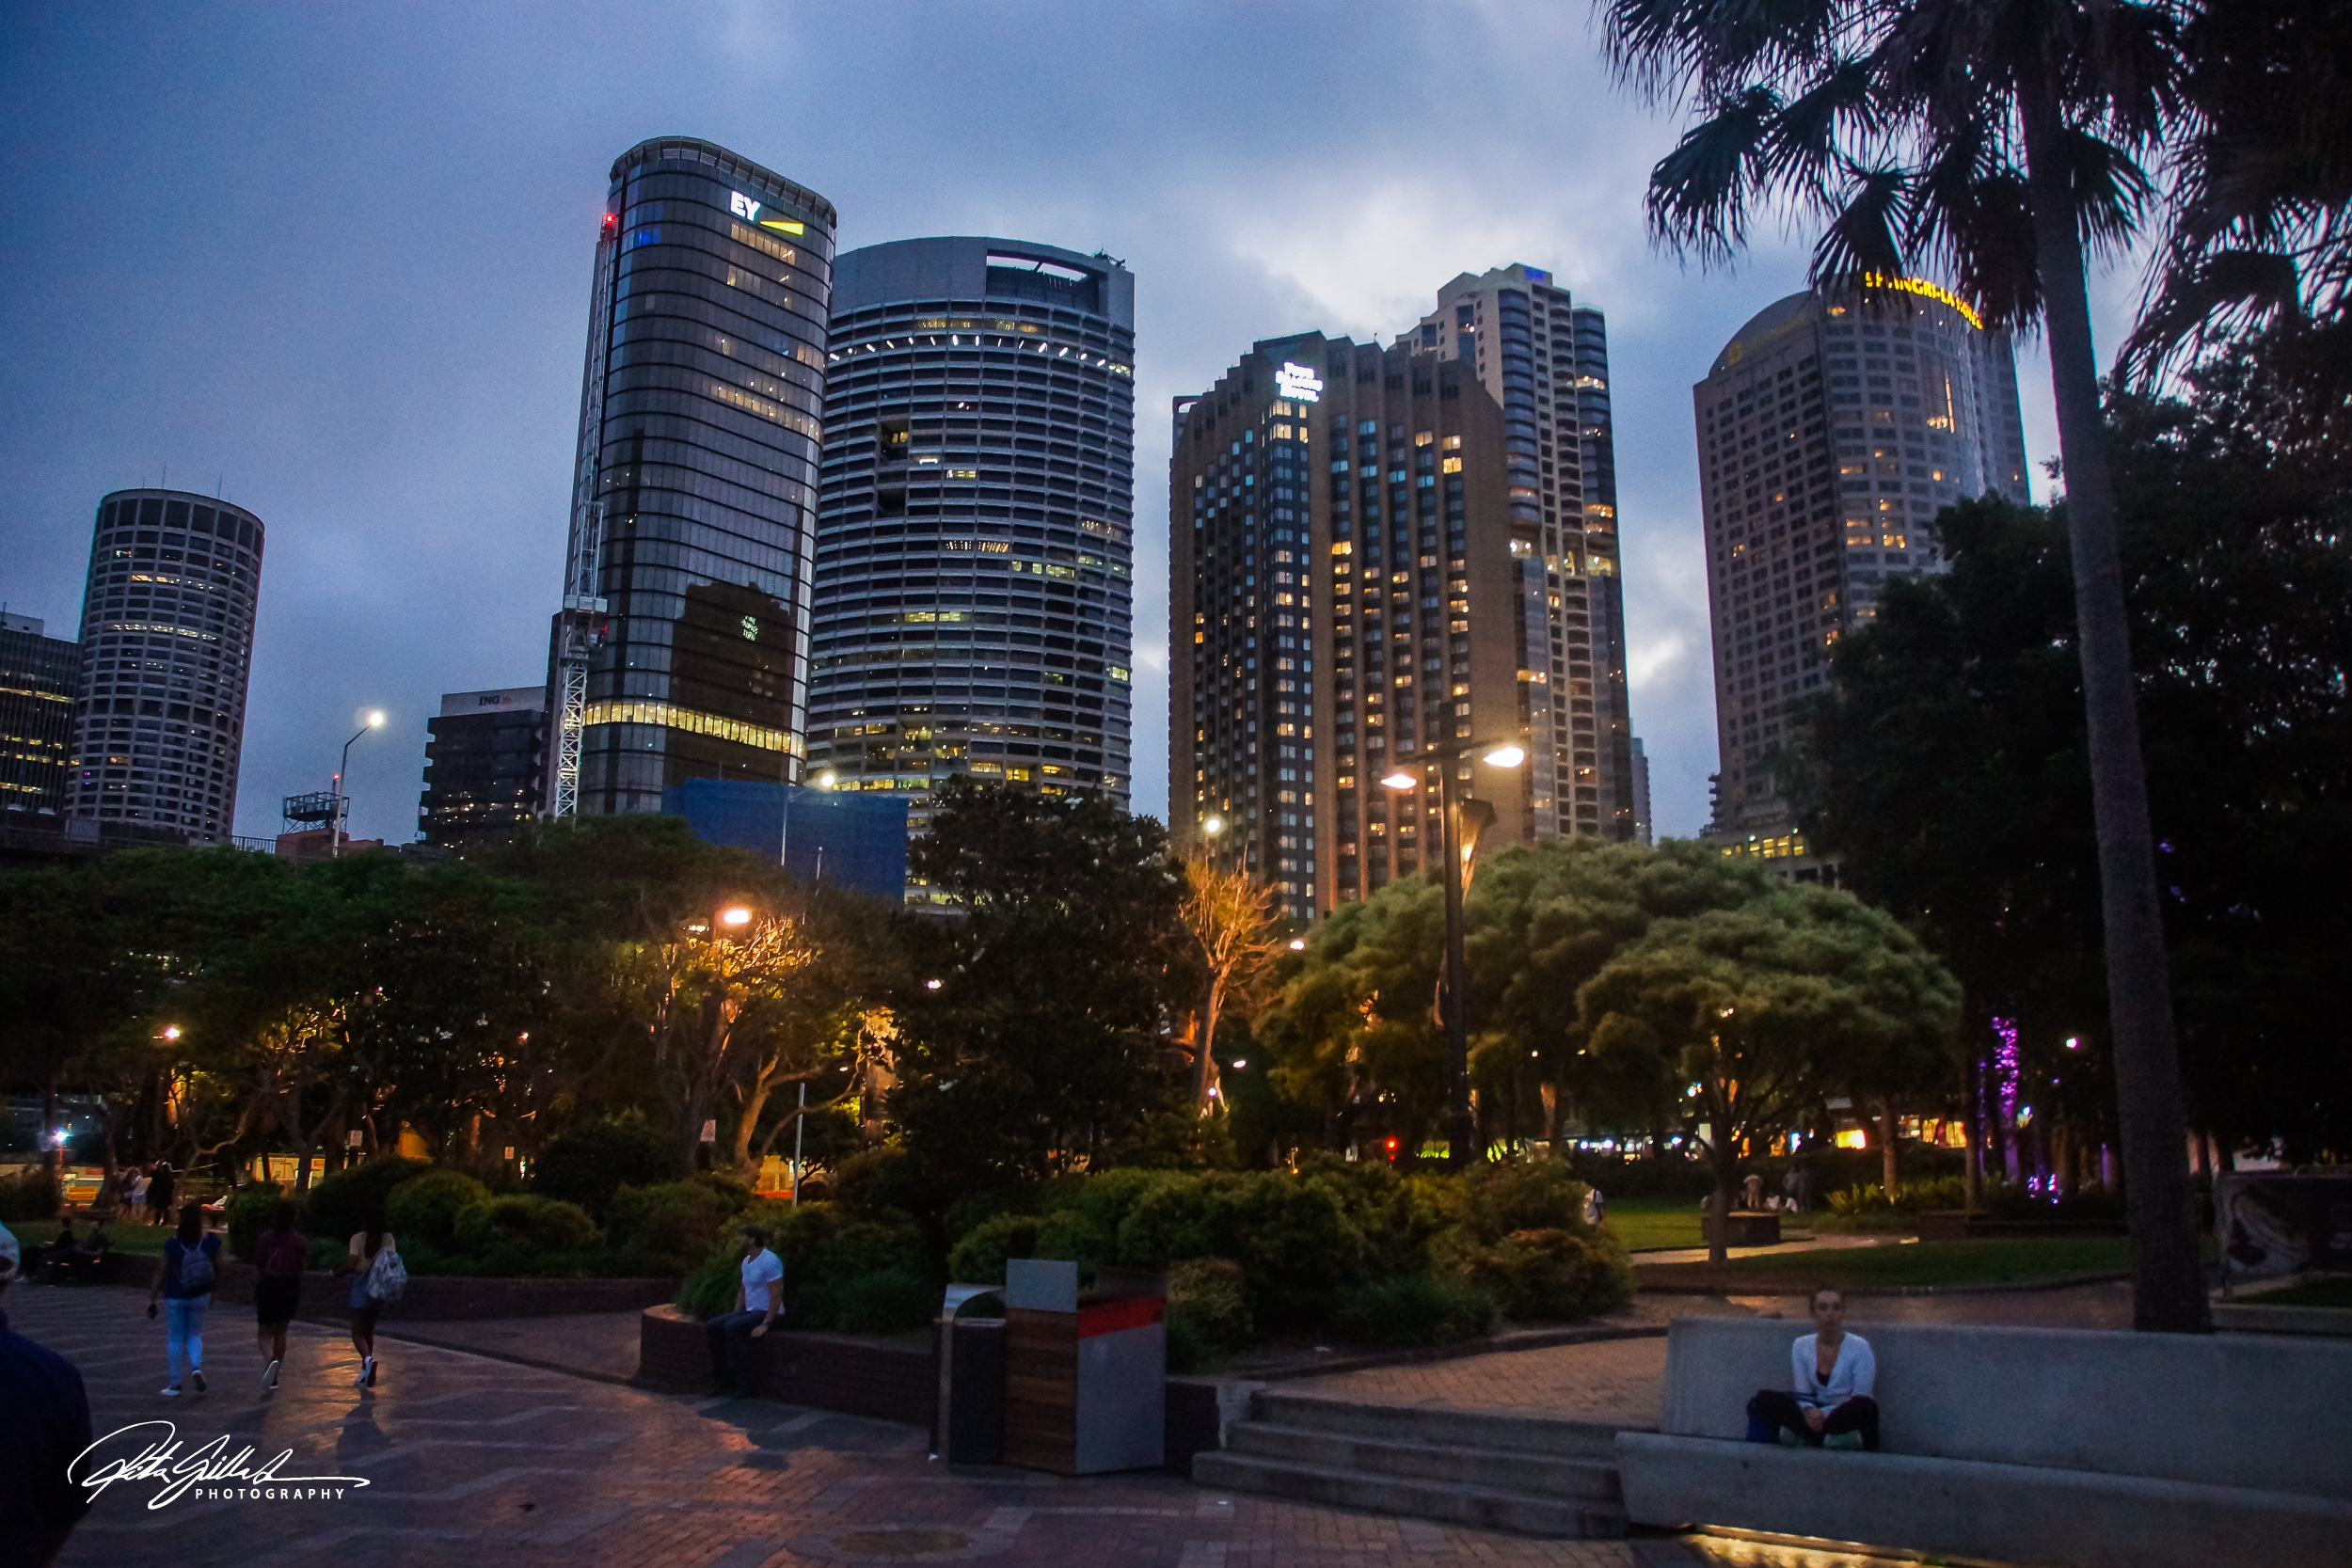
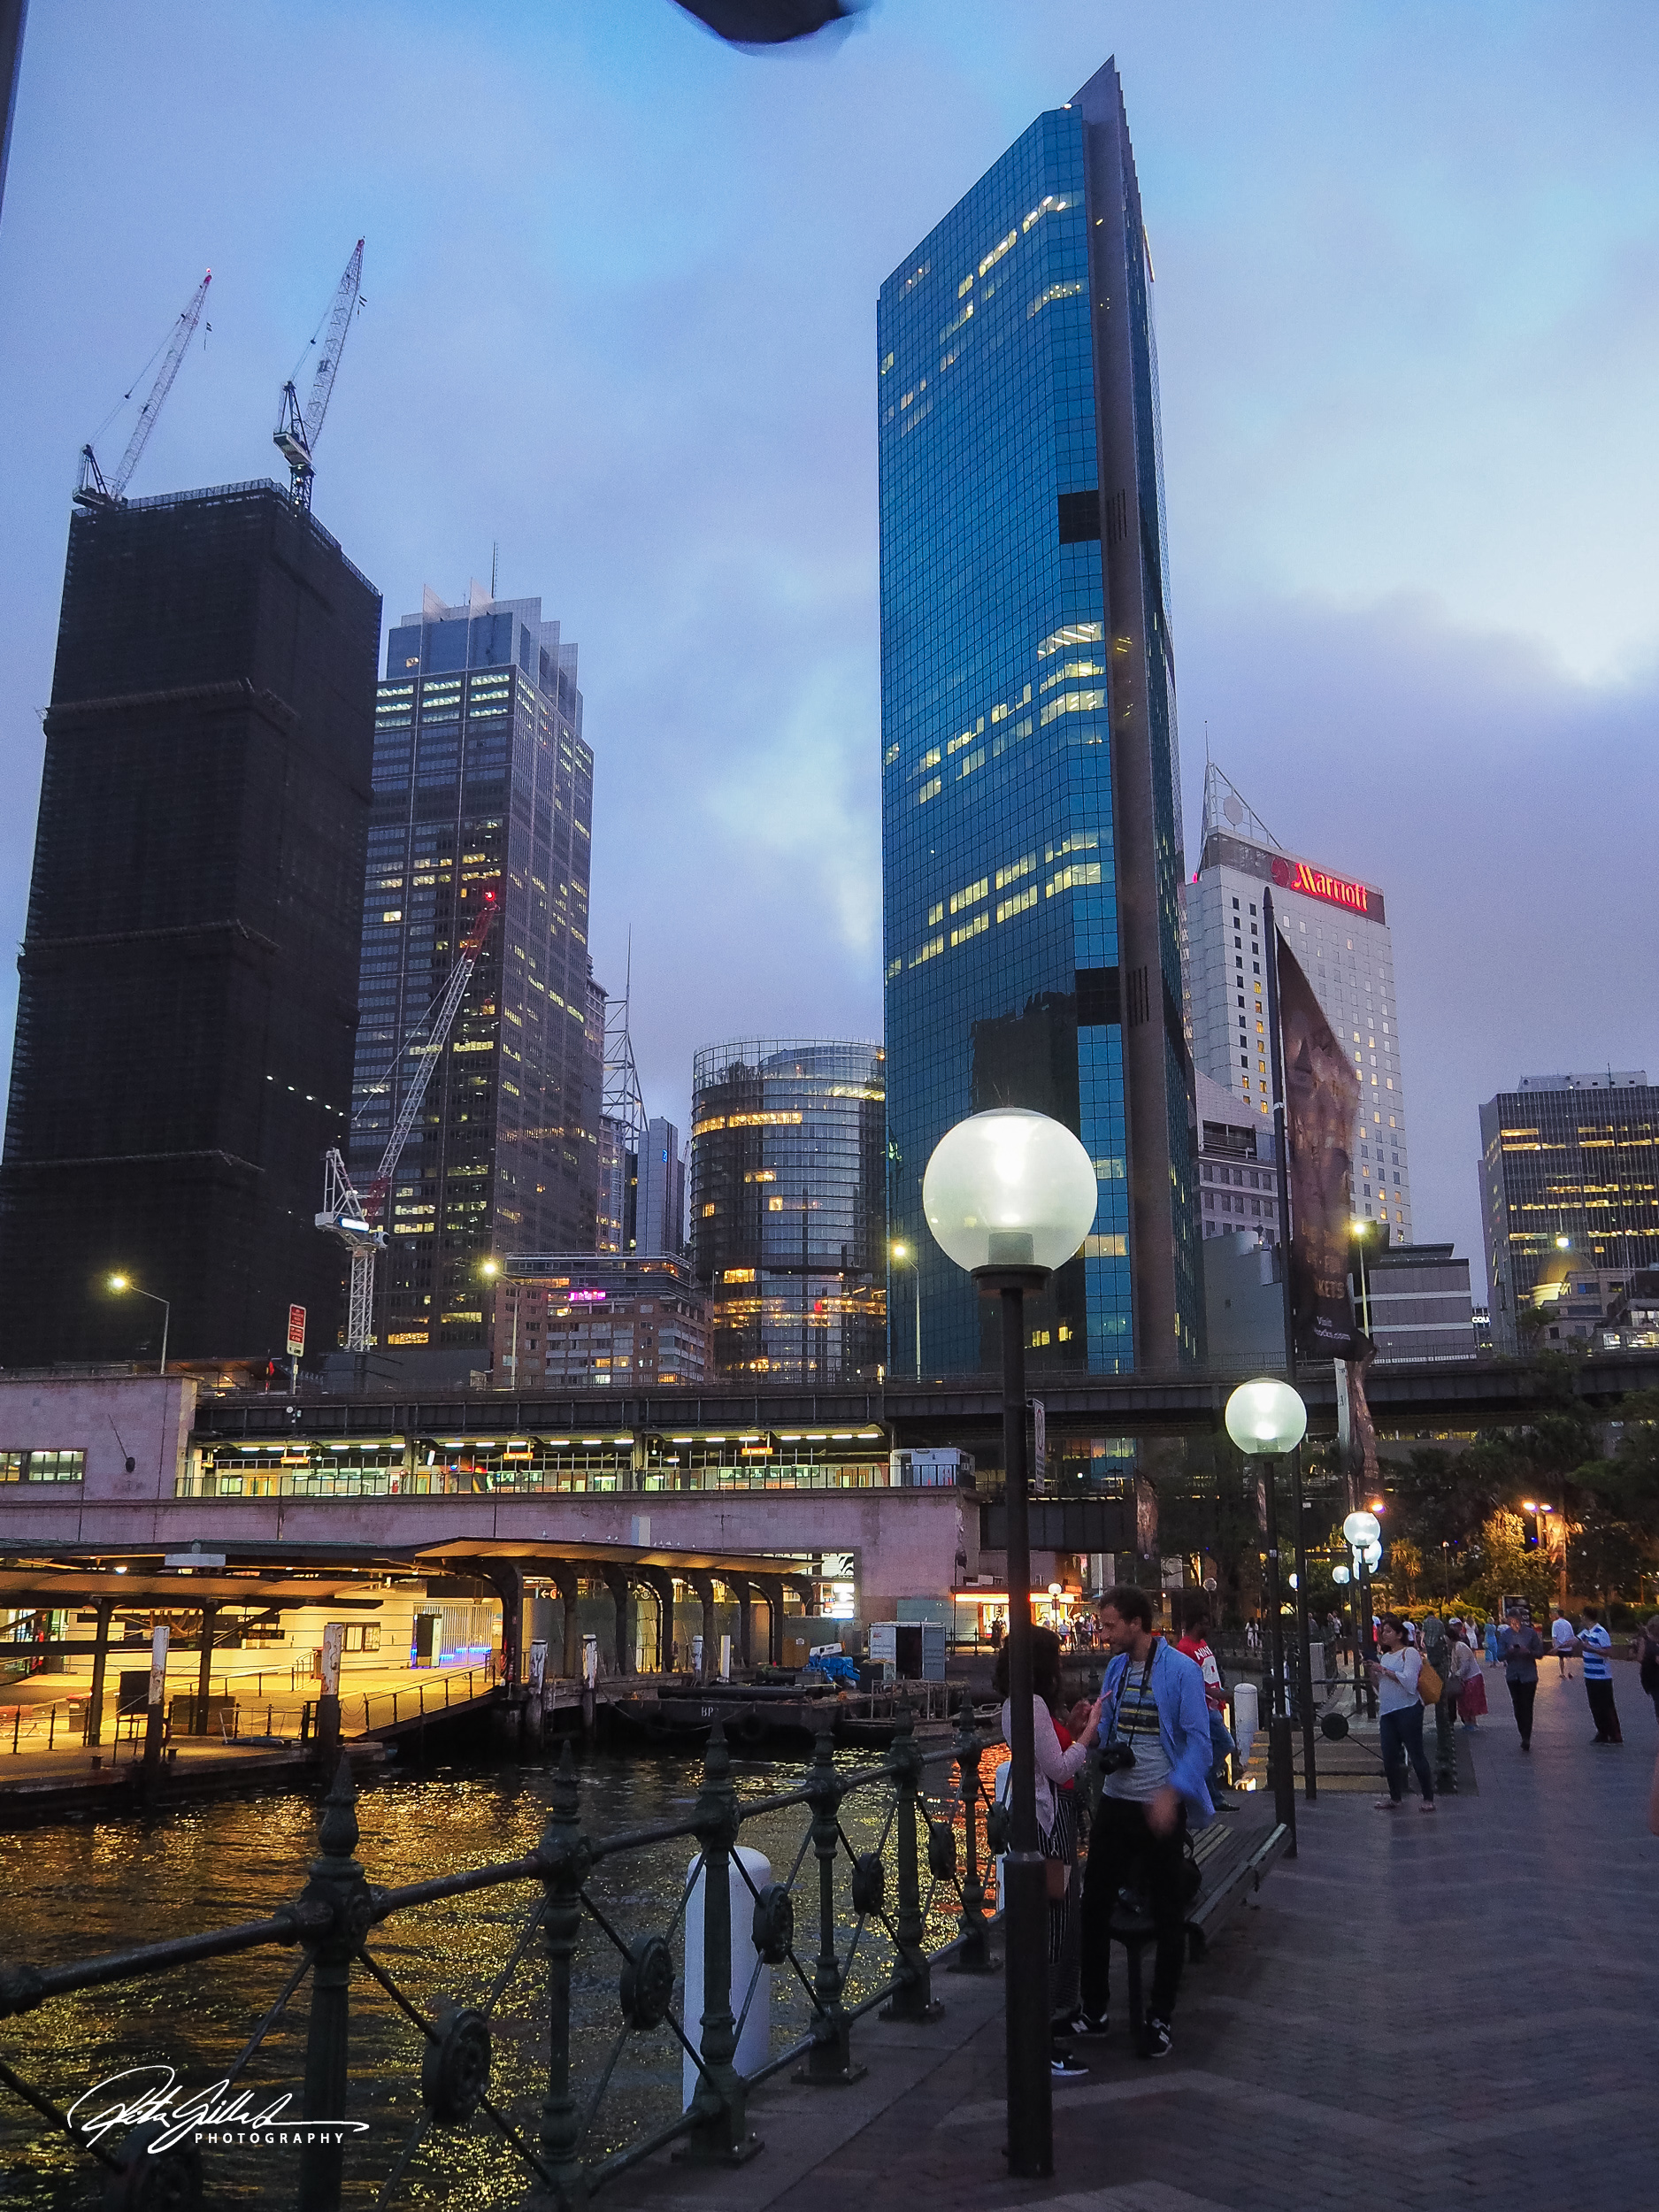
Taking shots, illumination of neon signs or street lights lend a completely different look and feel to the very same location than if it were shot in daylight.

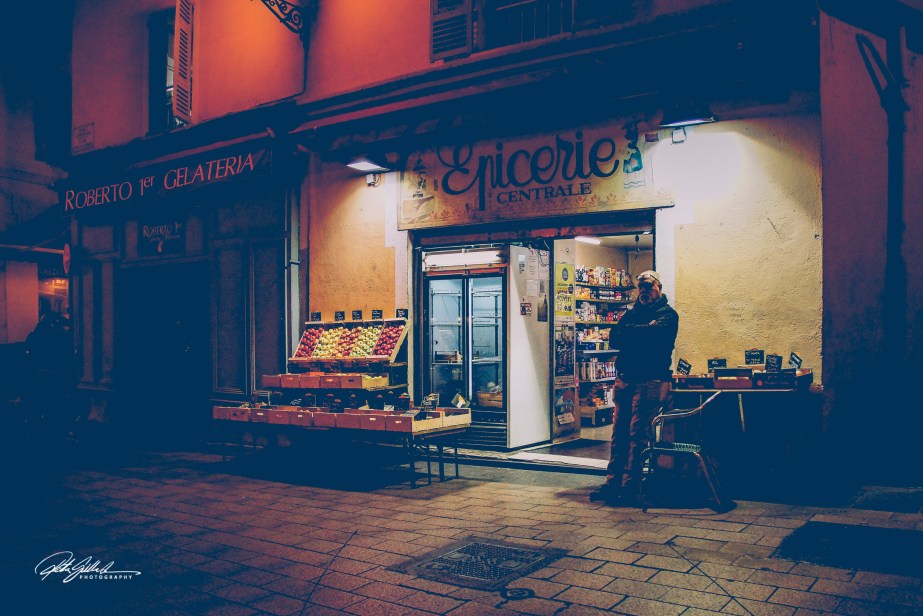
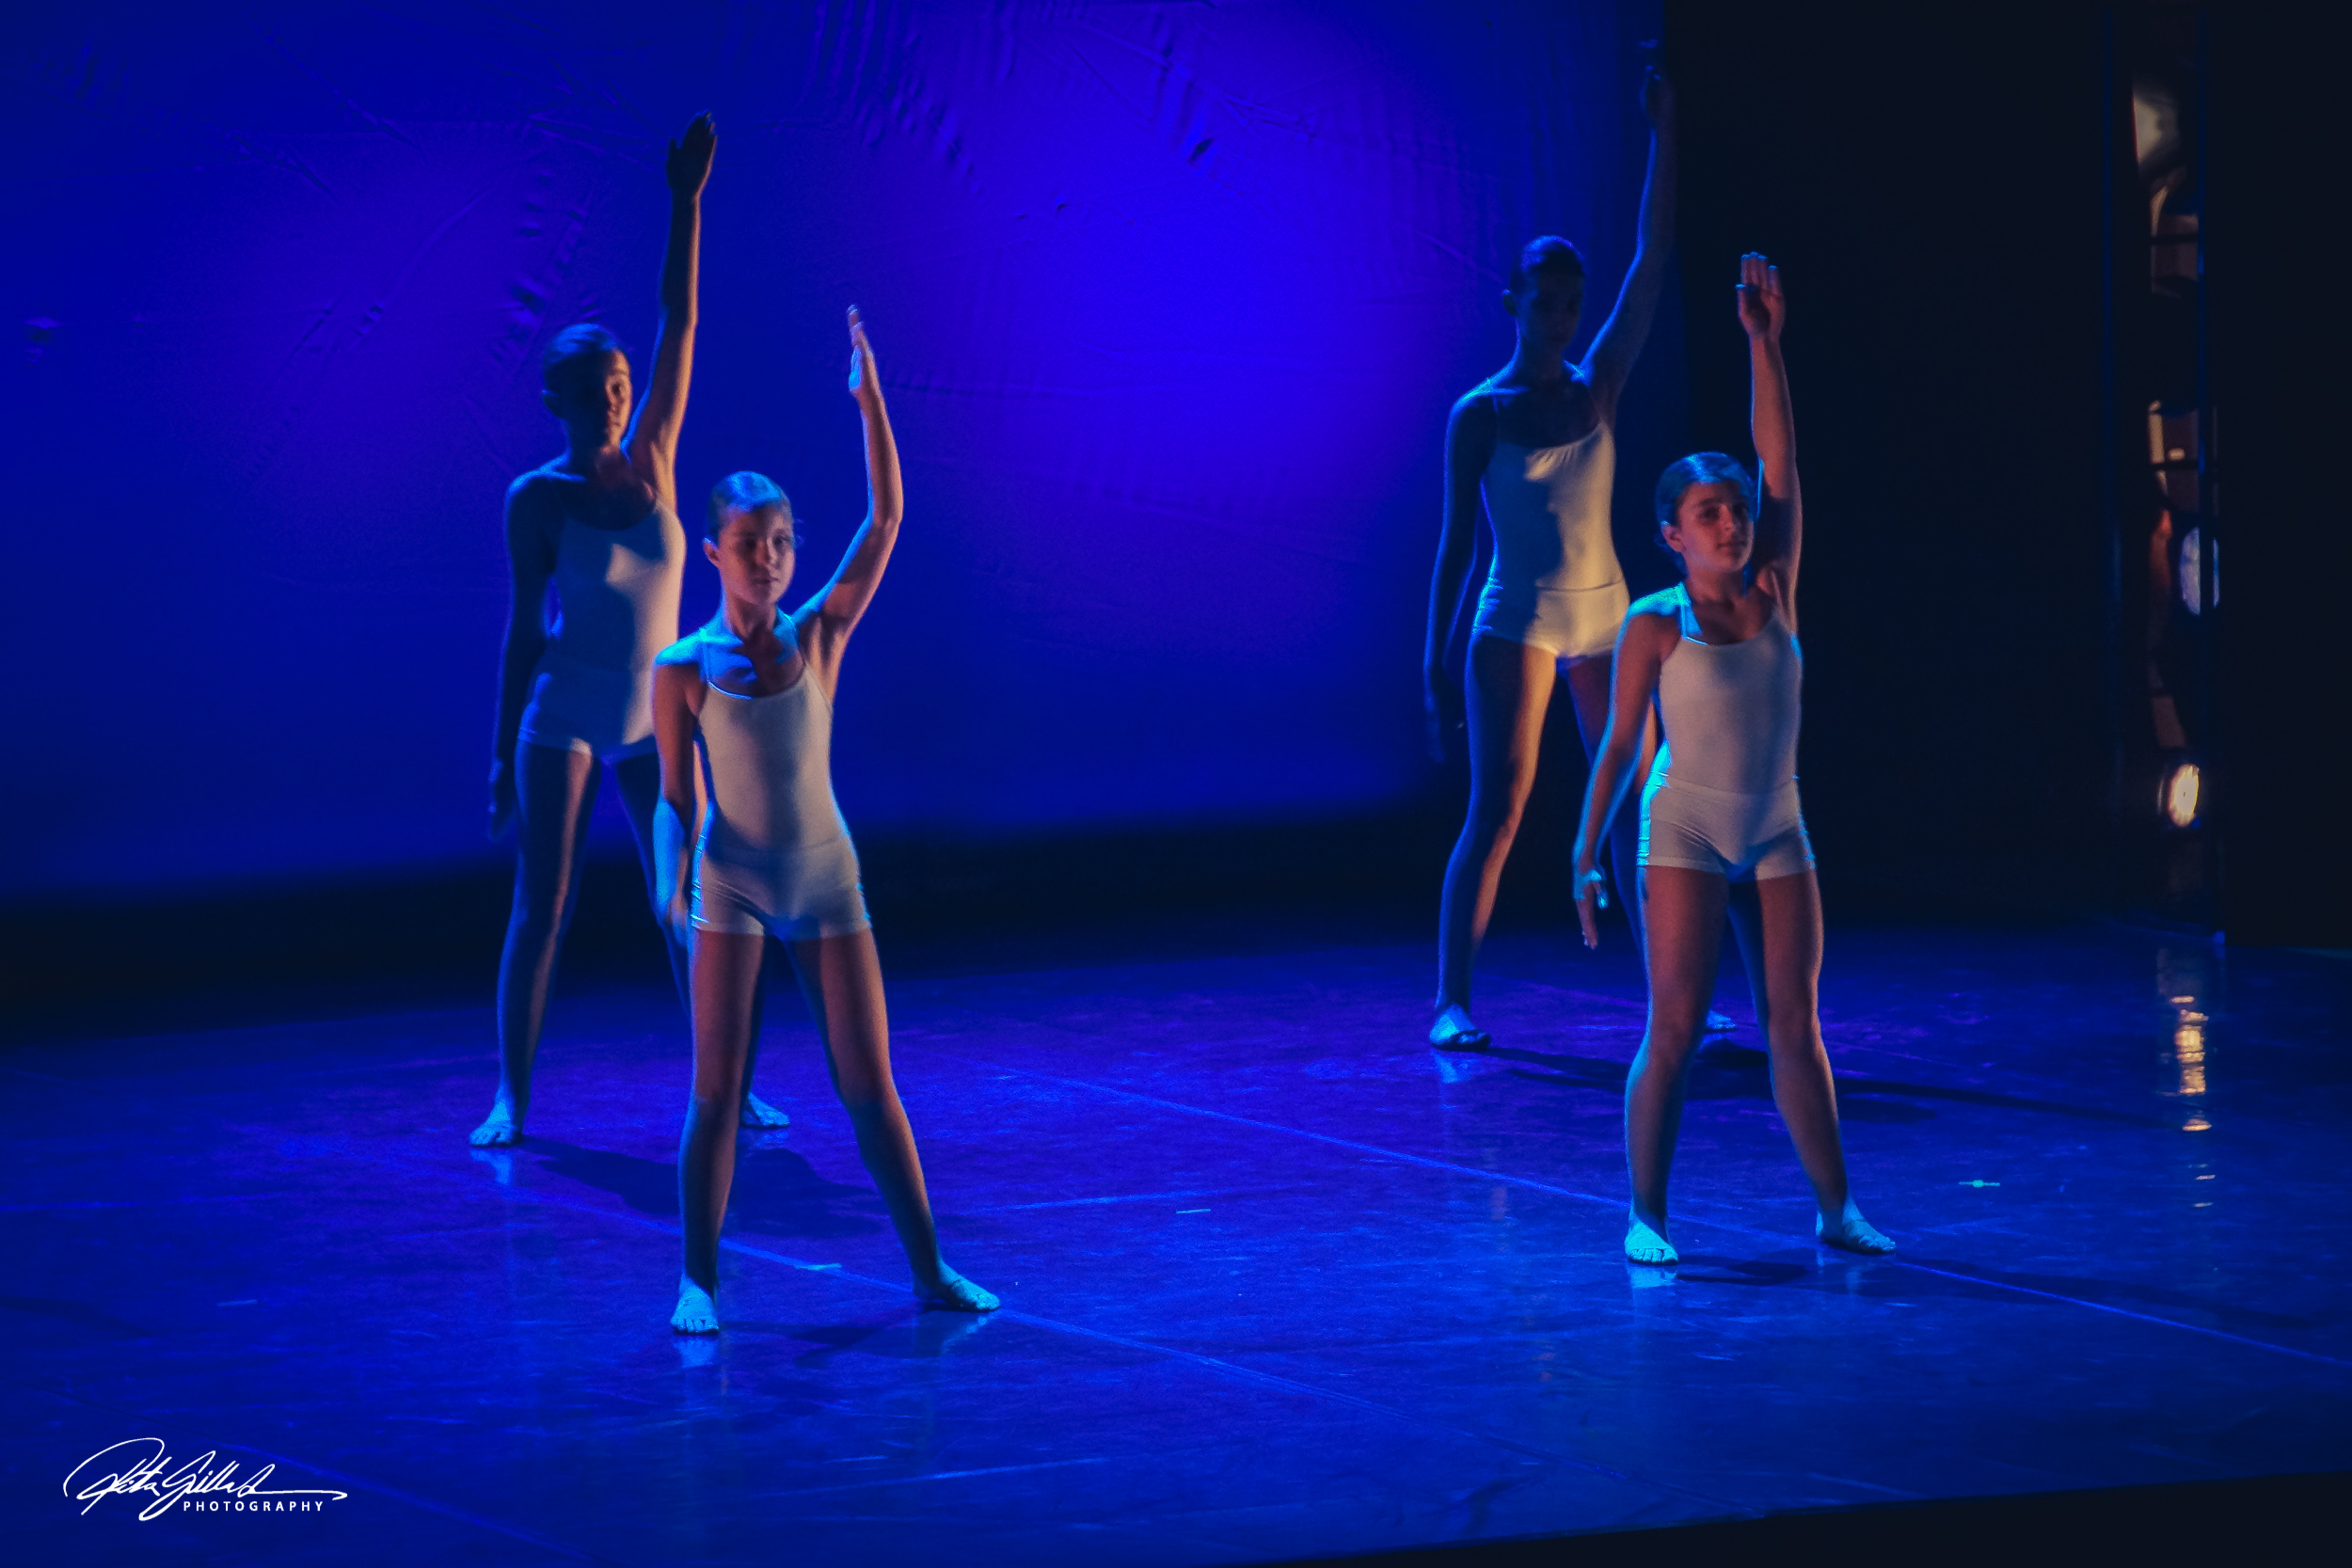
Ever taken portraits at night of a subject lit by a storefront window? Not all night shots need to be taken outside the house – some very creative shots can be taken inside too. Have a think on that!
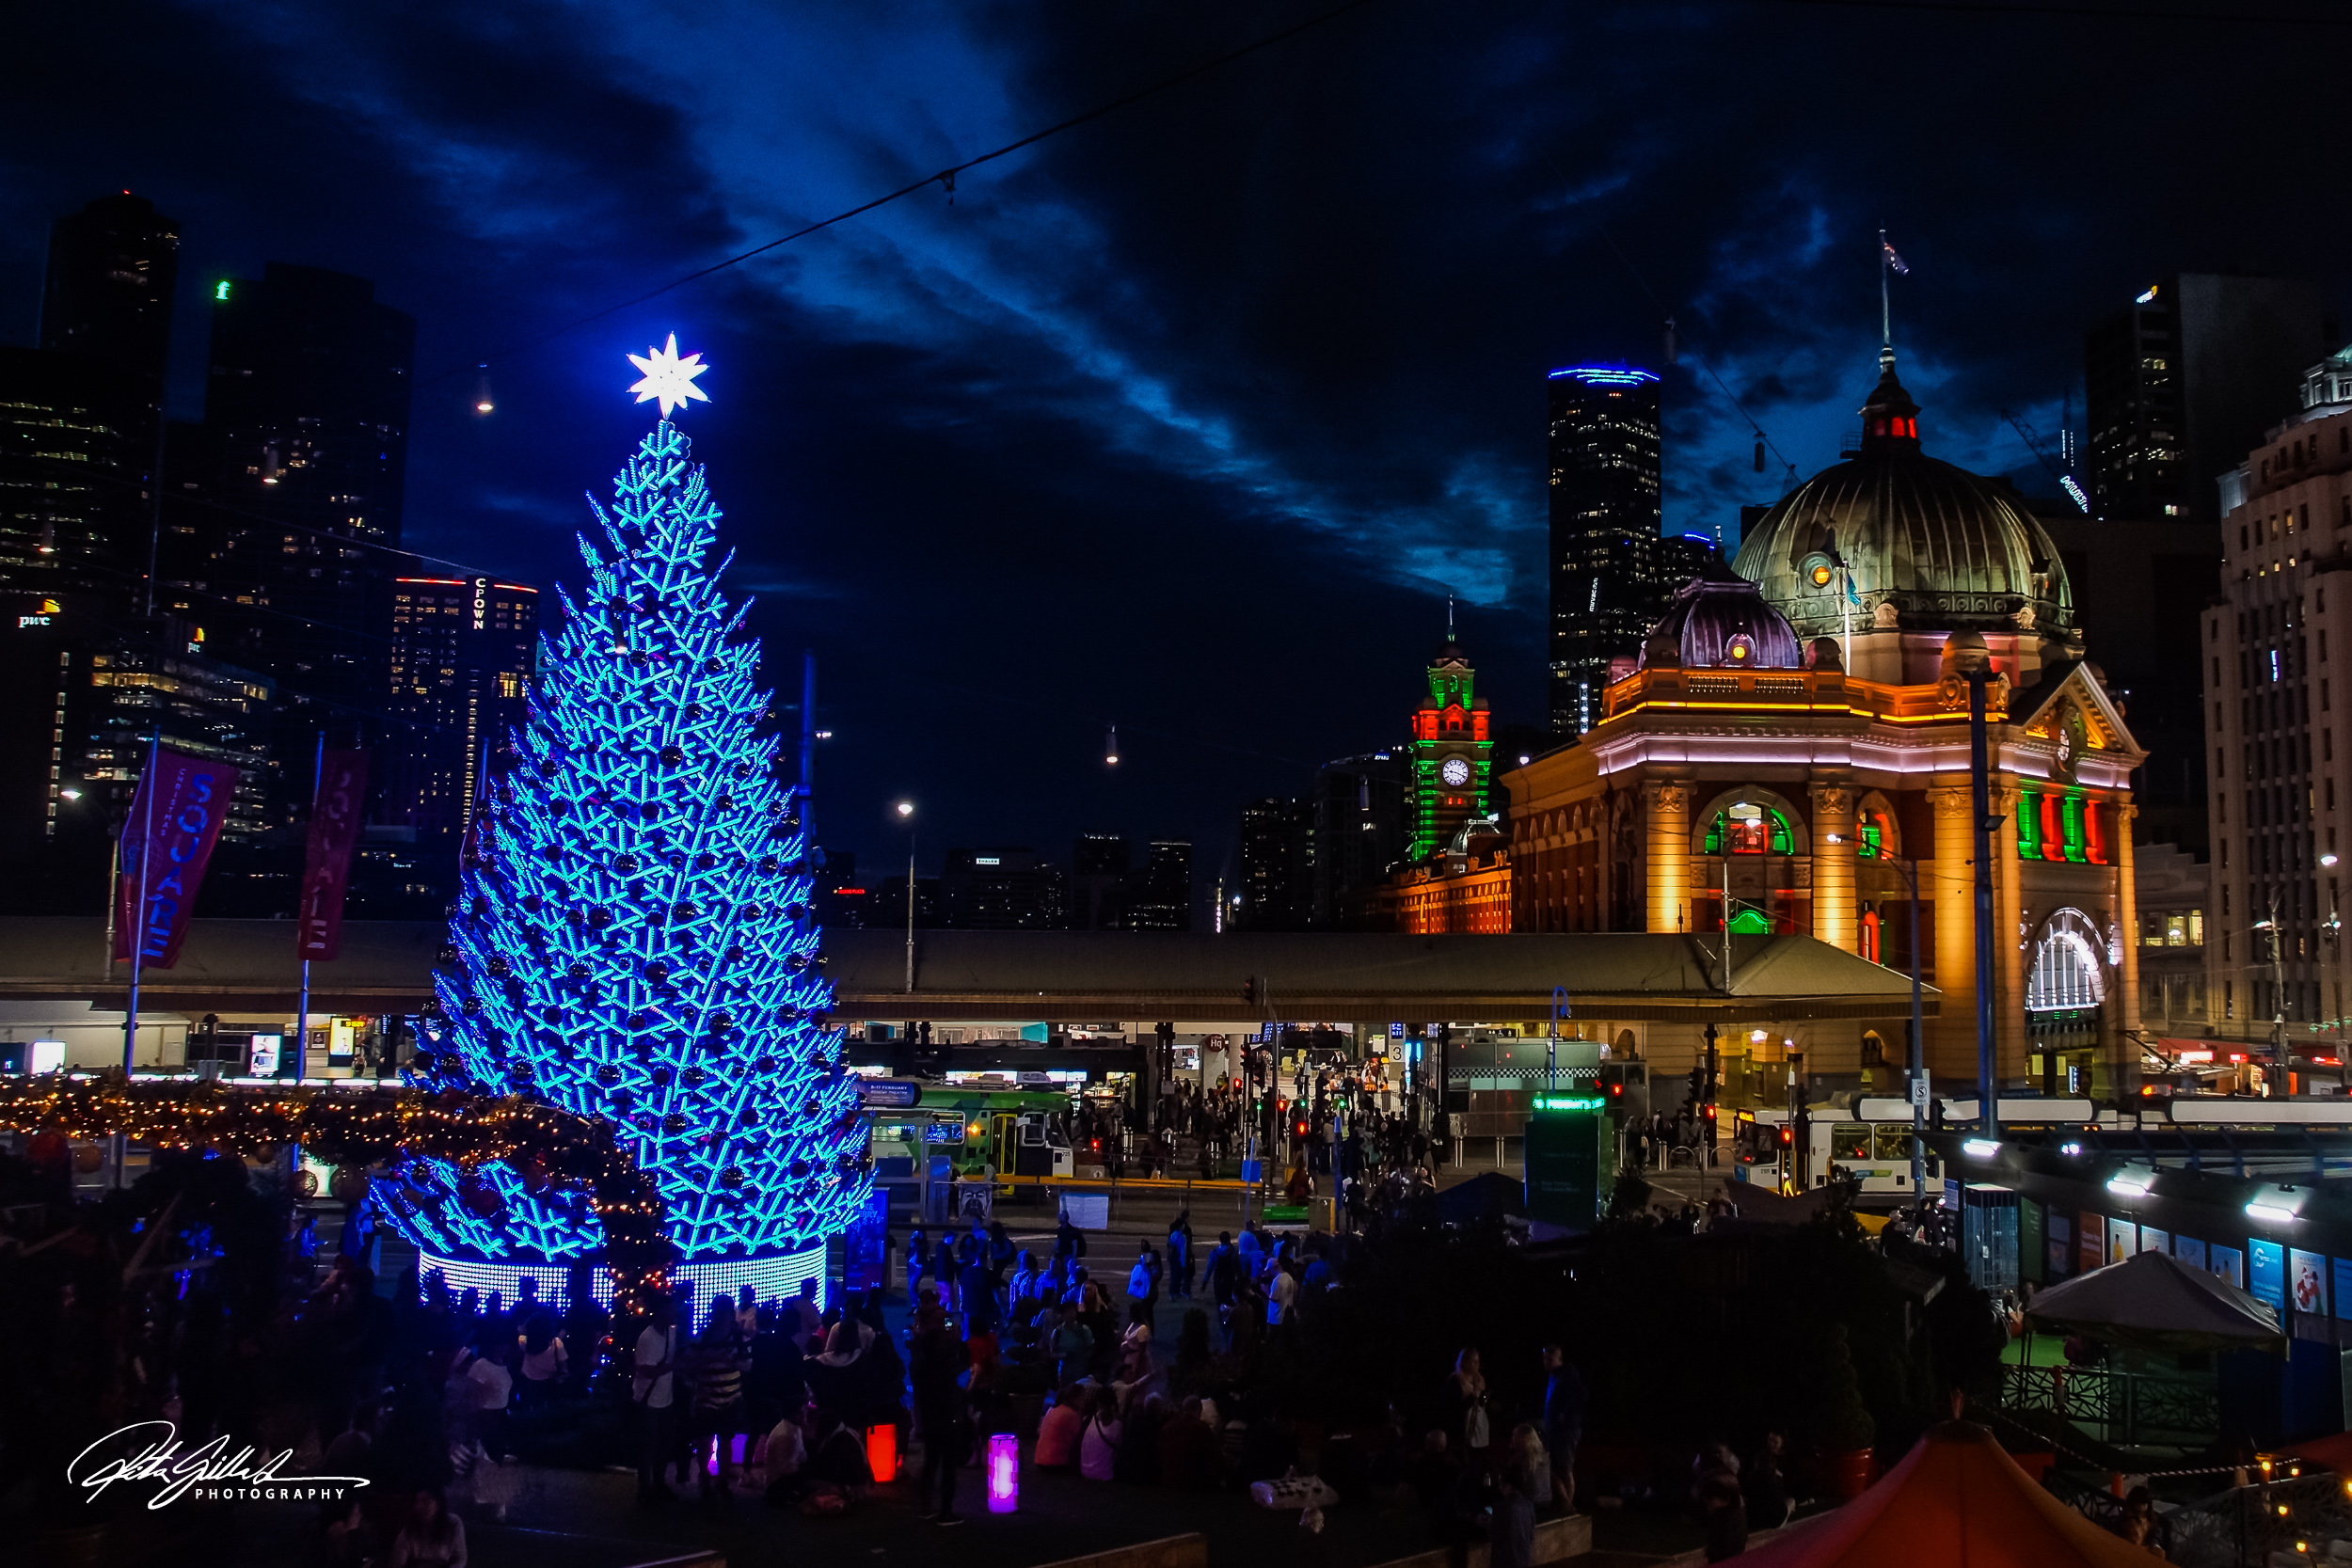
Get creative with light painting or try and capture the moon- night time is just magical for photography.
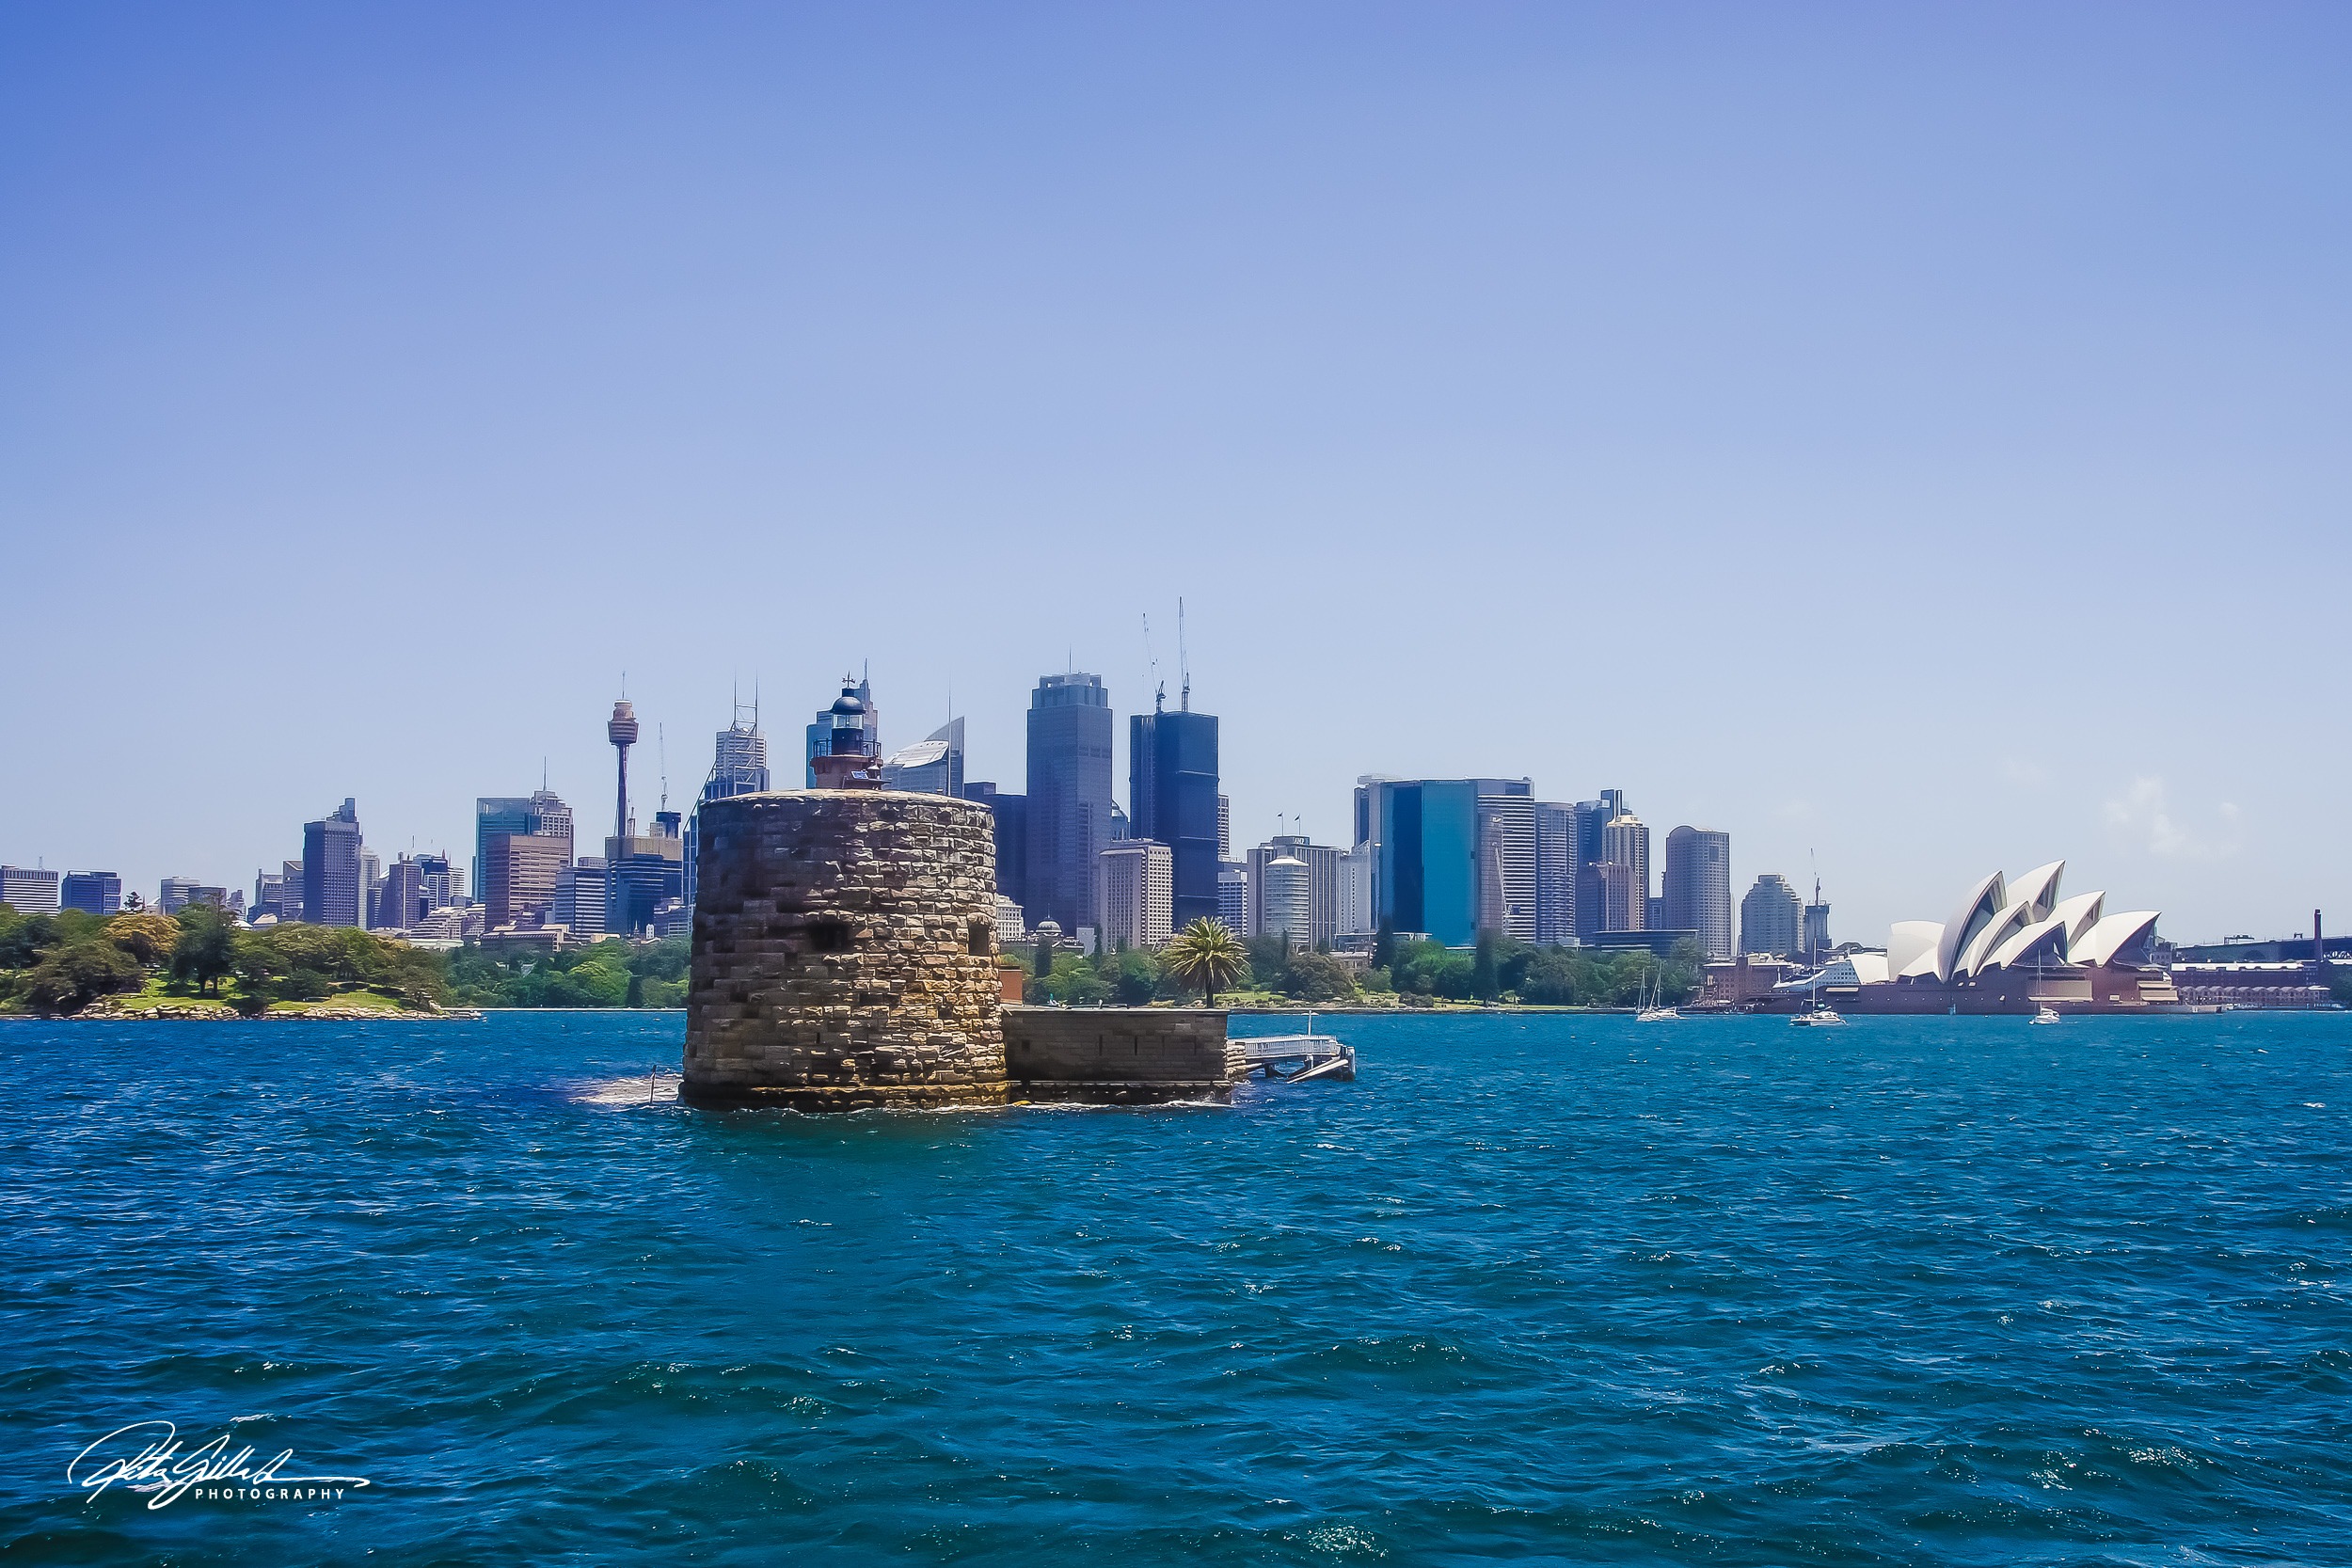
If you live in a part of the world where the 🌞 is still up when most other places are much darker, that’s cool too.

TIPS:
- ISO: There’s a lack of light – so remember to adjust your ISO settings appropriately, the higher you go, the more digital noise you will encounter.
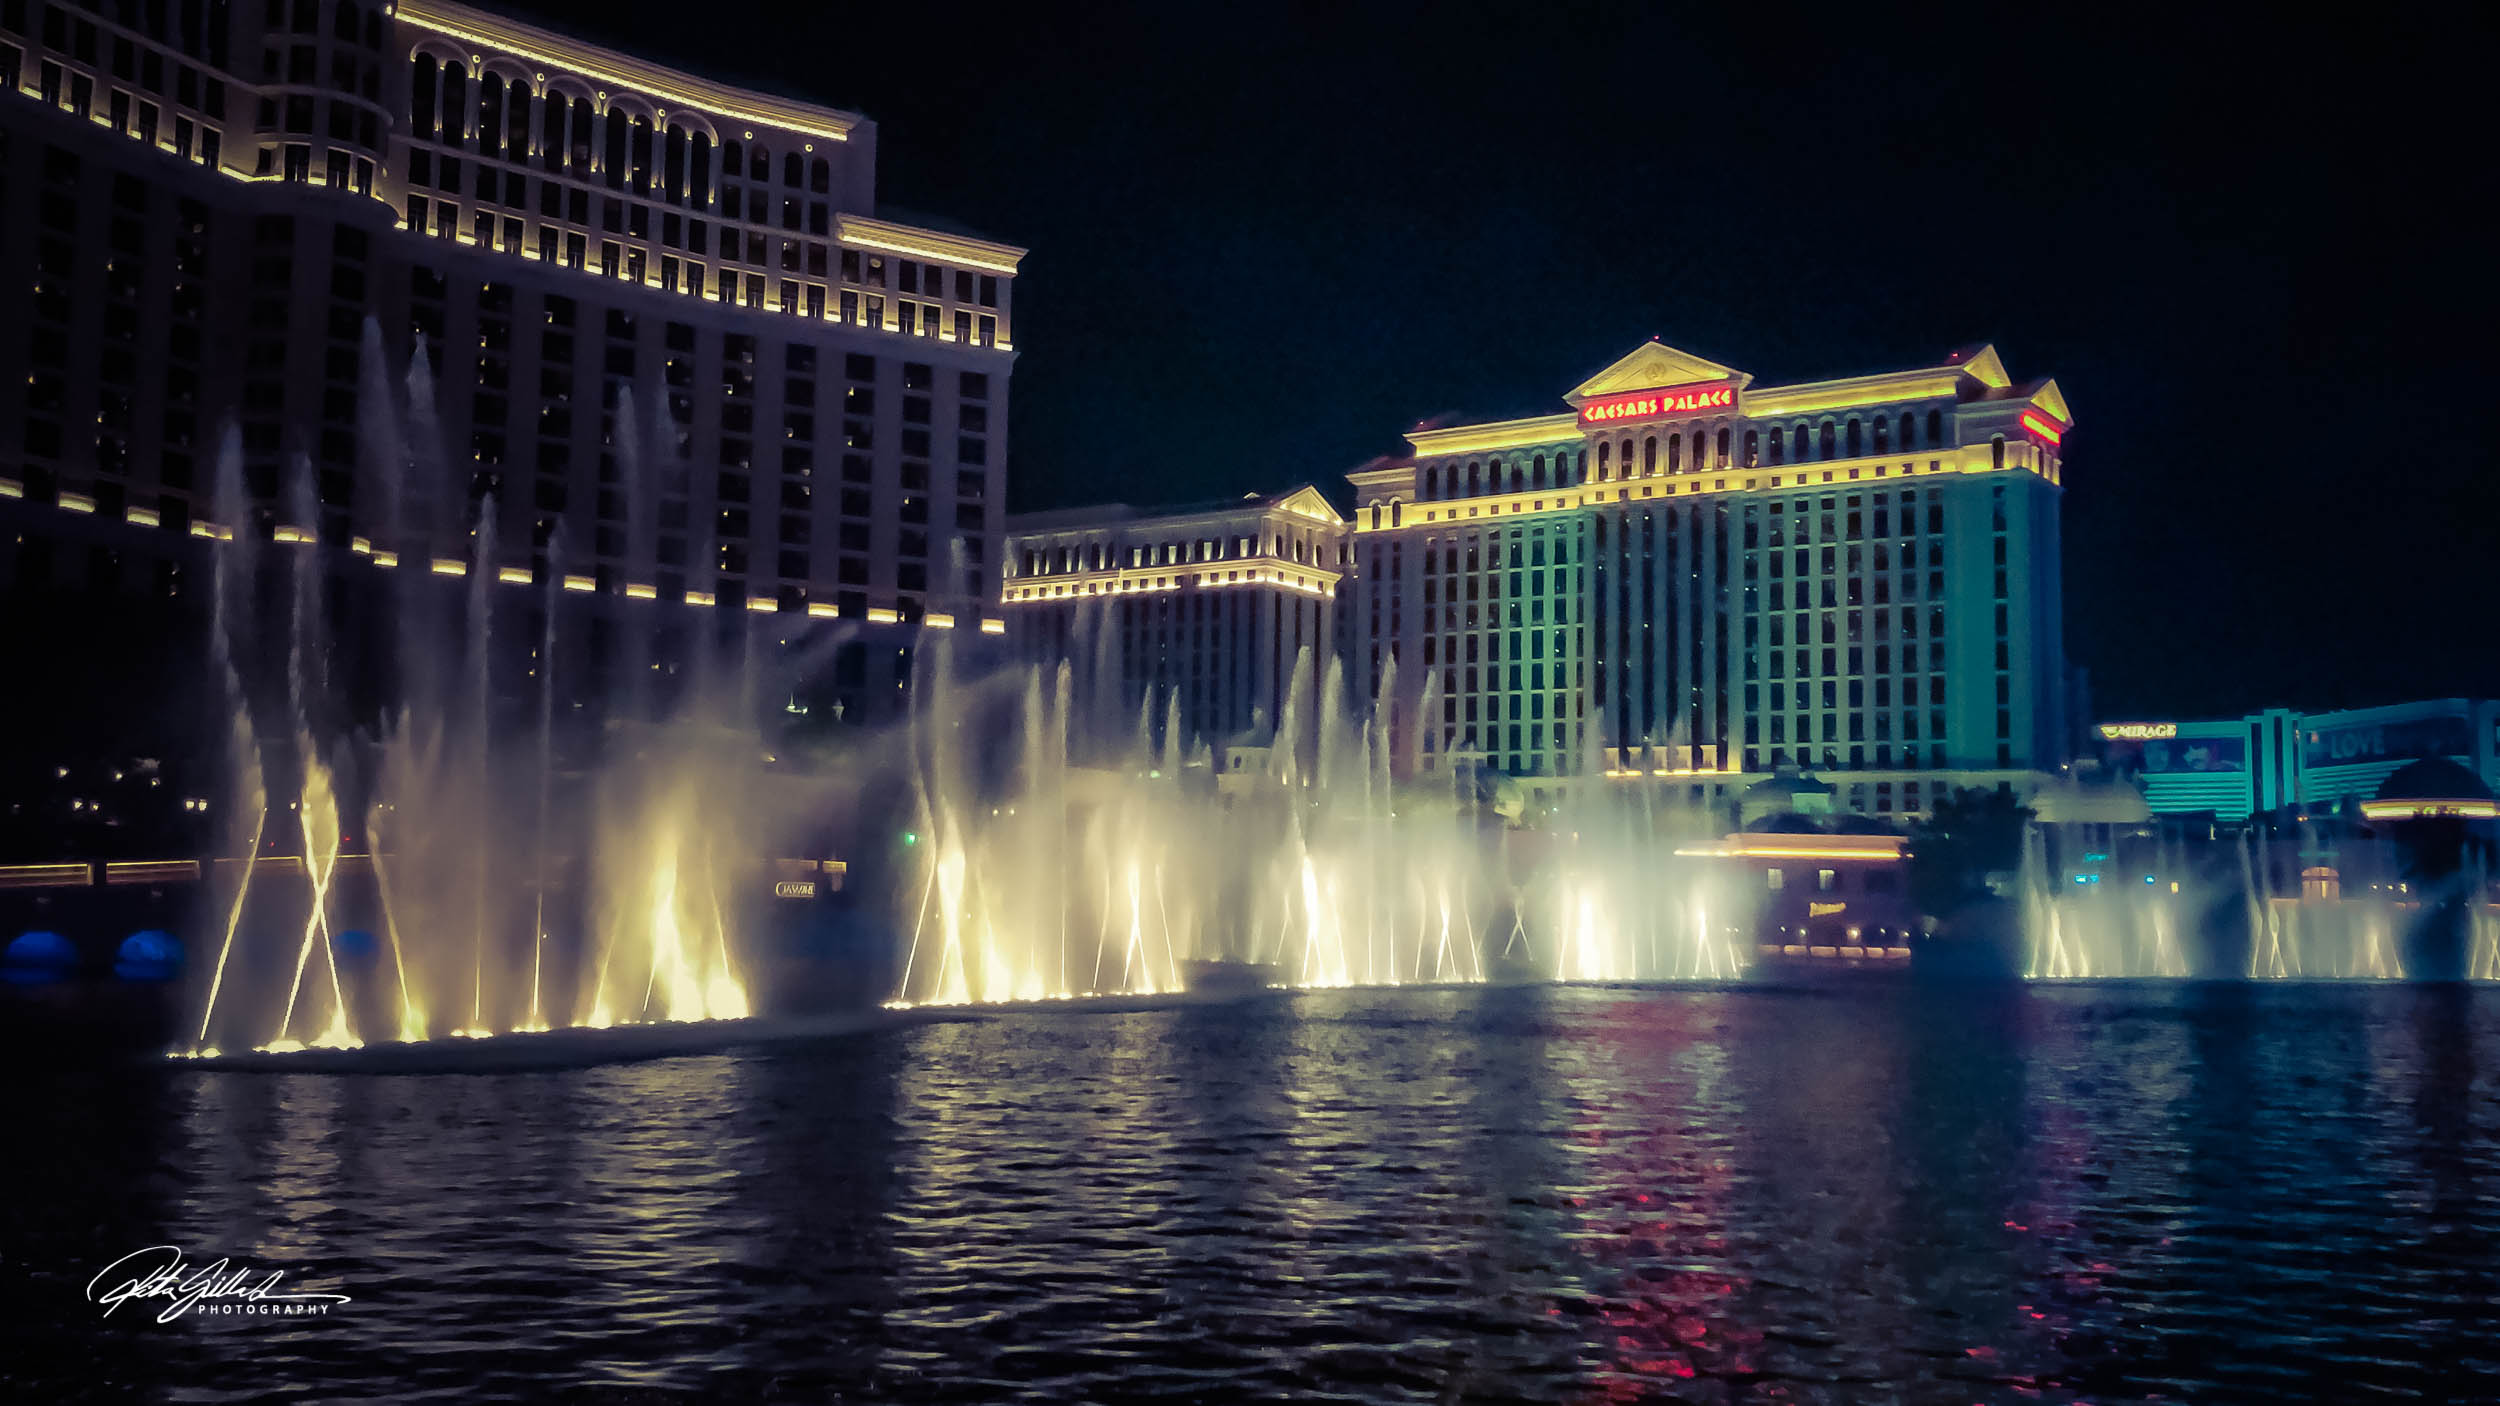
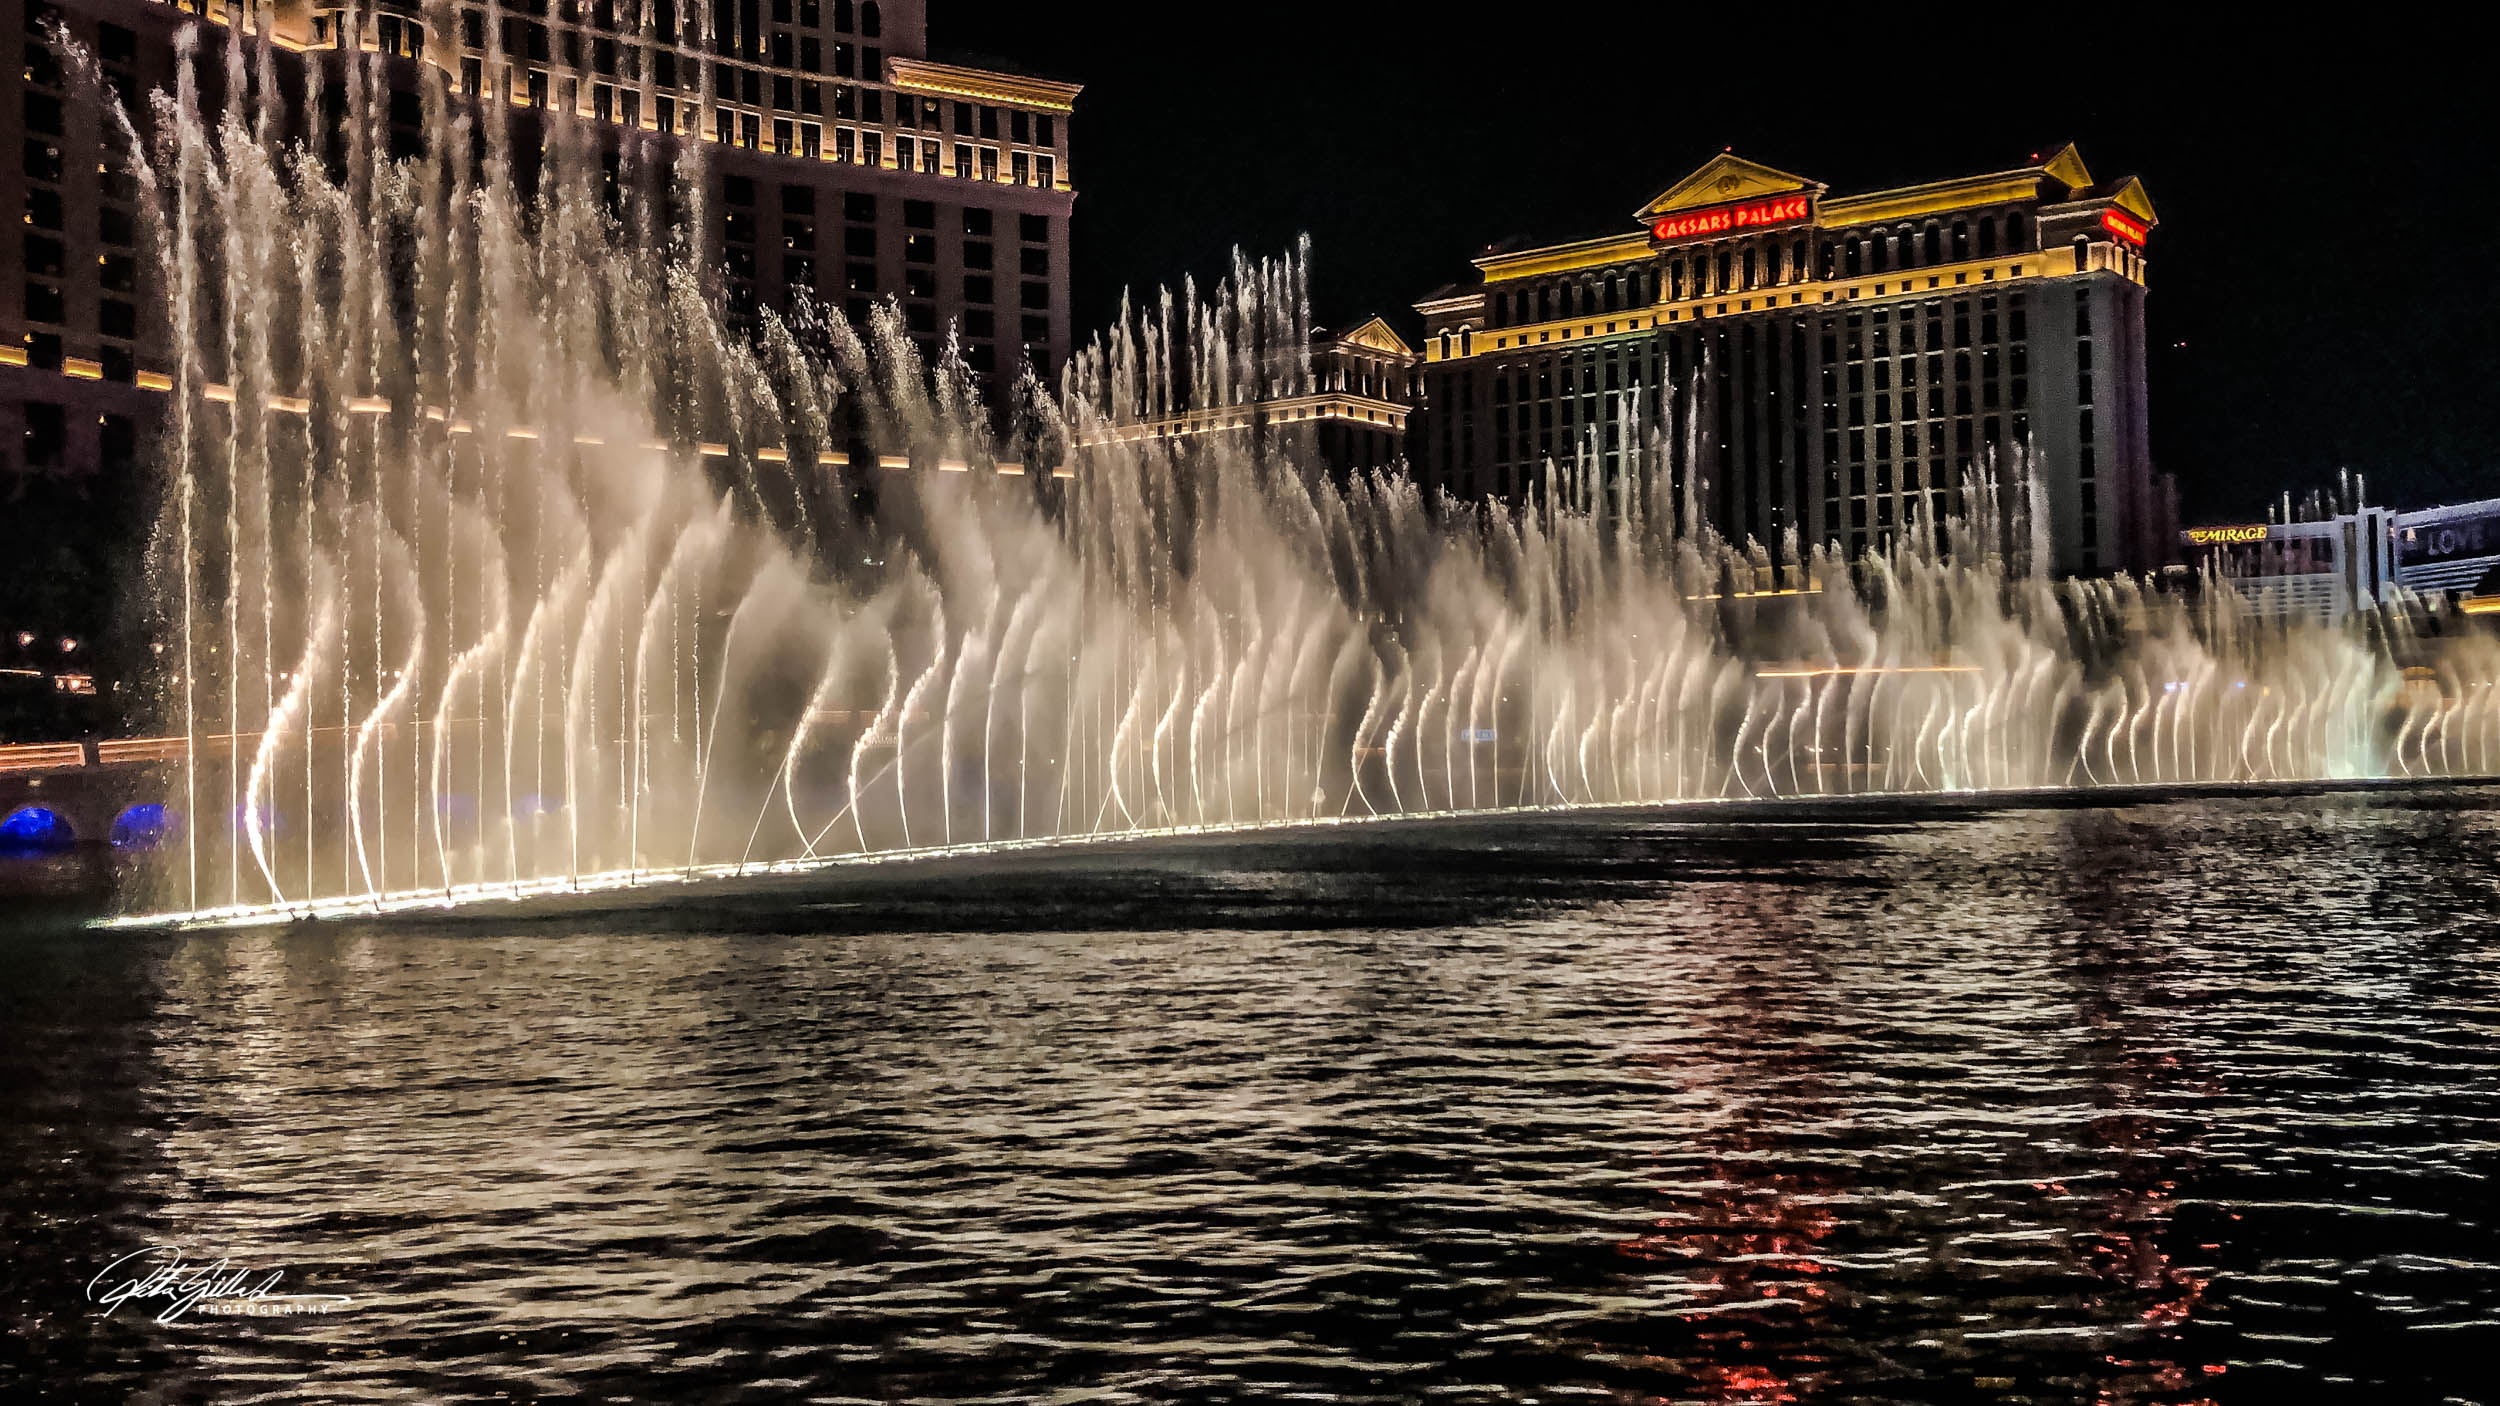
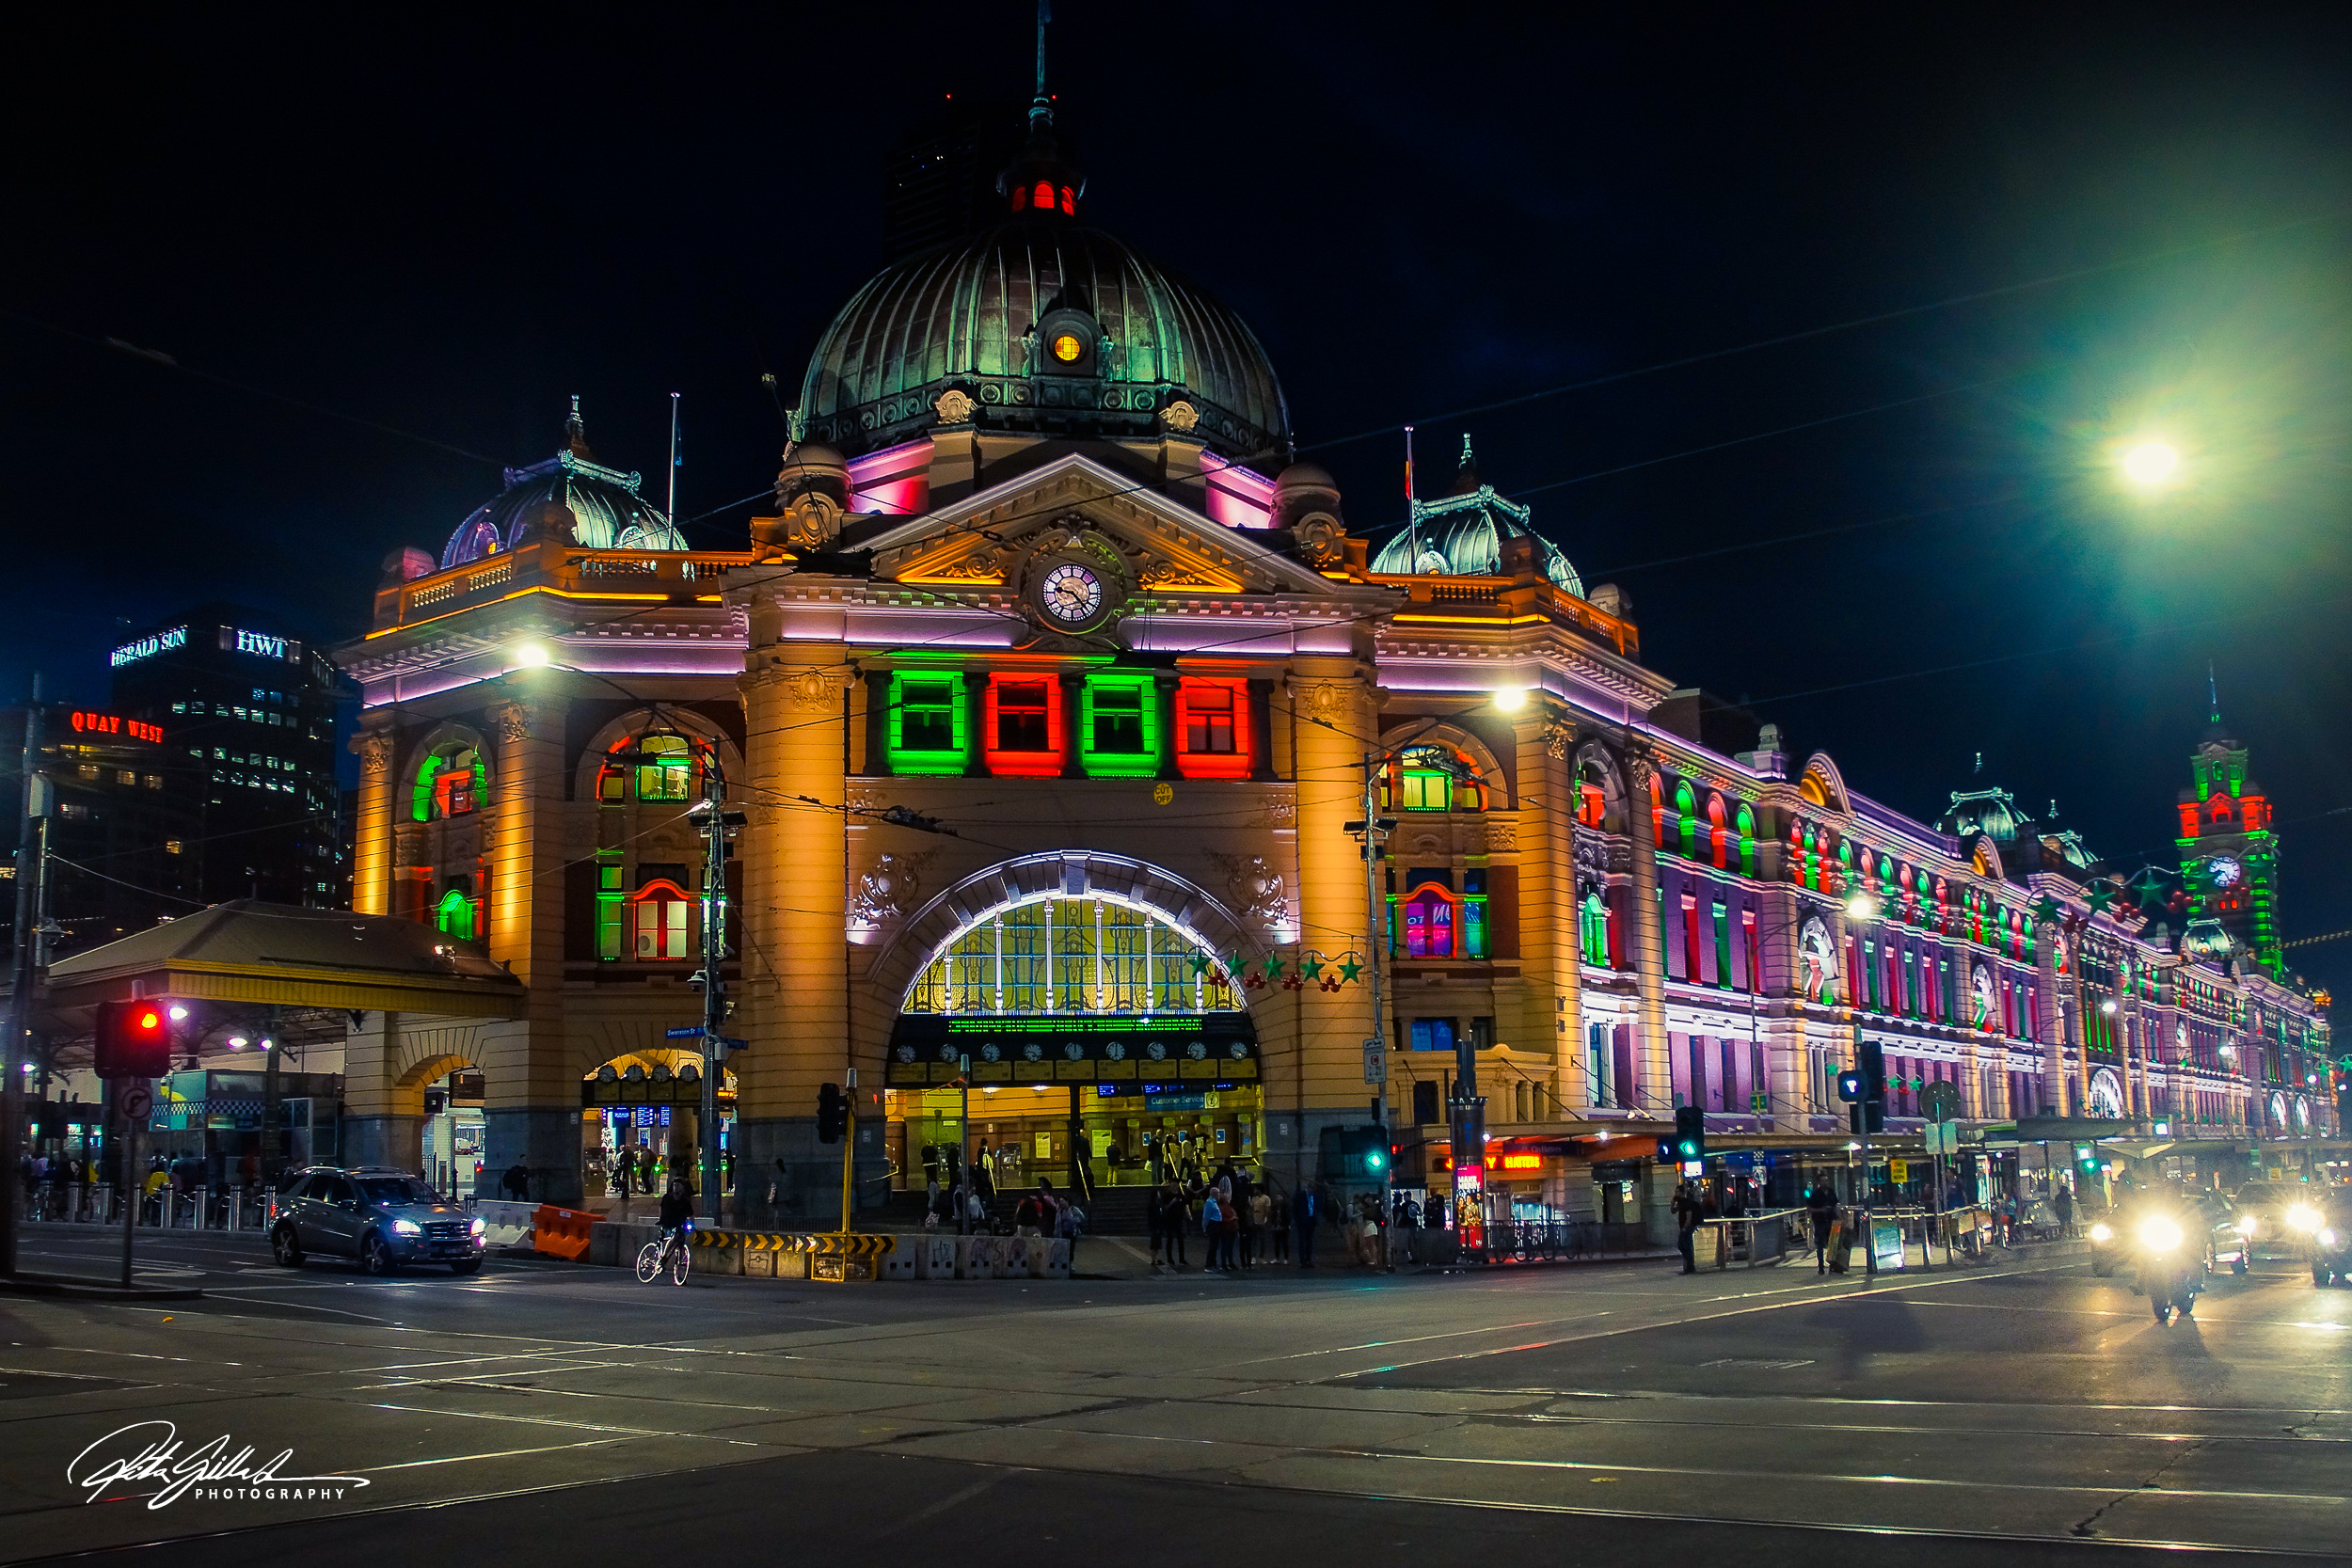
- Long Exposure: To compensate for the lack of light, long exposures work well for getting sharp images of static subjects like cityscapes and smoothening water ripples. Anything under 1/125 you want to rest your camera on a hard surface or tripod.
- Light Shaping: Use lights to shape the exposure – you can isolate your subjects more easily since the background will most likely be darker due to the absence of ambient daylight.
- Shoot Manual Mode: Consider shooting in Manual mode to correctly adjust parameters to get your desired exposures.
- White Balance: Artificial light in urban areas can add different color casts to your image. See if adjusting the white balance can add more depth to your image.


")
")
")
")
")
